Wash/Wax/Cosmetics
Posted: Sun Mar 30, 2014 10:11 am
A Guide to Maintaining your Bike's Cosmetics
As you all are most certainly aware, I'm a wee-bit picky when it comes to the appearance of my XJ. I do my best to keep it looking clean and scratch free. I routinely get compliments on my bike which, seeing as it's a lowly Seca II, is quite nice to hear. The general idea, for me, is to maintain the bike in good condition. One of the things I do routinely is wash, wax and detail it; just like I would my car. Here's the general approach:
Wash:
I use a high-quality wax to wax the bike. The same wax I used on the car. For me, that's Meguiller's Ultimate. It's a good wax and does a great job at protecting the paint from bug damage. It is best to wax your bike in a garage or other indoor location so that it does not get scratched by blowing dirt, etc. If you don't have a garage, a parking garage will do nicely, too. I typically ride to a local mall and use the upper floors where nobody routinely treads.
"The Devil is in the Detail" applies here. After washing and waxing the bike, the next step is to clean out all of the little nooks and crannies that get dirty. Use a wet microfibre cloth to wipe down the instruments, controls, signals, engine, swingarm, rear shock, etc. You want to remove as much dirt and grime from these areas as you can. They should look and feel clean. This part sucks. You'll scratch your hands. Your cut your fingers. You'll run out of patience. But trust me, it's worth it.
Some things I've learned over the years, regarding detailing:
The last thing I do, after spending half a Saturday detailing the bike, is to stand back, look at it, and pick out the flaws. Its not a fun exercise, but an important one. I notice things like scratches, wear, dated-items, etc. Once done, I do my best to remedy the checklist.
Examples:
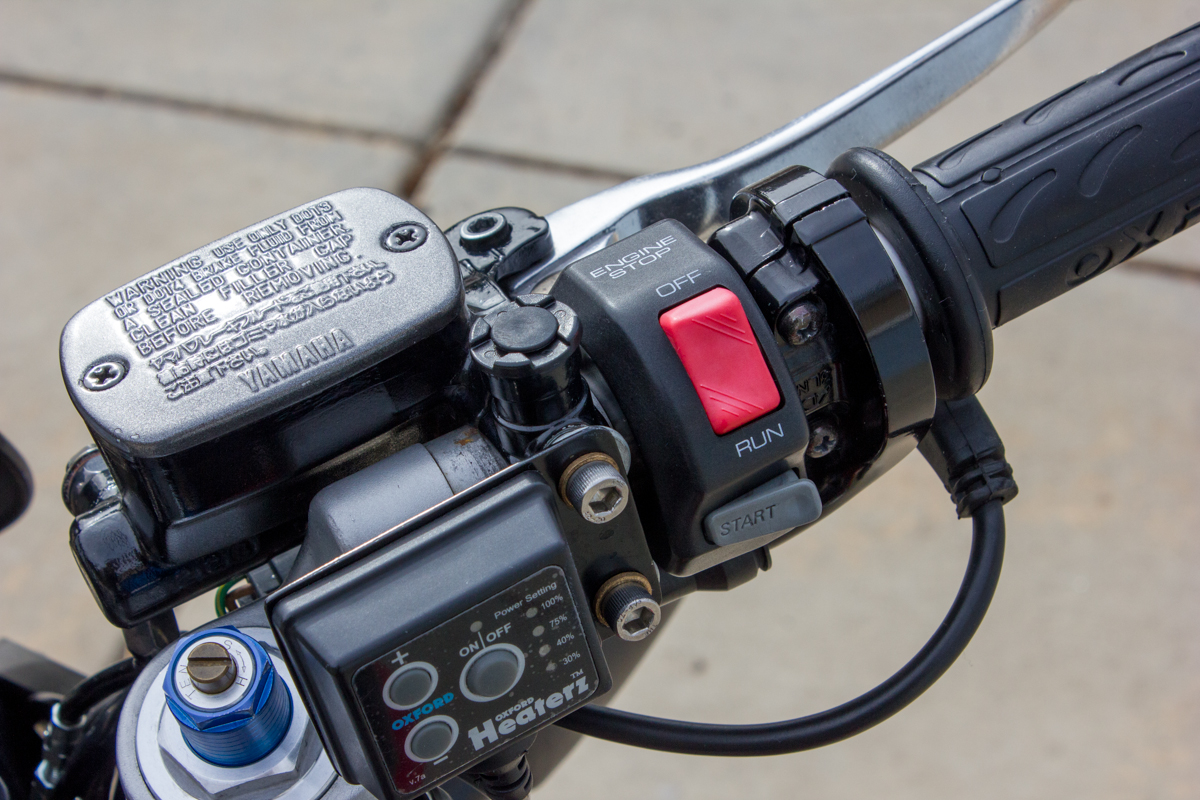
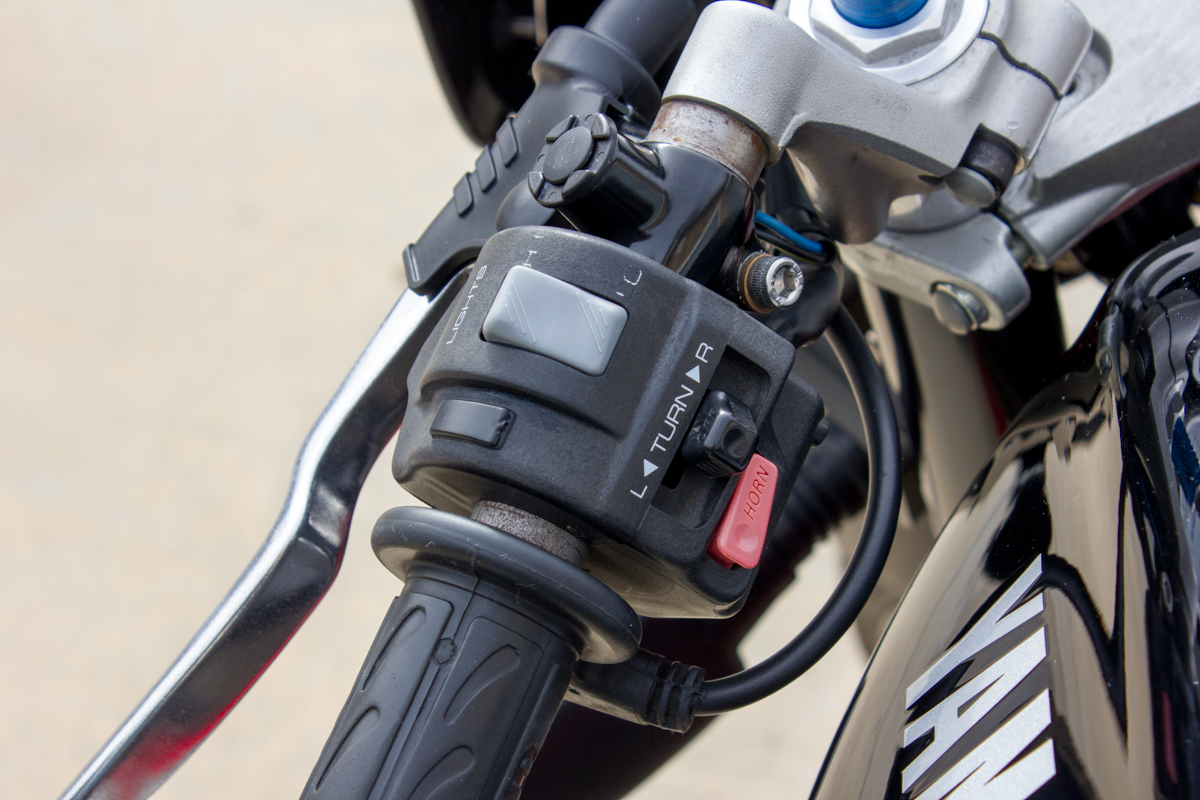
Waxing your controls can keep them looking good, longer. I recently waxed these after noticing they were looking badly faded. One day soon, I'll replace them and repainted the clipons.
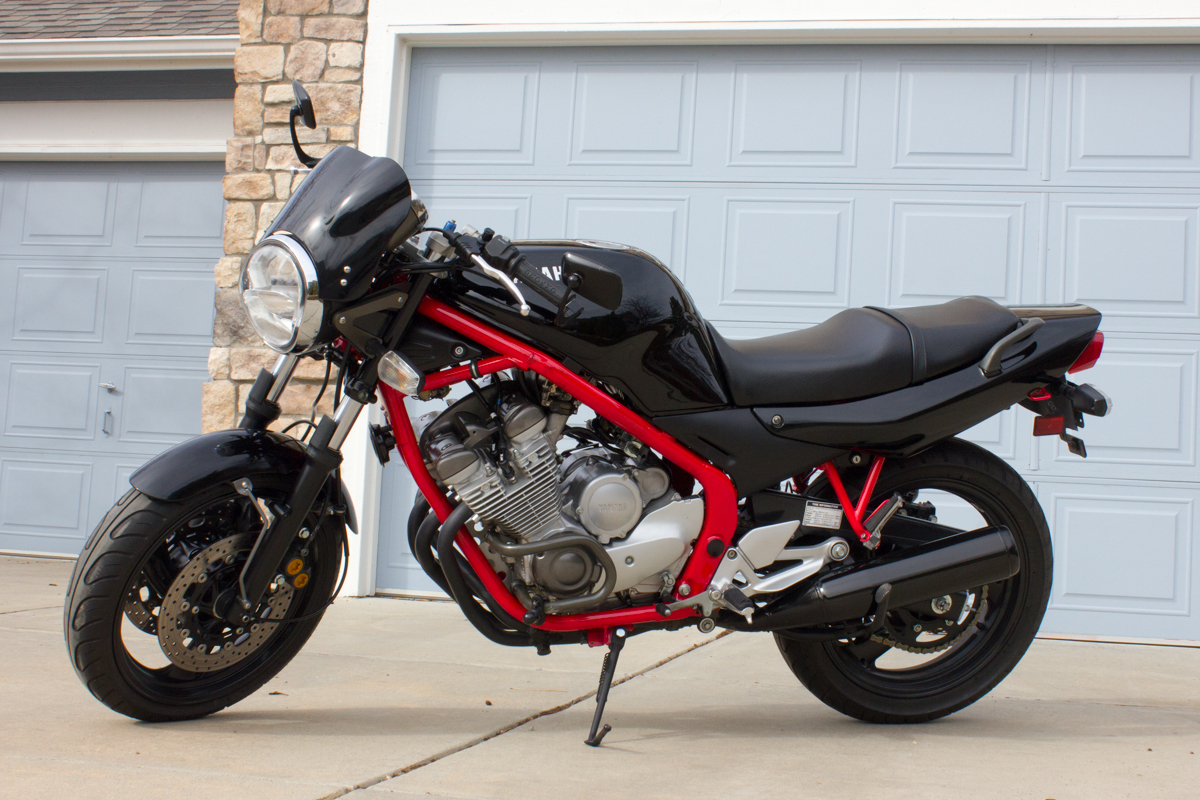
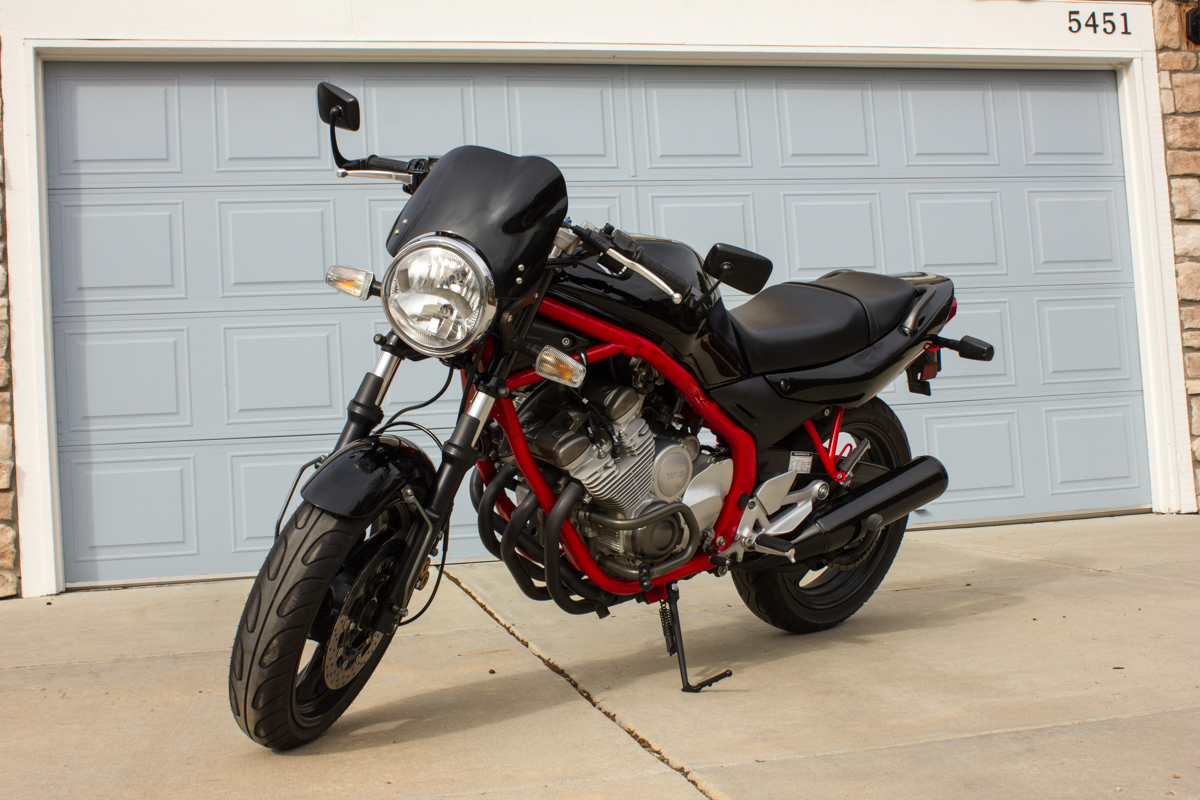
Here's the XJ after a Sunday morning detailing which included a quick wash, quick wax and plastic cleaning. After a review of its condition, I'll be repainting the clip-ons, replacing the handle-bar switches and repainting the engine guards. Another benefit of reviewing the condition of the bike is that it helps you check mechanical condition. I've noticed that the tires are getting to the point where they need to be replaced and also found a missing clip on the rear peg which will get replaced shortly.
As you all are most certainly aware, I'm a wee-bit picky when it comes to the appearance of my XJ. I do my best to keep it looking clean and scratch free. I routinely get compliments on my bike which, seeing as it's a lowly Seca II, is quite nice to hear. The general idea, for me, is to maintain the bike in good condition. One of the things I do routinely is wash, wax and detail it; just like I would my car. Here's the general approach:
Wash:
- Rinse it down with the garden hose. This removes all loose gunk and dirt.
- Mix up a bucket of hot-hot water with a liberal amount of car wash detergent. NO DISH SOAP!
- Using a brand-new or VERY clean microfibre cloth, drizzle the painted surfaces with soapy water. This will allow them to pre-soak as you wash and will also help prevent scratching.
- Using the same microfibre cloth, wash the painted parts first. I start with the tank, then wash the fairing, then the tail/seal and finally the fender and belly pan. Work your way from top to bottom.
- Rinse off the painted surfaces with plenty of water.
- Wash the gauges, handlebar and switches, headlight and fork legs.
- Finish by washing the pipes, engine, frame and then wheelset.
- After the bike has been thoroughly washed, rinse it again and ensure the engine and other components are clean. If the engine remains grimey, use a safe degreaser and brush to get them clean. A clean engine is a happy engine (that is, it's easy to see whats leaking, etc, on a clean engine) and one that runs cooler.
- Rinse the entire bike down, one more time, and then dry it using a fresh (new) microfibre. Start with the painted surfaces and finish with the engine; same as the wash sequence above
I use a high-quality wax to wax the bike. The same wax I used on the car. For me, that's Meguiller's Ultimate. It's a good wax and does a great job at protecting the paint from bug damage. It is best to wax your bike in a garage or other indoor location so that it does not get scratched by blowing dirt, etc. If you don't have a garage, a parking garage will do nicely, too. I typically ride to a local mall and use the upper floors where nobody routinely treads.
- Before waxing, begin by misting the paint with Meguiller's Quick Detailer and wiping it clean with the fresh microfibre cloth. This will ensure that there is no dust or other contaminants on the paint that might scratch it.
- Apply a coat of wax to each painted surface. I usually wax the tank, tail, fairing, front fender, frame, engine side cases and mufflers.
- Allow the wax to dry for a few moments and then buff it off with a fresh microfibre cloth. If you drop the microfibre cloth on the ground or sit it somewhere (like on the seat), replace it with a fresh one. Microfibre cloths can pick up dirt easily and this will ultimately scratch your paint.
"The Devil is in the Detail" applies here. After washing and waxing the bike, the next step is to clean out all of the little nooks and crannies that get dirty. Use a wet microfibre cloth to wipe down the instruments, controls, signals, engine, swingarm, rear shock, etc. You want to remove as much dirt and grime from these areas as you can. They should look and feel clean. This part sucks. You'll scratch your hands. Your cut your fingers. You'll run out of patience. But trust me, it's worth it.
Some things I've learned over the years, regarding detailing:
- Use a paintbrush to clean out hard-to-reach items like the engine fins and controls.
- Apply wax to your headlight, instrument cluster glass, and matte-black plastic items.
- Wax and buff your frame. Especially if you have a naked-converted XJ.
- Silicone works great for making black plastic look new. This includes cables, wiring, controls and signal stocks. DO NOT use silicone on your seat, tires, grips or footpegs.
- Wipe down the bike with Meguiller's Quick Detailer after rides. This will keep it looking good, longer, takes only a few minutes, and will lengthen the time between genuine washes.
The last thing I do, after spending half a Saturday detailing the bike, is to stand back, look at it, and pick out the flaws. Its not a fun exercise, but an important one. I notice things like scratches, wear, dated-items, etc. Once done, I do my best to remedy the checklist.
- Repaint items which are heavily scratched, worn, faded or look bad. Even if they are items you only recently painted.
- Replace items which are damaged, even if they seem superficial. This includes badly faded controls, torn grips, torn seat cover, cracked lense covers, etc.
- Replace stickers which look dated or faded. Even the XJRider.com stickers will fade over time. If you have one that's worn, email me and I'll send you a fresh one.
Examples:
Waxing your controls can keep them looking good, longer. I recently waxed these after noticing they were looking badly faded. One day soon, I'll replace them and repainted the clipons.
Here's the XJ after a Sunday morning detailing which included a quick wash, quick wax and plastic cleaning. After a review of its condition, I'll be repainting the clip-ons, replacing the handle-bar switches and repainting the engine guards. Another benefit of reviewing the condition of the bike is that it helps you check mechanical condition. I've noticed that the tires are getting to the point where they need to be replaced and also found a missing clip on the rear peg which will get replaced shortly.