[center]
 [/center]
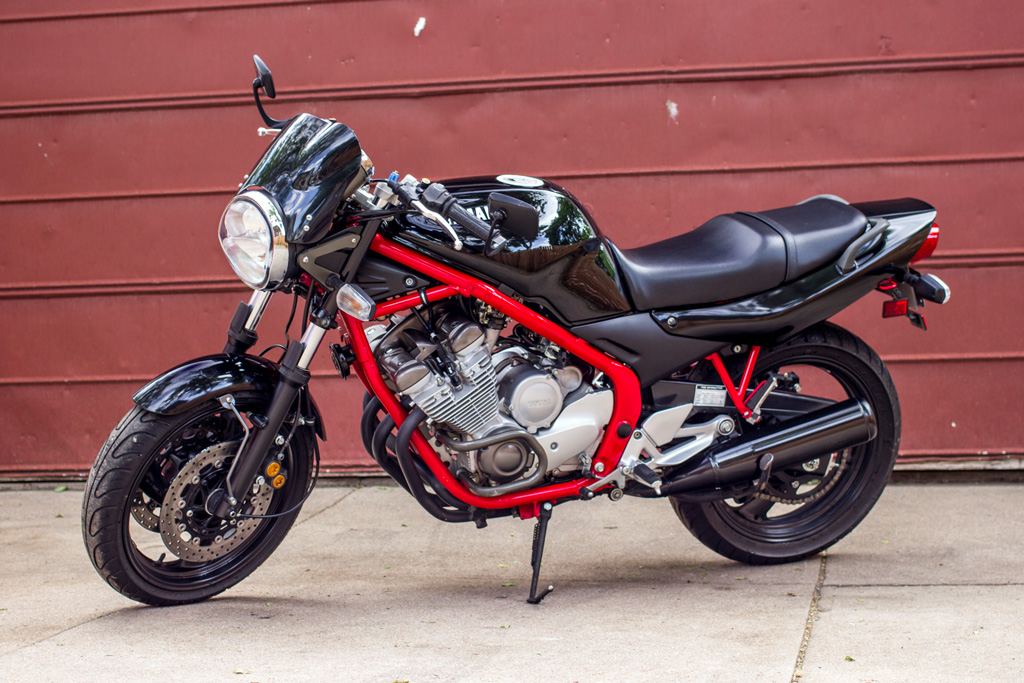
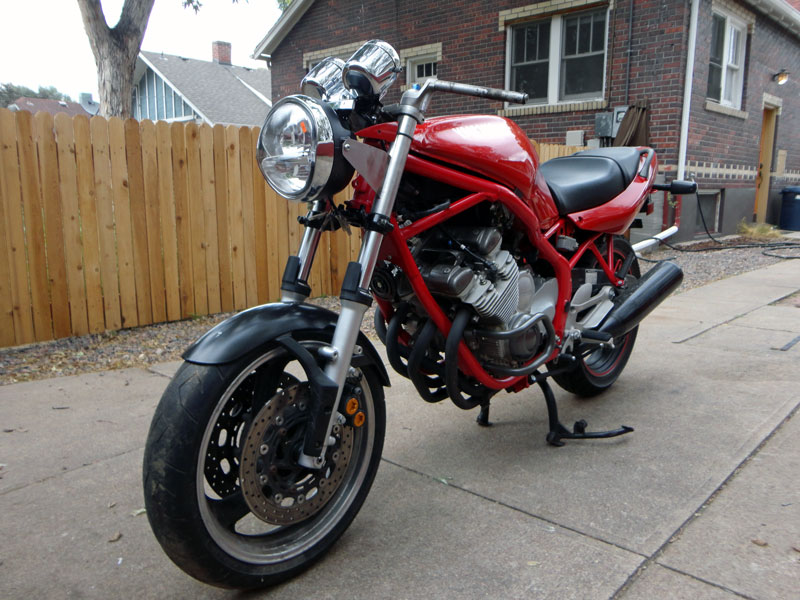
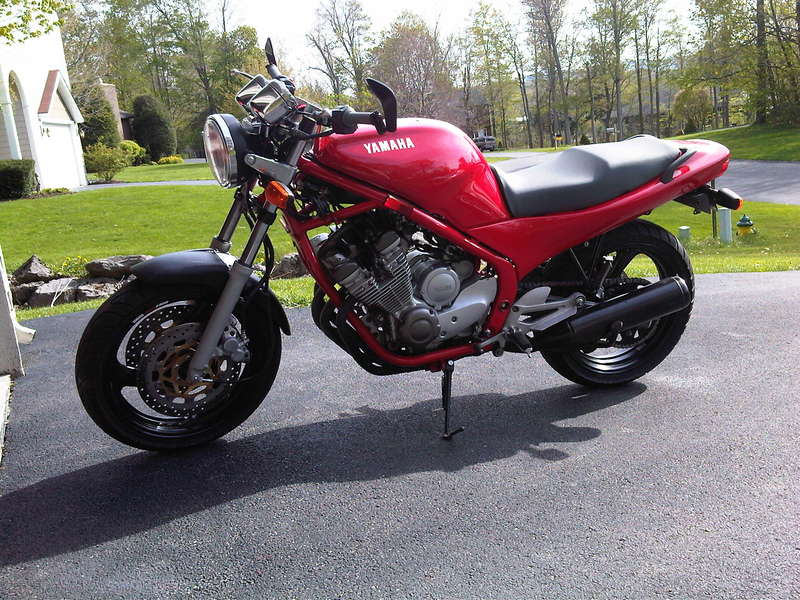
We often get asked how to go about converting a Seca II into a naked style bike. While there are hundreds of different approaches to this concept, they all share commonalities. This is how to convert your XJ600 to a naked-style motorcycle. Since we did not get the XJ600N (Naked Version of the Seca II) here in the US, and since the Seca II is equipped with a fairing from the factory, there are some considerations that need to be accounted for when make it a naked bike.
What You'll Need:
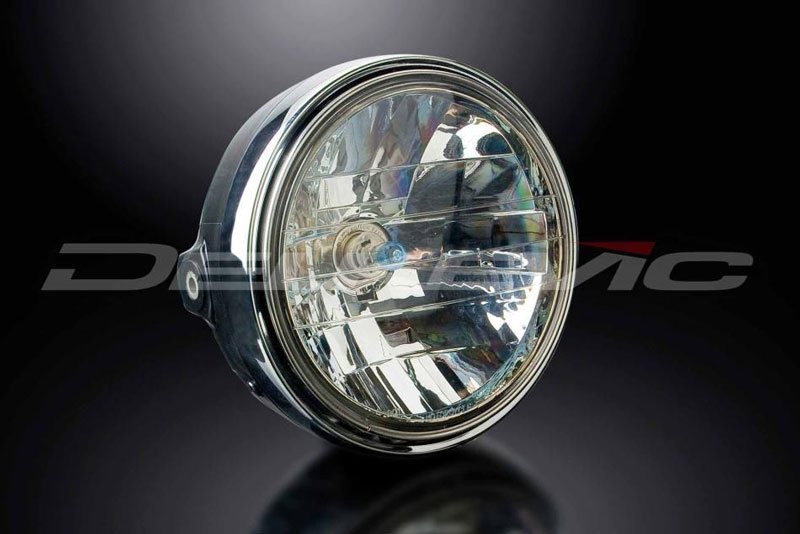
- 1. Headlamp: The best headlamp for the conversion is a 7", side mount headlamp with an H4 bulb. Delkevic and others make a knockoff of an S650N headlight that works quite well.
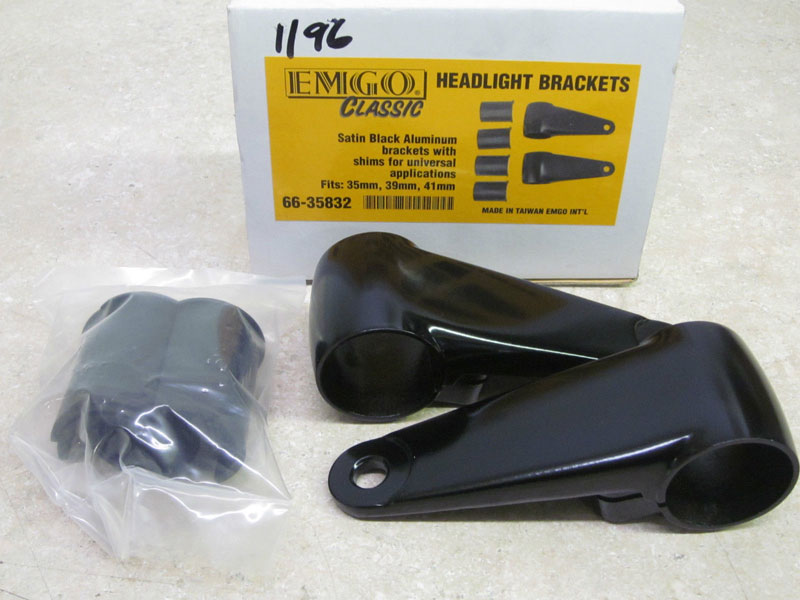
2. Fork mounted headlamp brackets: You will need brackets which will mount on a 38mm fork and that are at least 4" in length (5" or greater is recommended). EMGO makes an aluminum set that looks good and is relatively inexpensive. EMGO p/n 66-35832.
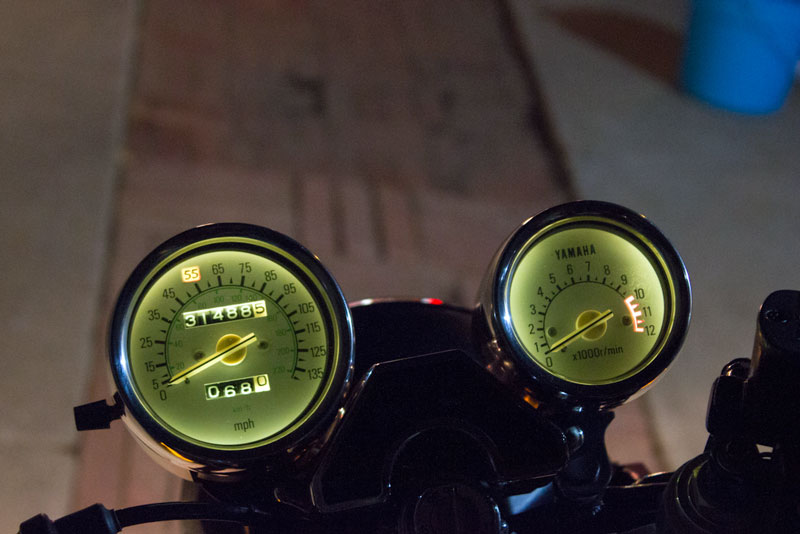
3. Speedometer, Tachometer & Gauges: Aftermarket speedometers designed for dirt bikes & cruisers provide the easiest approach (TrailTech Vapor or similar). For a more stock look, common gauges that work include Yamaha FZ600 (not FZR600), Yamaha Radian and Yamaha FZX (Fazer). Yamaha gauges from the '90's, with an electronic tach, 4-cylinder engine and cable-driven speedometer are very likely compatible.
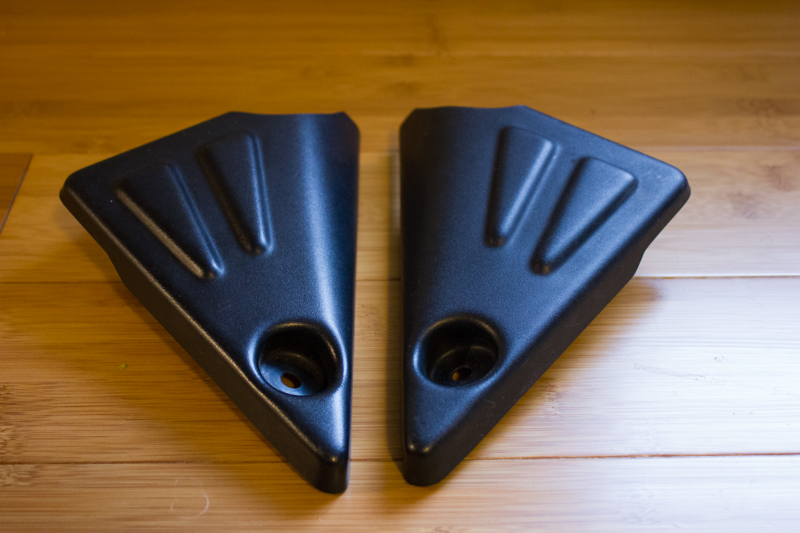
4. Frame covers: The stock frame covers (coil covers) from an XJ600N. These are available on EBay UK or, better yet, PM one of our members across the pond and ask them to post you a set.
How to do it:
1. Prepare for the conversion (items with an * will not be reused):
- Remove the windscreen *
Remove the front fairing *
Remove the speedometer assembly *
Remove the headlamp *
Remove the front turn signals
Remove the fairing support bracket *
- Remove the handlebar mounts and lift the handlebars out of the way (you do not need to disconnect the cables or master cylinder)
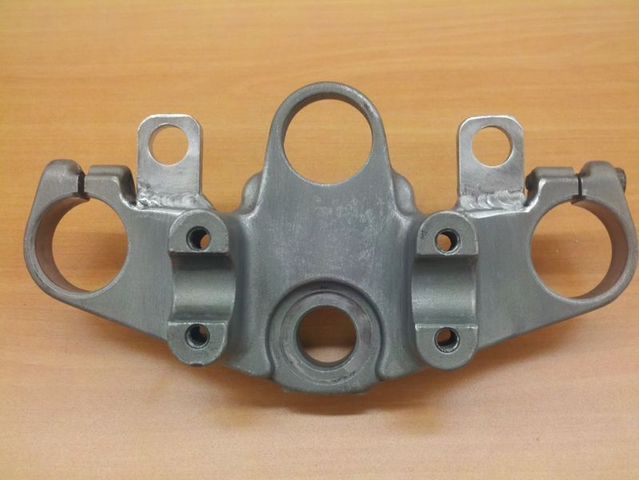
Loosen the bolts clamping the upper triple to the forks
Remove the large nut securing the upper triple to the steering tube.
Wiggle the upper tripe loose and slide upward.
Slide new headlamp brackets over the fork tubes and tighten
Install upper triple and torque to spec
Install handlebar mounts and torque to spec
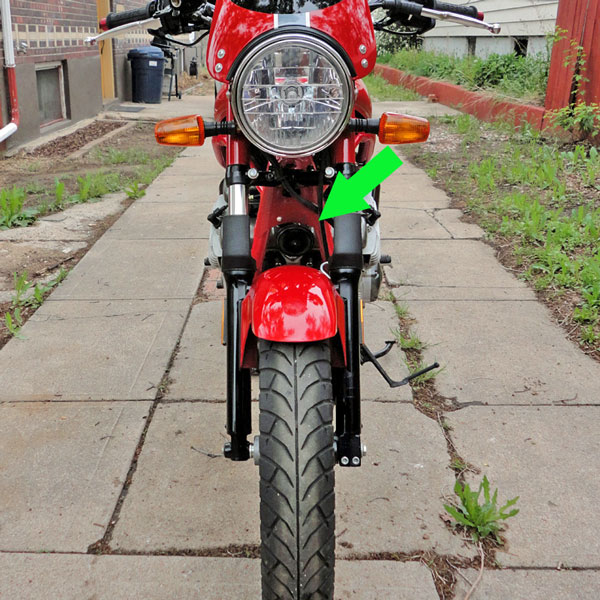
- Adjust the headlamp brackets so that the headlamp is at the desired angle and clears the ignition switch. Typically, you want the center of the headlamp to be inline with the top of the tank, aesthetically.
Using M8x1.0x30mm stainless steel bolts and corresponding nylock nuts, secure the new headlamp to the headlamp brackets.
Verify that the headlamp can be adjusted up and down; if clearance is needed lower or raise the headlamp brackets as necessary.
- You will need to fabricate brackets which allow you to bolt the gauges to the upper triple, headlamp brackets or fork tubes. One clever way to mount gauges is to use a pair of 38mm steering-damper brackets and bolt the gauges to them.

An alternative is to have a pair of aluminum tabs welded to your stock upper triple and then mount gauges to them.
- Use the original Seca II from wiring harness and adapt it to your needs. I have created a wiring diagram for wiring the Radian gauges to the original Seca II harness; a link is provided below. This same diagram may be adapted to FZ600 or FZX gauges.

Verify that the headlamp functions appropriately on both high & low beam, that all indicator lights work and that the tachometer matches engine revs. Route wiring so that it is hidden beneath the fuel tank and inside the headlamp bucket.

- Find a location and mount the signals. There are several options including drilling holes in the headlamp brackets, making separate brackets for the signals, running them through the sides of the headlights or running without.
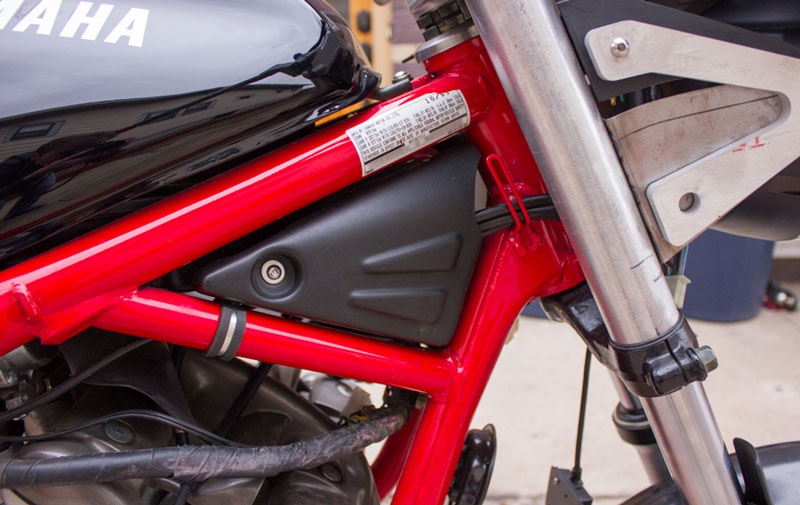
- Using an angle grinder, cutoff wheel or Dremel, carefully grind the stock fairing mounts from the side of the frames. This will improve the appearance of your conversion but will also make it irreversible. Once the mounts have been removed, carefully apply touch-up paint to the area so that it matches the original frame paint.
8. Relocate the horn:
- There is enough wire in the stock Seca II harness to relocate the horn to below the steering tube. Use an M6 x 1.0 x 20mm bolt and nut and mount the horn through one of the stock holes in the frame, below the headset.
- Using an angle grinder, cutoff wheel or Dremel, carefully grind the stock horn mount from the right-hand side of the frame. This will improve the appearance of your conversion. Once the mount has been removed, carefully apply touch-up paint to the area so that it matches the original frame paint.
- The infills mount on a stock XJ600N using frame mounted brackets. You can fabricate these brackets and weld them to the frame or you can make a bracket that clamps to the frame rails. Secure the infill to either-option using an M6x1.0x25 button-head bolt and nut.