How to: Rebuild Seca II Front Brake Switch
Posted: Sat Aug 10, 2013 3:13 pm
How to: Rebuild Yamaha Seca II Front Brake Switch
I was working on my bike and I noticed that the brake switch was sliding back and forth with a lot of resistance; here's how to fix that problem. This should also remedy a non-working rear brake light if the switch is to blame.
What you'll need:
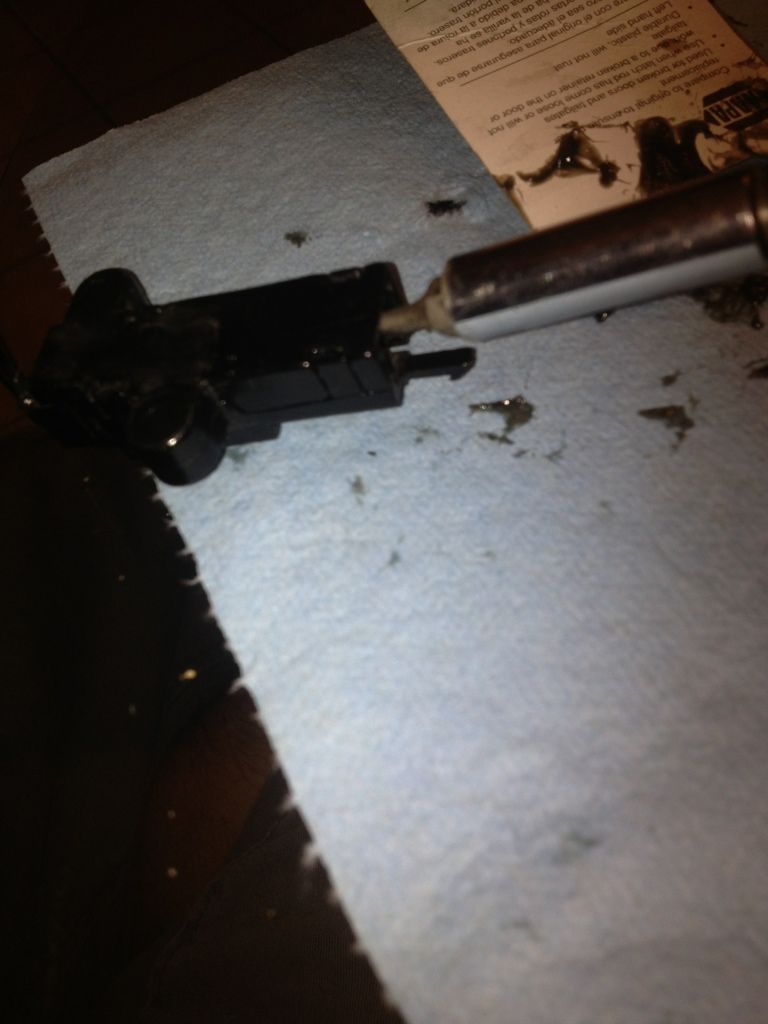
Once you have the switch off, use a flat-head screwdriver (or butter knife) to carefully pry it apart:
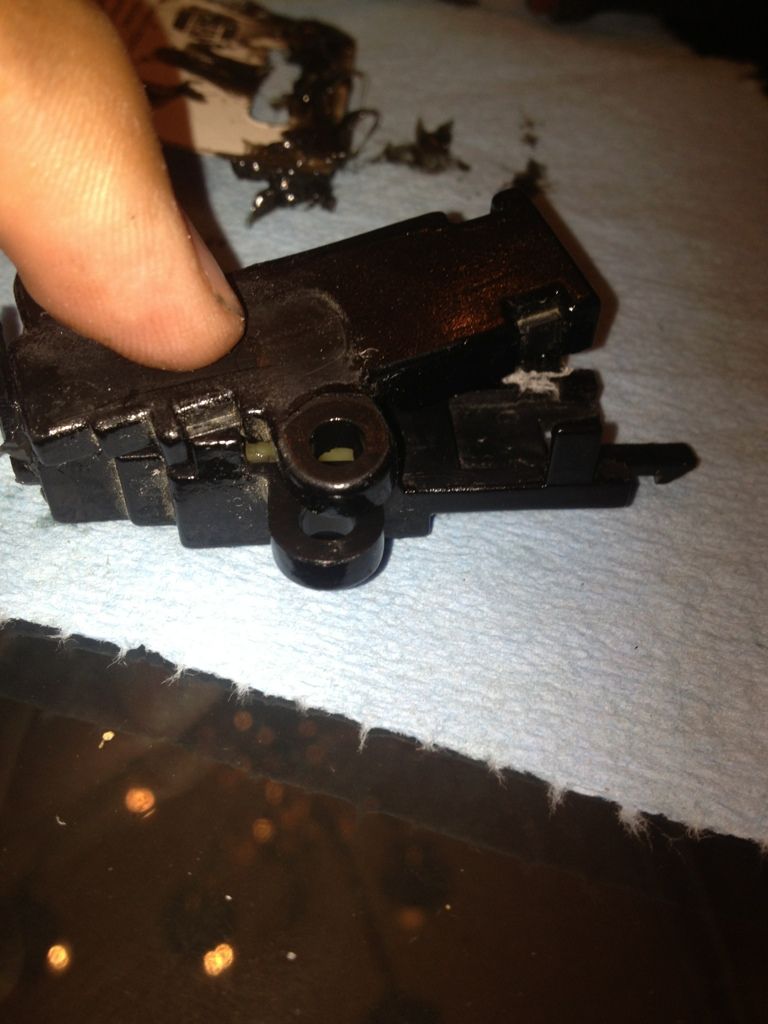
It should split into two pieces, like this:
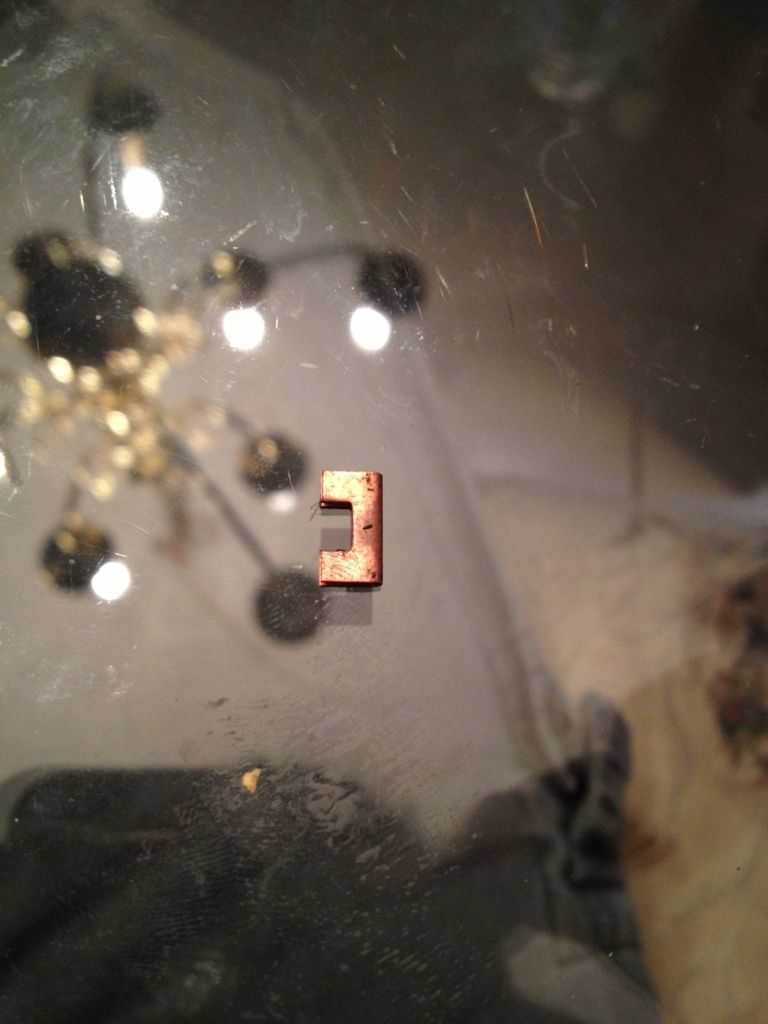
As it comes apart, be careful not to lose this piece:
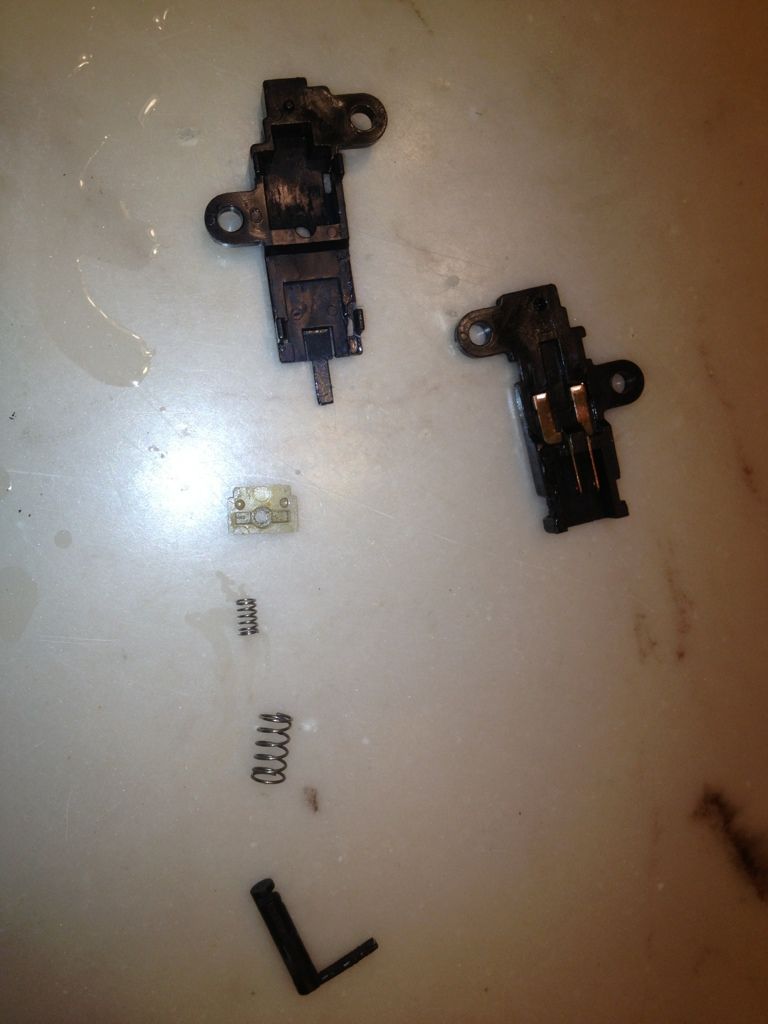
Take out all the little parts and be careful not to lose them!

Scrub the parts with a toothbrush and some dish soap:
During reassembly, grease the slider:
But don't go to crazy with the grease. Clean any extra grease off so its just on the pin and spring:
Clip the top switch back together and verify it operates smoothly.
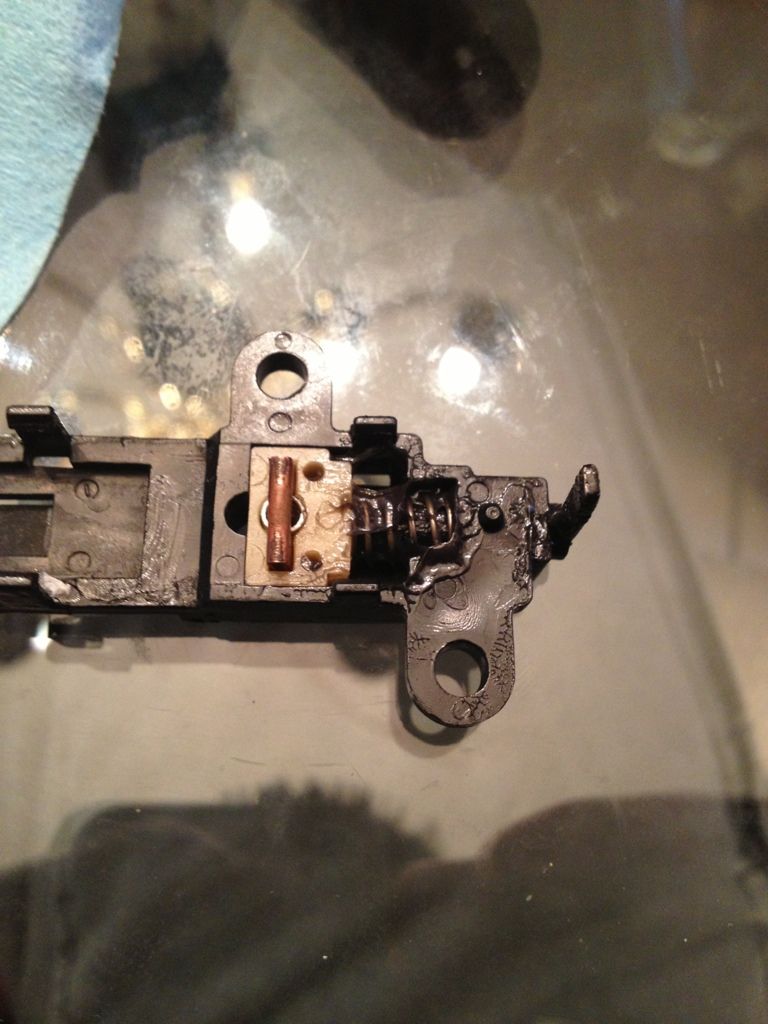
Note, the order of assembly for these parts is as follows: Black pin slides into the hole on the bottom of a cover, put the big spring over the pin once its in the cover, the white piece will compress the spring a little and lock onto the black pin, then drop it into the cover, put the little spring in the white square and the copper contact point over the spring.
I was working on my bike and I noticed that the brake switch was sliding back and forth with a lot of resistance; here's how to fix that problem. This should also remedy a non-working rear brake light if the switch is to blame.
What you'll need:
- Phillips/flat head screwdriver
- old brush(tooth brush)
- soap
- grease
- paper towels
Once you have the switch off, use a flat-head screwdriver (or butter knife) to carefully pry it apart:
It should split into two pieces, like this:
As it comes apart, be careful not to lose this piece:
Take out all the little parts and be careful not to lose them!
Scrub the parts with a toothbrush and some dish soap:
During reassembly, grease the slider:
But don't go to crazy with the grease. Clean any extra grease off so its just on the pin and spring:
Clip the top switch back together and verify it operates smoothly.
Note, the order of assembly for these parts is as follows: Black pin slides into the hole on the bottom of a cover, put the big spring over the pin once its in the cover, the white piece will compress the spring a little and lock onto the black pin, then drop it into the cover, put the little spring in the white square and the copper contact point over the spring.