How to Paint your Motorcycle with Spray (Rattle) Cans
Posted: Wed Feb 22, 2012 3:17 pm
How to Paint Body Panels, using Auto Parts Store paint and get Professional Results (or so I hope)
I'm in the process of painting my '97 and so why not have a real-time post on painting body panels?
To begin illustrating the process, take the repaired fender from my '97:
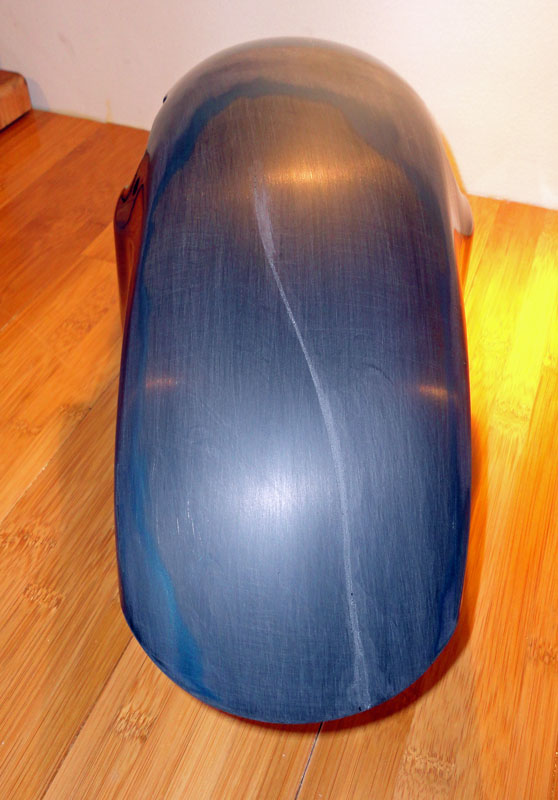
Most of the effort in painting a part (and having it turn out well) is in the prep work. This is where you want to spend your time and energy. I know, I know, you want instant gratification. Well, all things worth having are worth waiting for. So let's prep.
The basic steps to preping the part for the paint are as follows:
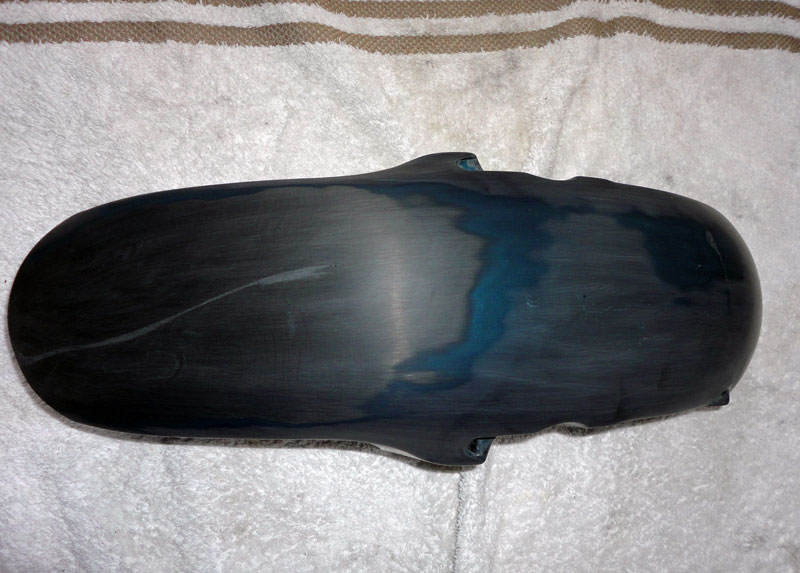
Once the part is clean, wet sand the areas to be painted, thoroughly, using 320 grit wet-or-dry. I like to add a bit of dish-soap to my sanding water to act as a cleaner and lubricant for the paper. Feather out any chips, old paint, etc, until the part feels smooth to the touch. Anything you can feel (chip, paint edge, etc), you WILL be able to see when the paintjob is done. When the part is smooth and you think it's done, dry it off and inspect it.
Here's my fender after the first round of sanding and washing. Notice the shiny spots around the fender-mount? This part isn't ready yet. It needs more sanding:
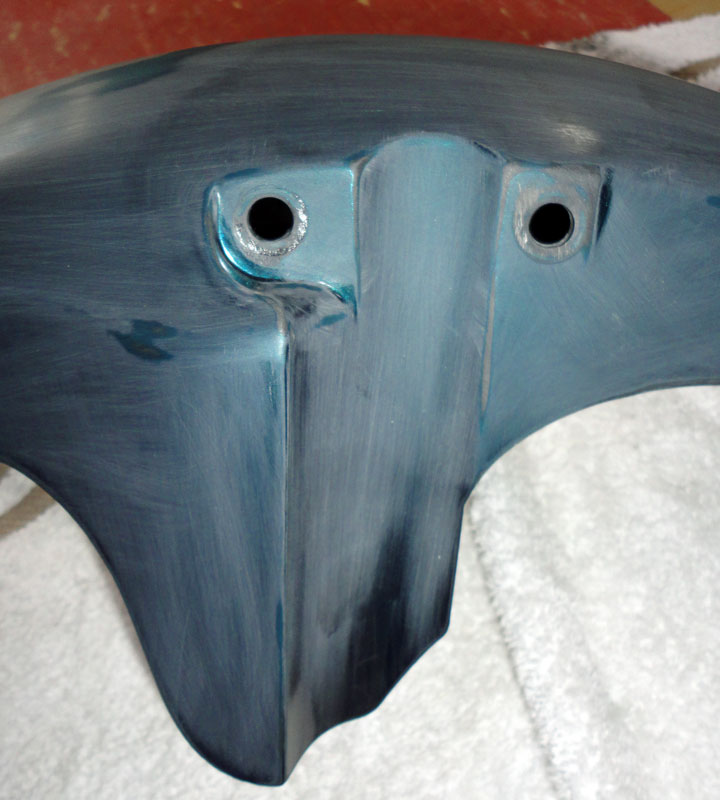
Using more 320 grit wet-or-dry sandpaper and a bit of dish soap, sand the areas you missed the first time and then dry the part and inspect it again. Here's mine after three sanding iterations. It's ready now for primer:
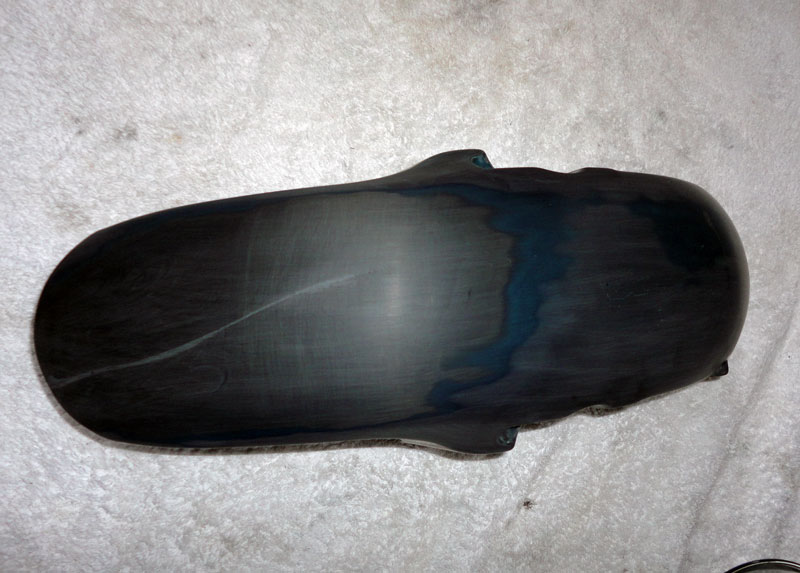
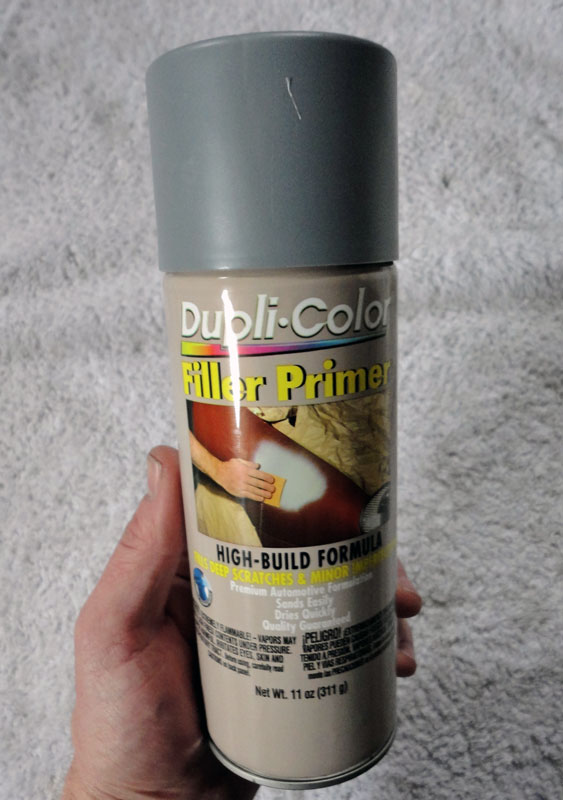
Since this part has been repaired, it has some small pinholes and such which need to be filled in. A filler primer will fill these in and prime the part in one step. I prefer to use Duplicolor's filler primer since I'm going to be using their base and clearcoats (and hey, if it's good enough for the fender of a Ford Taurus, it's good enough for me!):
Shake the can of primer thoroughly for at least a minute. Turn it upside down and shake it some more. It's been sitting on the shelf, sometimes as long as a year, and the solids have settled to the bottom of the can. Your goal, if you choose to accept it, is to get those solids mixed back in so you can then spray them on your part.
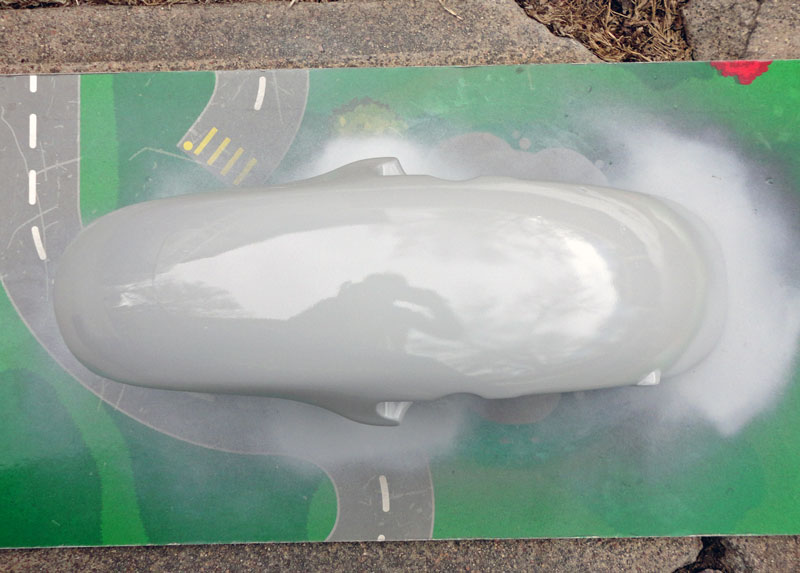
Take your part outside and place it on something that will protect it from the ground (and the ground from the primer). Apply a liberal coat of primer, making sure its thick enough to fill in any pinholes, etc. I prefer to spray a good thick coat upfront in lieu of many thin coats. This typically results in a smoother finish when done right (but often times results in runs ).
).
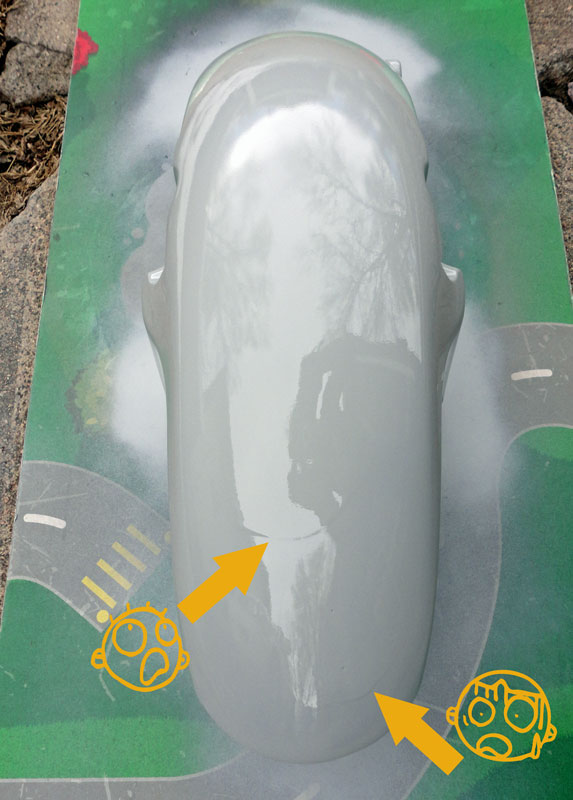
While trying to fill in pinholes, I overloaded the primer and it ran in two spots (see the sad yellow arrows below). There's nothing more I can do with this part now, so I will let it cure overnight and resume work on it after it's fully cured:
The next steps are to sand the primer smooth (and sand out the runs) and then apply a guide coat and begin smoothing the part. Stay tuned.
I'm in the process of painting my '97 and so why not have a real-time post on painting body panels?
To begin illustrating the process, take the repaired fender from my '97:
Most of the effort in painting a part (and having it turn out well) is in the prep work. This is where you want to spend your time and energy. I know, I know, you want instant gratification. Well, all things worth having are worth waiting for. So let's prep.
The basic steps to preping the part for the paint are as follows:
- 1. Clean the part
2. Prime the part
3. Apply a guide coat and sand the part
4. Repeat steps 2 & 3 until the part is flat
5. Seal the part
Once the part is clean, wet sand the areas to be painted, thoroughly, using 320 grit wet-or-dry. I like to add a bit of dish-soap to my sanding water to act as a cleaner and lubricant for the paper. Feather out any chips, old paint, etc, until the part feels smooth to the touch. Anything you can feel (chip, paint edge, etc), you WILL be able to see when the paintjob is done. When the part is smooth and you think it's done, dry it off and inspect it.
Here's my fender after the first round of sanding and washing. Notice the shiny spots around the fender-mount? This part isn't ready yet. It needs more sanding:
Using more 320 grit wet-or-dry sandpaper and a bit of dish soap, sand the areas you missed the first time and then dry the part and inspect it again. Here's mine after three sanding iterations. It's ready now for primer:
Since this part has been repaired, it has some small pinholes and such which need to be filled in. A filler primer will fill these in and prime the part in one step. I prefer to use Duplicolor's filler primer since I'm going to be using their base and clearcoats (and hey, if it's good enough for the fender of a Ford Taurus, it's good enough for me!):
Shake the can of primer thoroughly for at least a minute. Turn it upside down and shake it some more. It's been sitting on the shelf, sometimes as long as a year, and the solids have settled to the bottom of the can. Your goal, if you choose to accept it, is to get those solids mixed back in so you can then spray them on your part.
Take your part outside and place it on something that will protect it from the ground (and the ground from the primer). Apply a liberal coat of primer, making sure its thick enough to fill in any pinholes, etc. I prefer to spray a good thick coat upfront in lieu of many thin coats. This typically results in a smoother finish when done right (but often times results in runs
While trying to fill in pinholes, I overloaded the primer and it ran in two spots (see the sad yellow arrows below). There's nothing more I can do with this part now, so I will let it cure overnight and resume work on it after it's fully cured:
The next steps are to sand the primer smooth (and sand out the runs) and then apply a guide coat and begin smoothing the part. Stay tuned.