If you've purchased a later-model fuel cap and wish to re-key it to match your ignition key, fear-not;the lock cylinder from your Seca II fuel cap will drop right in to the later style cap. Here's how:
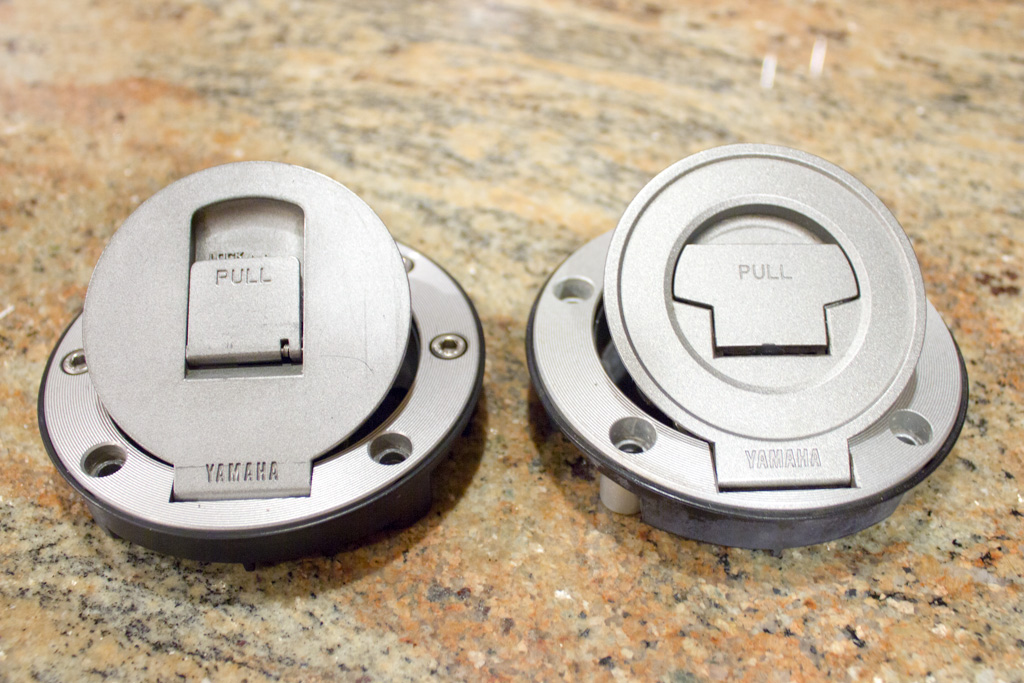
Here's a side-by-side comparison. The Seca II fuel cap is on the left; the later-style fuel cap is on the right.
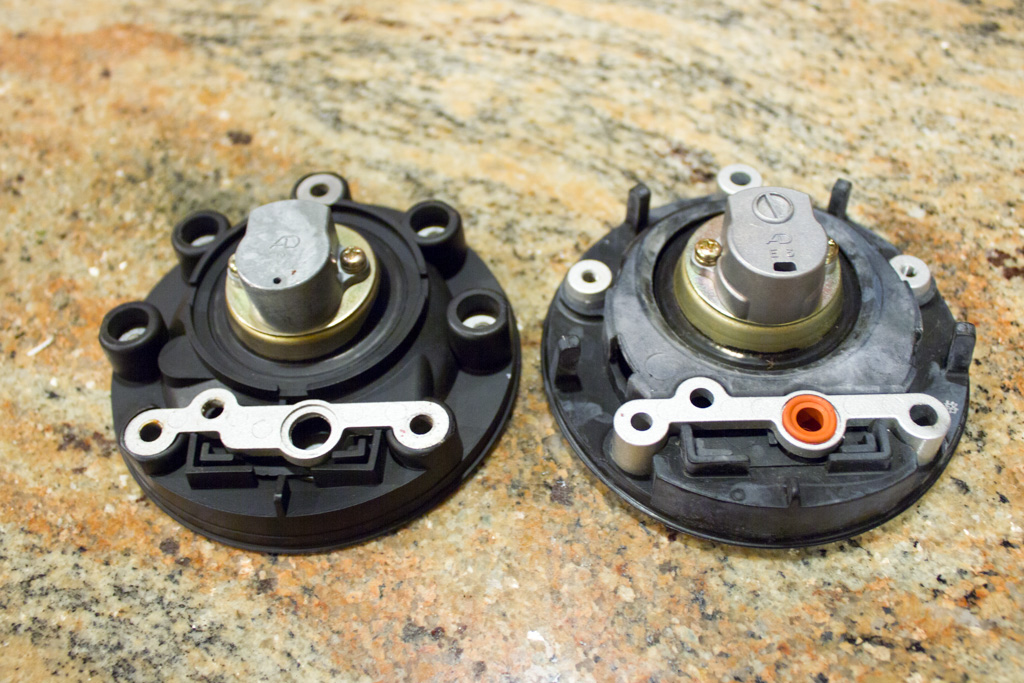
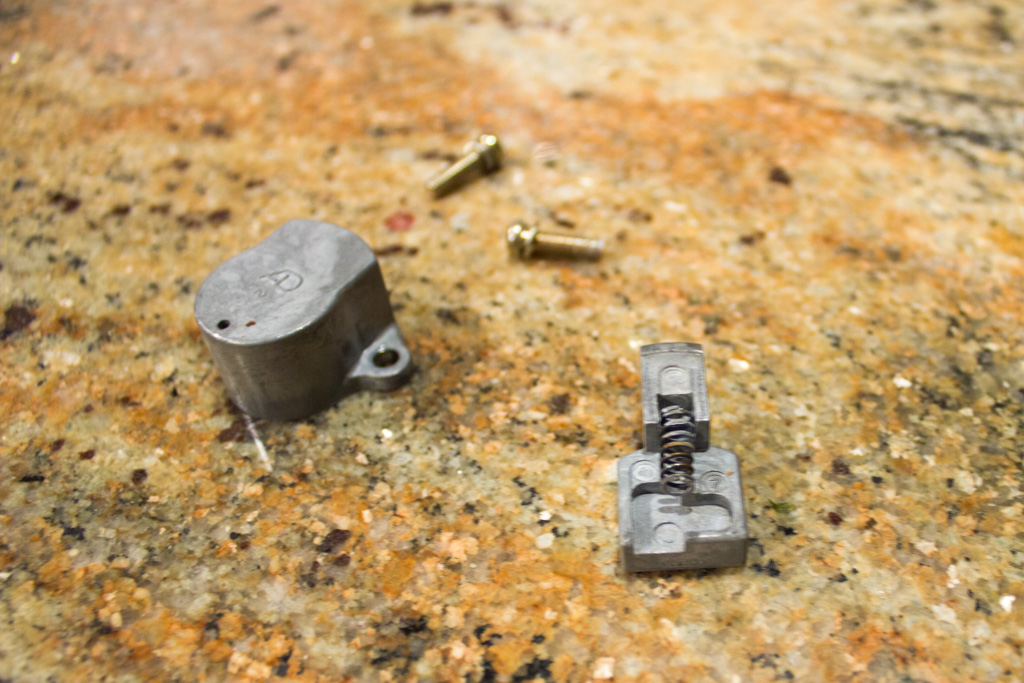
To access the lock cylinder, begin by removing the two screws on the underside of the cap. This will allow you to remove the latch assembly. Note that there is a small spring and mechanism which prevents the key from being removed when the fuel cap is open; keep an eye out for this spring when removing the latch mechanism.
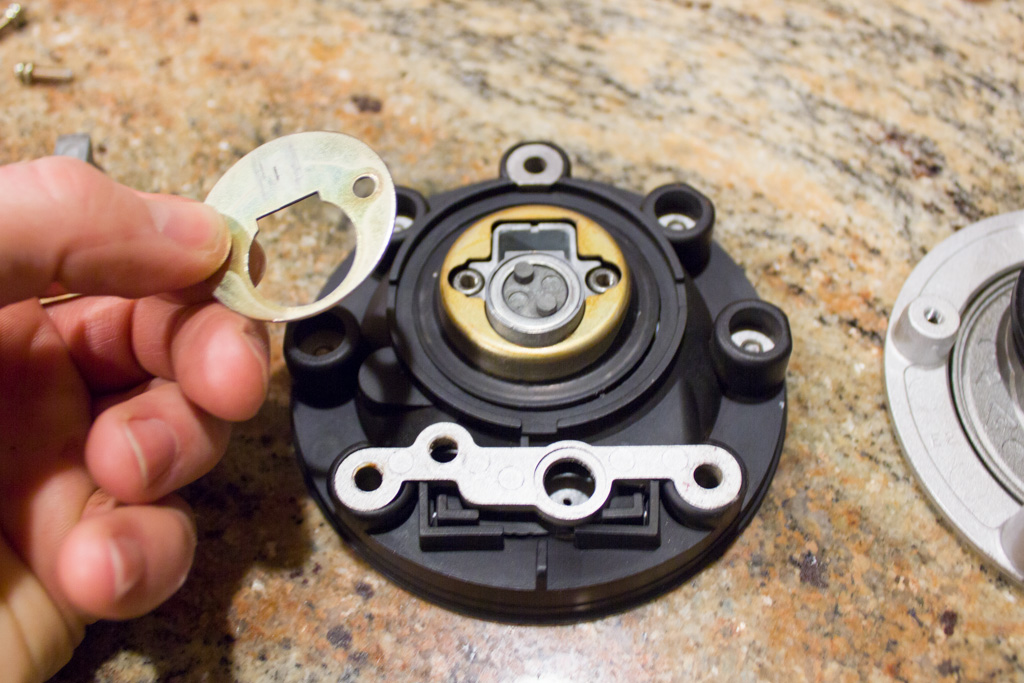
Lift off the retaining plate:
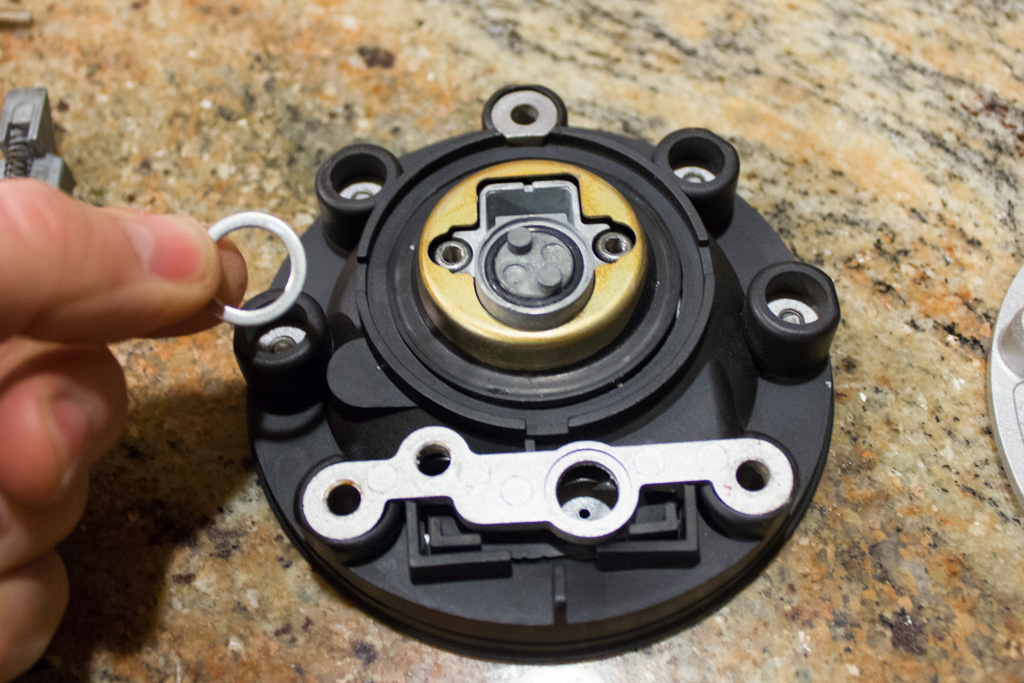
The sealing washer:
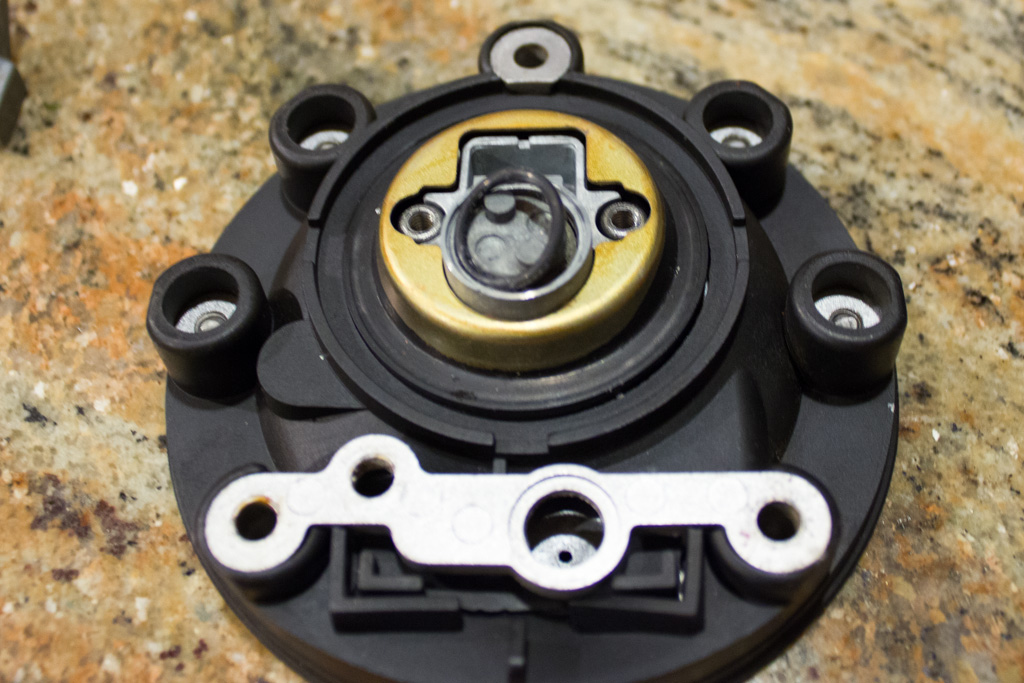
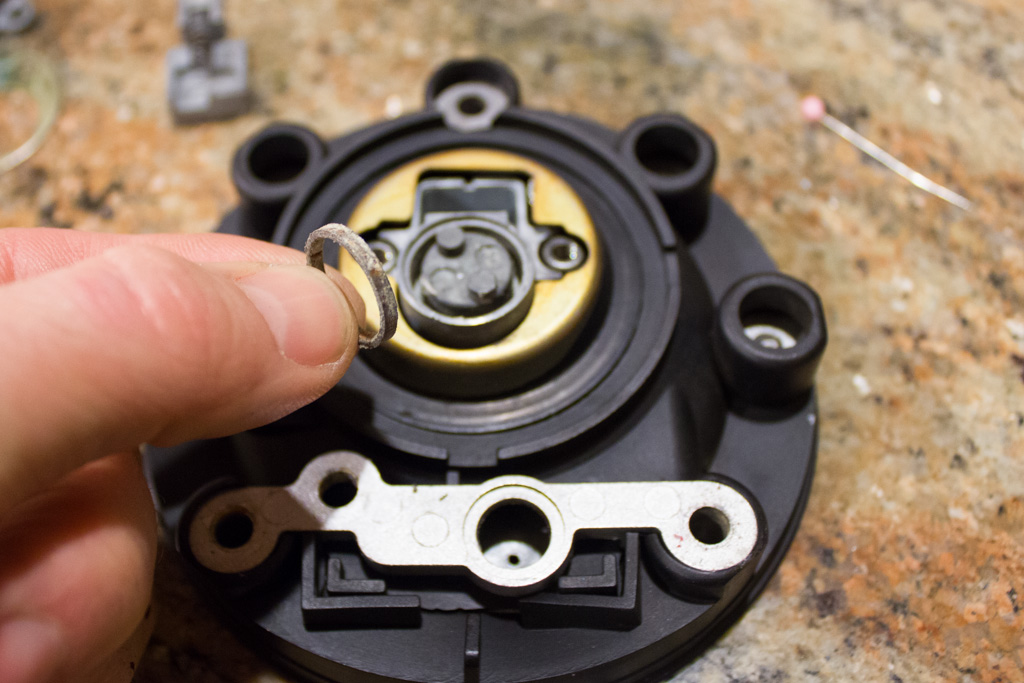
And then use a small pick to remove the o-ring:
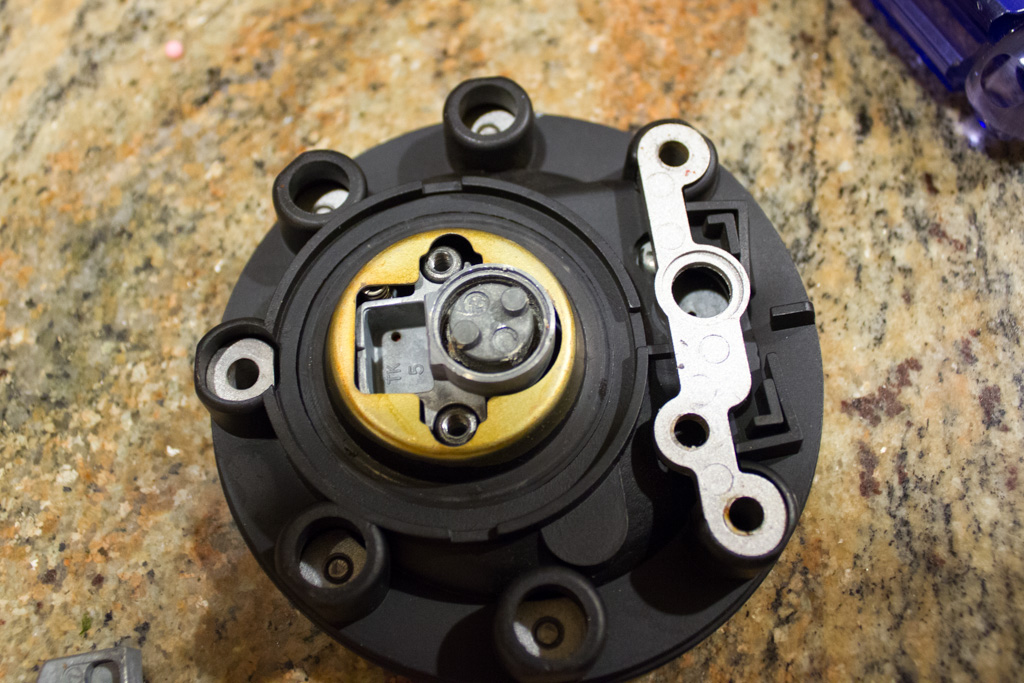
Using that same pick, remove the bushing:
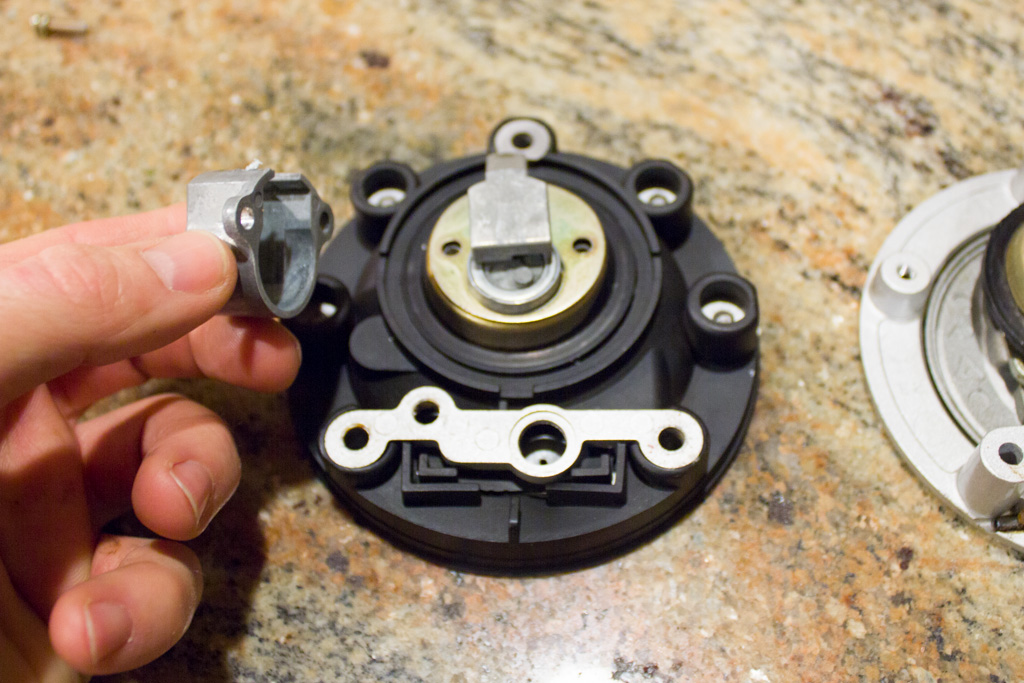
You now have access to the lock cylinder. It is held in place by a spring-loaded clip.
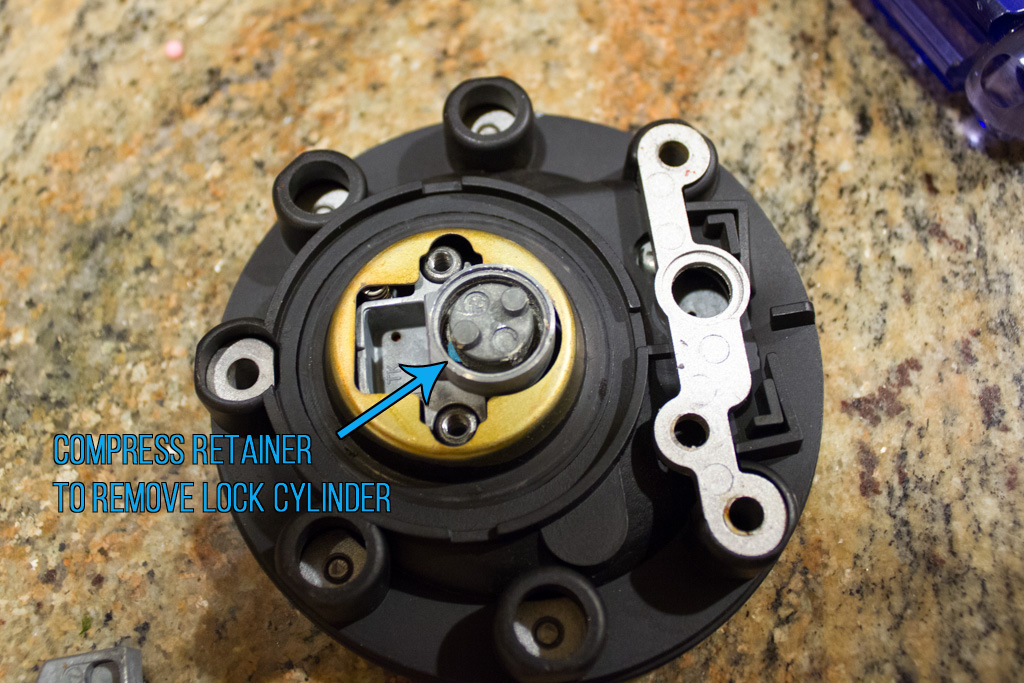
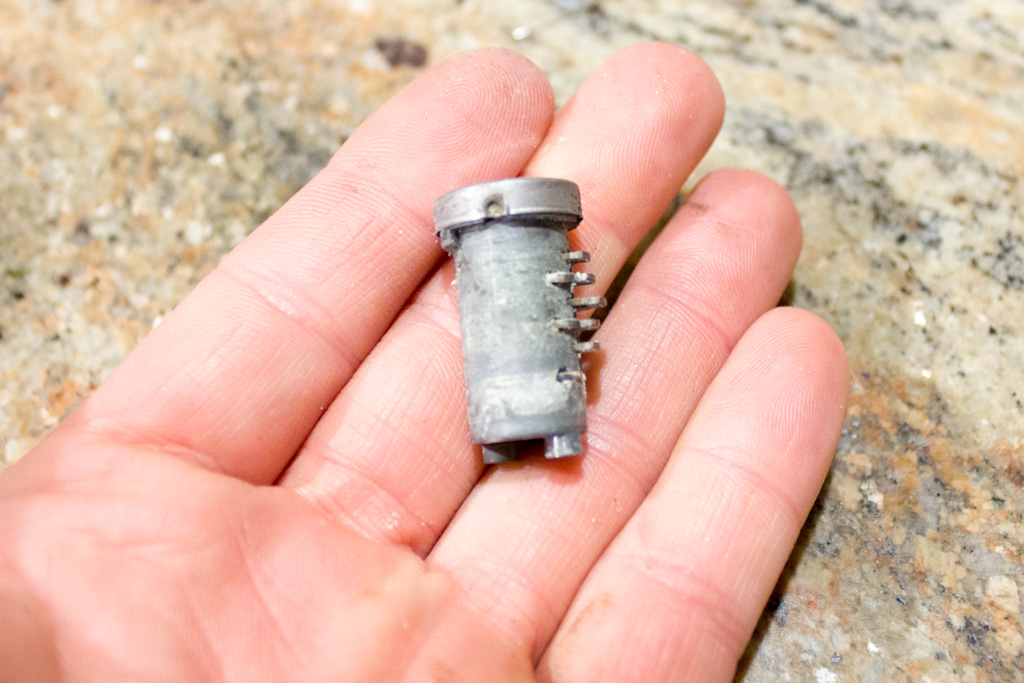
Compress the spring loaded clip and push the lock cylinder free. Here's mine, gucked up from 23 years of dirt, moisture and fuel fumes:
Cleaning/Reconditioning the lock cylinder:
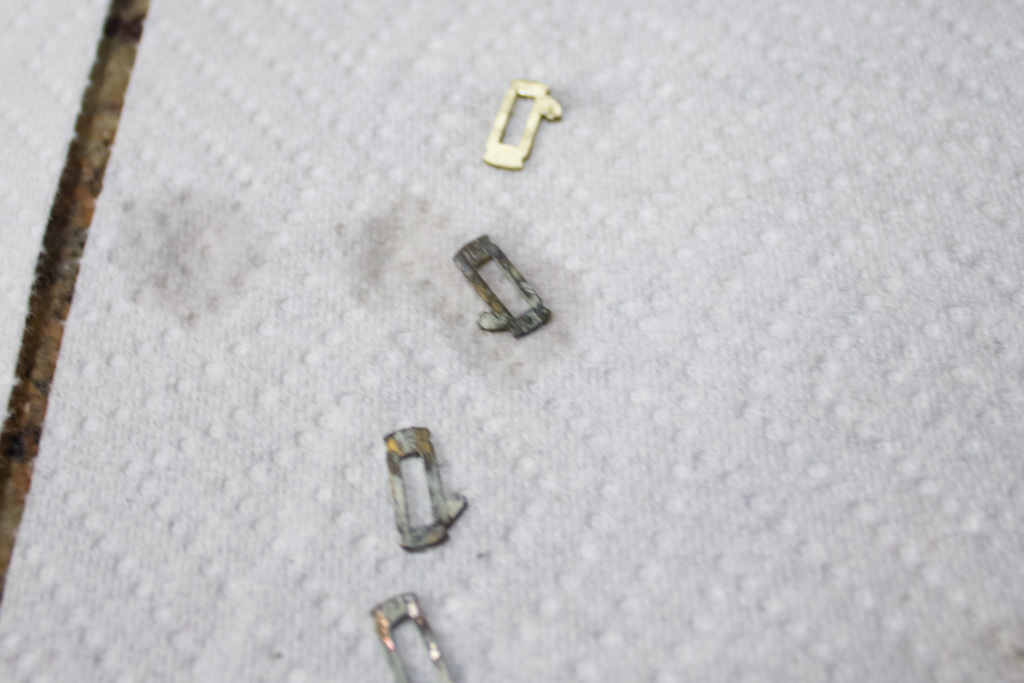
The key plates (or so I'm calling them) are just held into place with friction. Using a pair of needle-nose pliers, pull each one free and sit it on a piece of paper towel. Keep them in order to ensure they go back into the same spot. Also remove the small springs and lay next to each plate.
Using a small wire brush, scrub up each plate and ensure it's clean and free from tarnish and other corrosion. Here's my first plate after cleaning with a small brush. Repeat for all of the key plates:
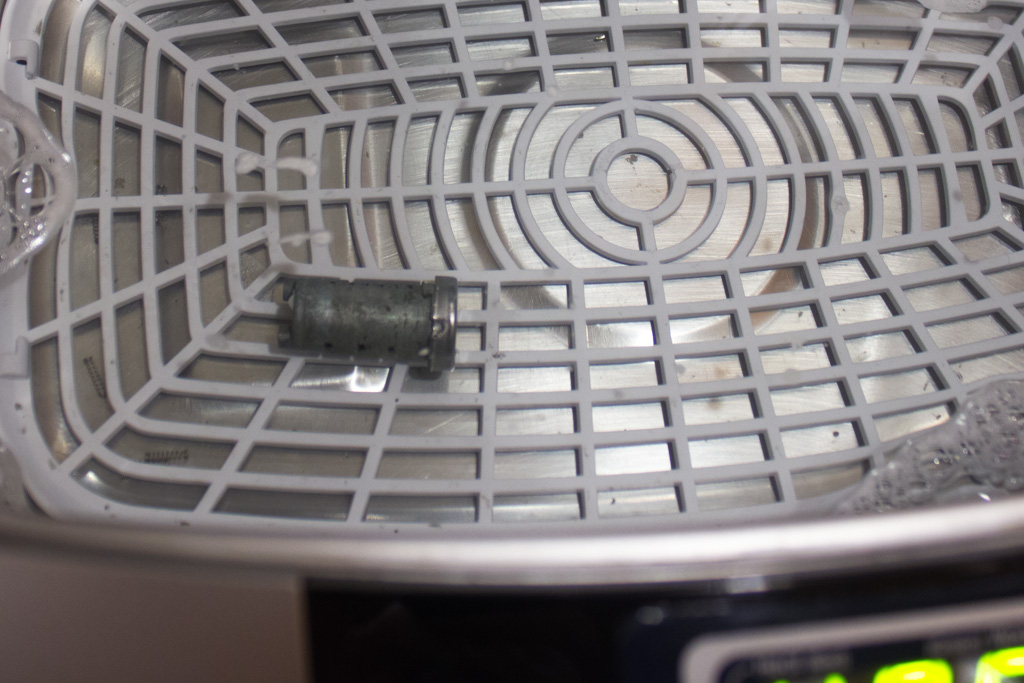
Place the empty lock cylinder in your ultrasonic cleaner and give it a thorough cleaning:
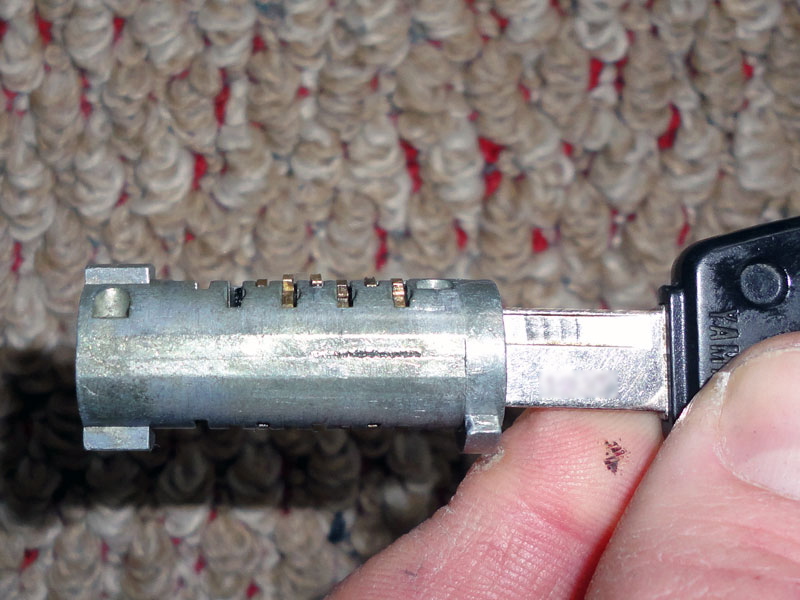
Once the cylinder and key plates are clean, coat them in a liberal coating of silicone grease and reassemble. Insert the key and check the height of the plates in the cylinder. They should be flush as shown below.
In the words of many a repair manual: "Assembly is the reverse of disassembly".