In preparation for my first multi-day trip on the BMW F650 (Funduro), I began working on the 12k mile maintenance. The odometer reads just a hair over 12,600 miles. I'm using BMW parts sourced through Bike Bandit.
This includes:
1. Valve adjustment
2. New spark plugs, caps and wires
3. Clean air filter
4. Coolant flush, new coolant hoses, new thermostat, new radiator cap and new water pump
5. Oil and filter change (synthetic conversion time)
6. Fork seals and fork oil
7. Chain clean, lube and adjust
8. Brake fluid flush (front and rear)
9. New clutch and shifter-shaft seals
10.New Oil pressure sensor (to fix oil leak)
Parts List:
1. Oil: 10W40 (for fall/winter months), Valvoline Synthetic motorcycle oil
2. Coolant: Prestone Extended Life
3. Spark plugs and caps: NGK
4. Hi-flow oil filter
5. Fork oil: Silkolene 7.5wt fork oil
6. BMW parts including coolant hoses, radiator cap, waterpump kit, left-side engine cover gasket, clutch seal, shifter-shaft seal, oil pressure sensor and fork seals.
7. Ideal stainless hose clamps, PN 5310. Fits 5/8" hose. 19-27mm clamp range (3/4"-1 1/16"), 6 required
I made pretty good progress considering I didn't get home from work until 9.
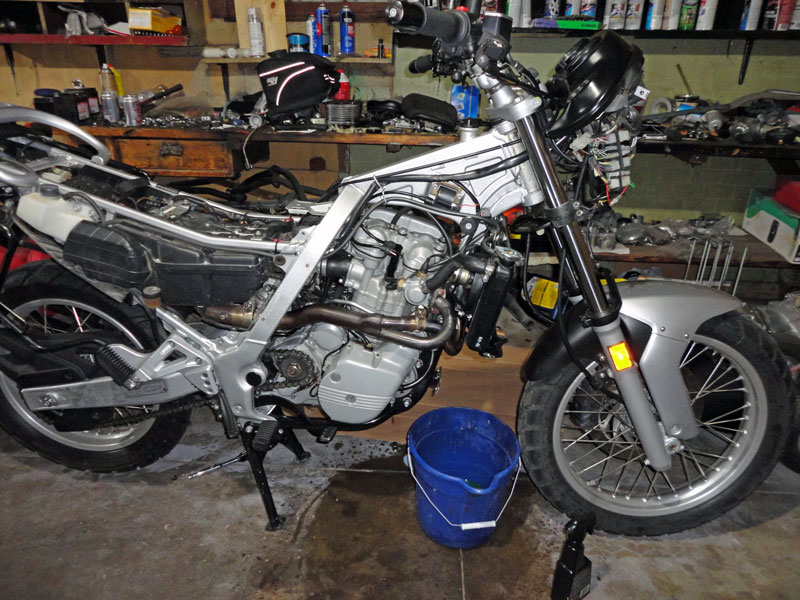
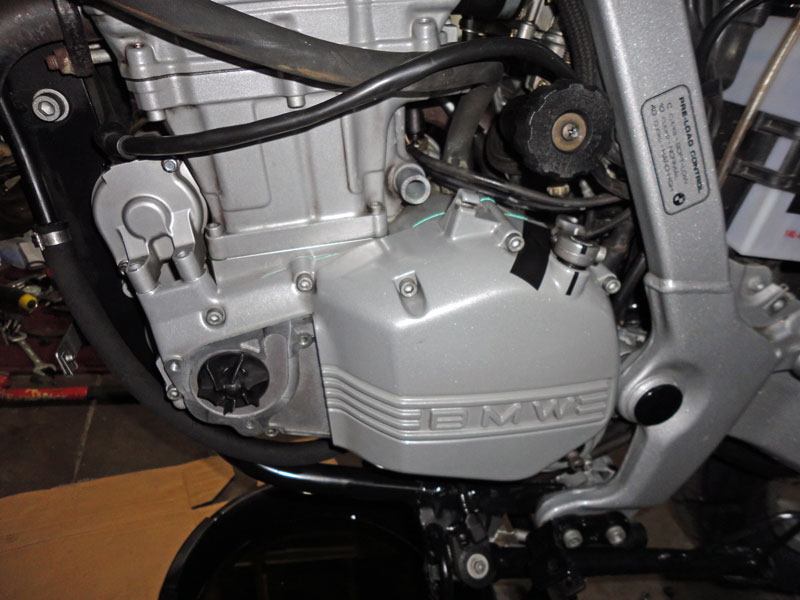
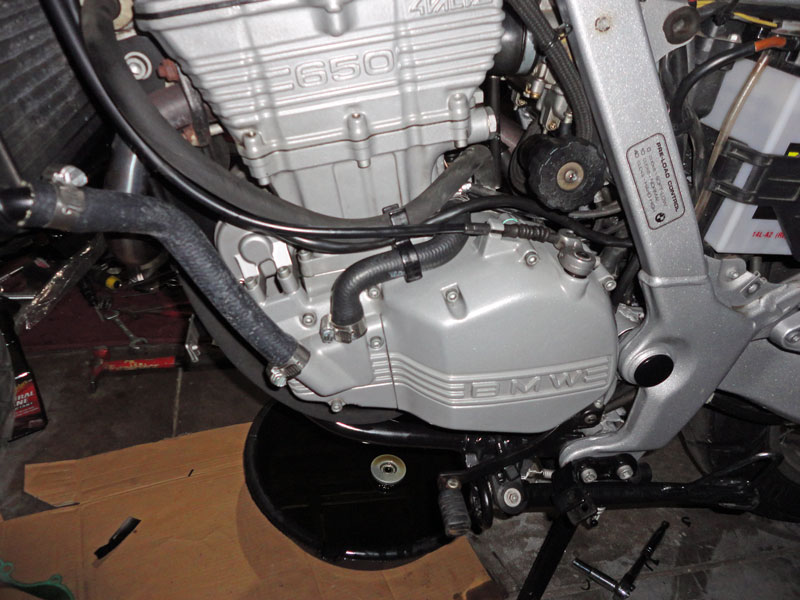
Bike with all the plastics and fuel tank removed for access:
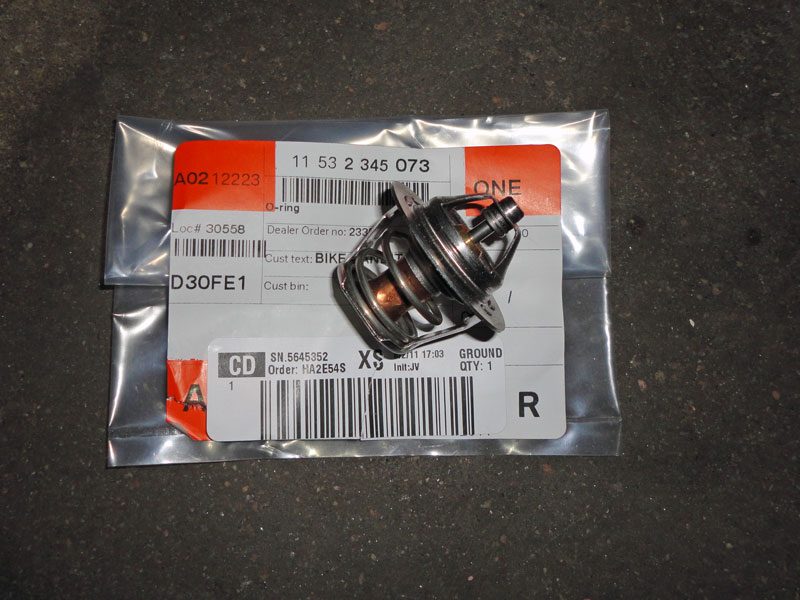
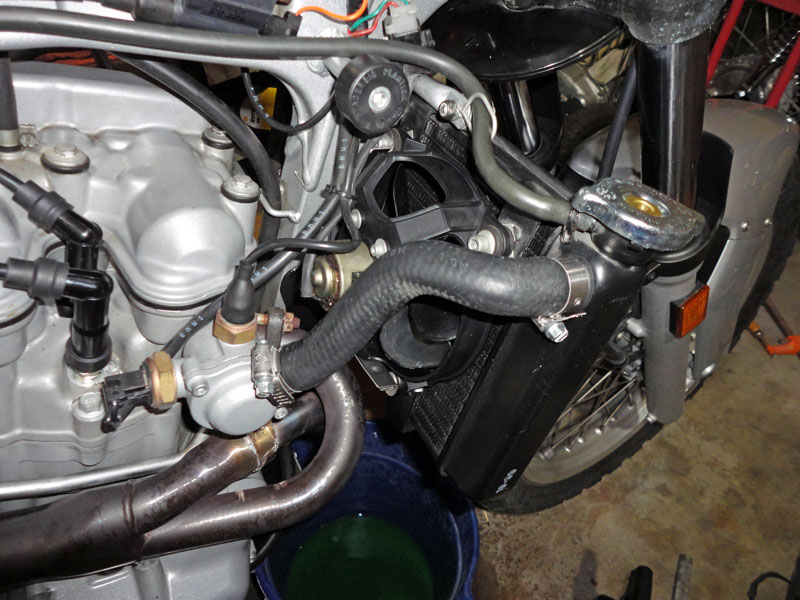
New thermostat and gasket:
Radiator cleaned and flushed (off bike):
New coolant hoses and stainless protected hose clamps (these have the inner band to keep the worm gear from digging into the hose):
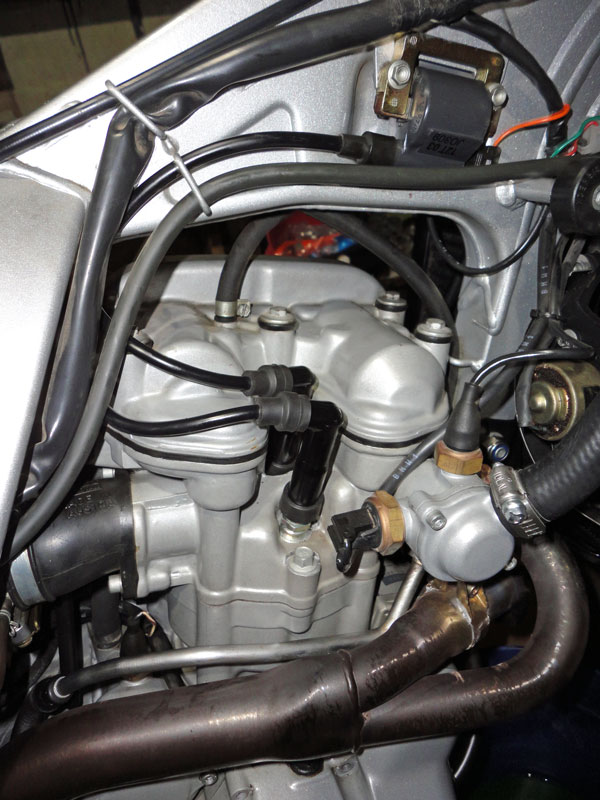
New spark plugs, caps and wires (leads):
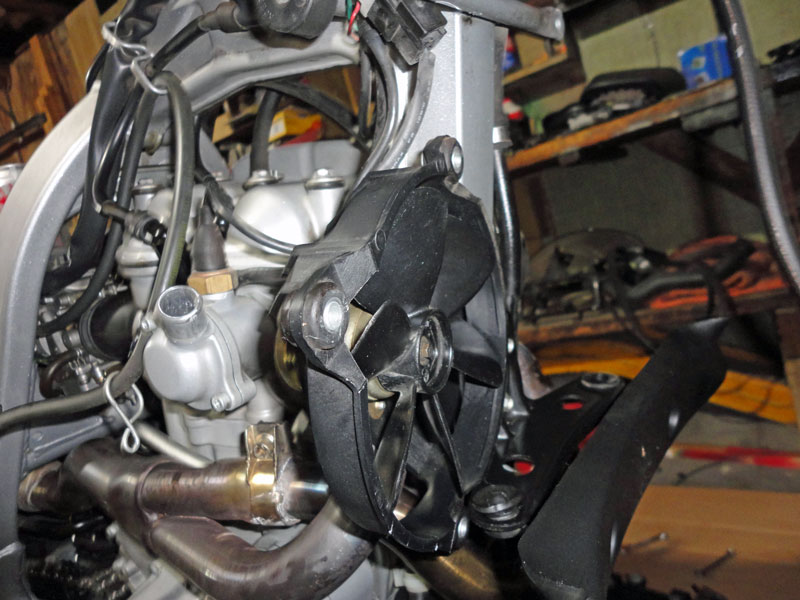
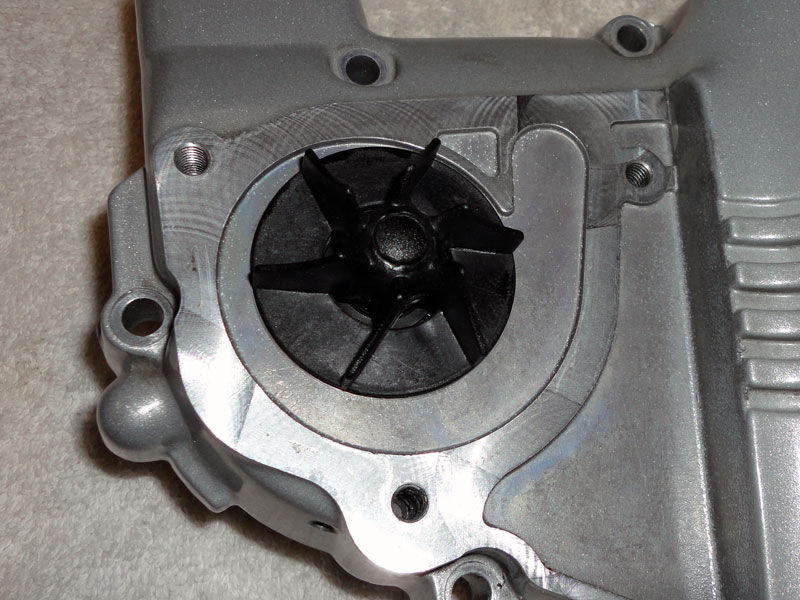
Original water pump. The plastic was originally white but is dyed from years of green coolant. The impellars are loose and brittle.
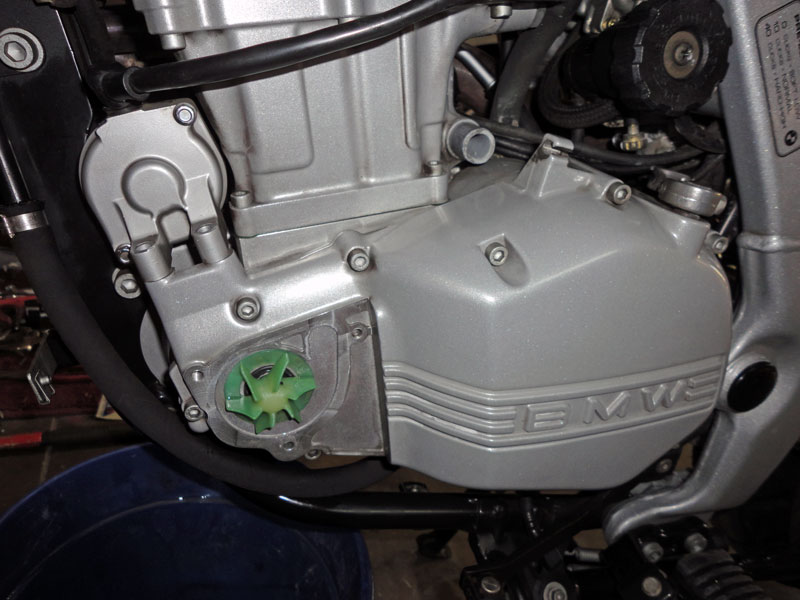
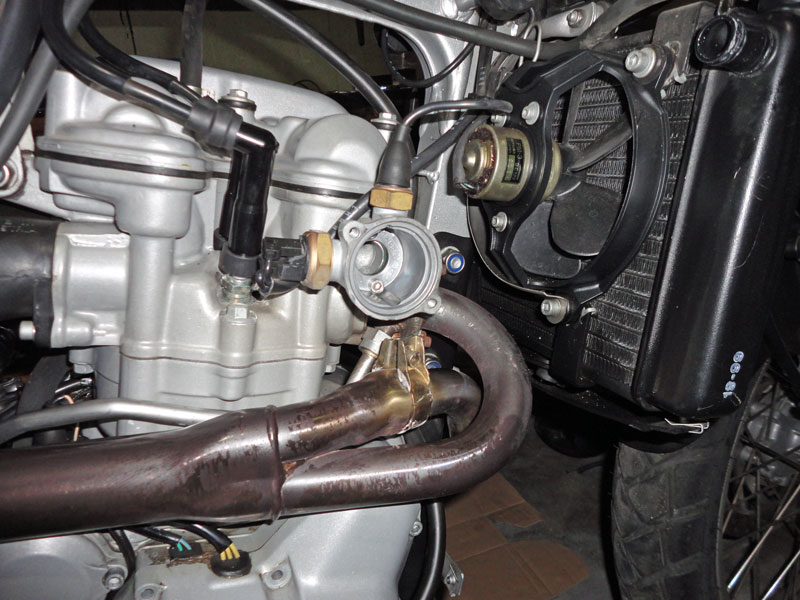
Side cover removed to access the water pump and its drive gear.
While the side cover is off, I took the opportunity to replace the shifter shaft seal and the clutch shaft seal.
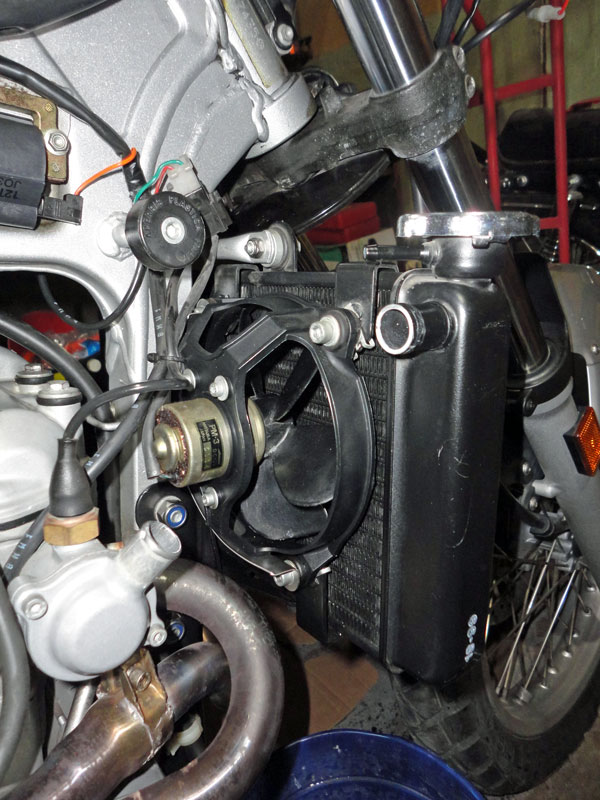
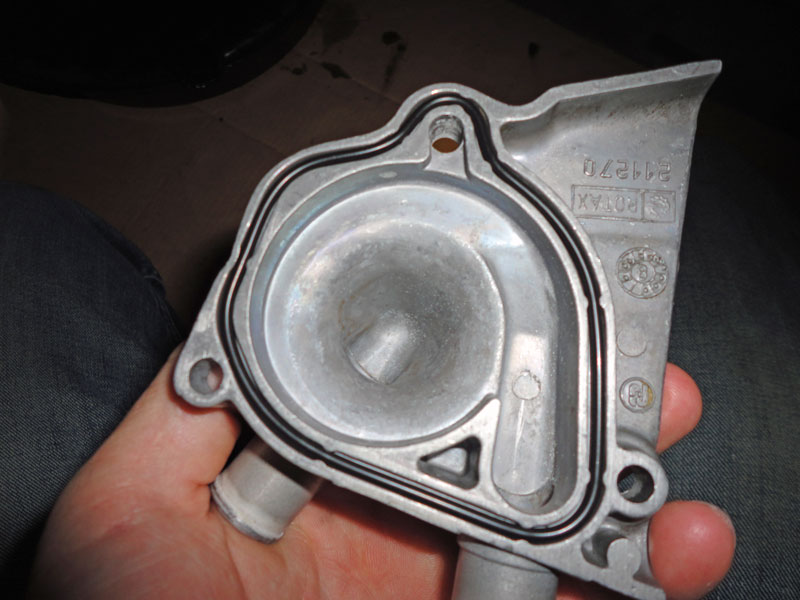
New water pump installed with new oil and water seals.
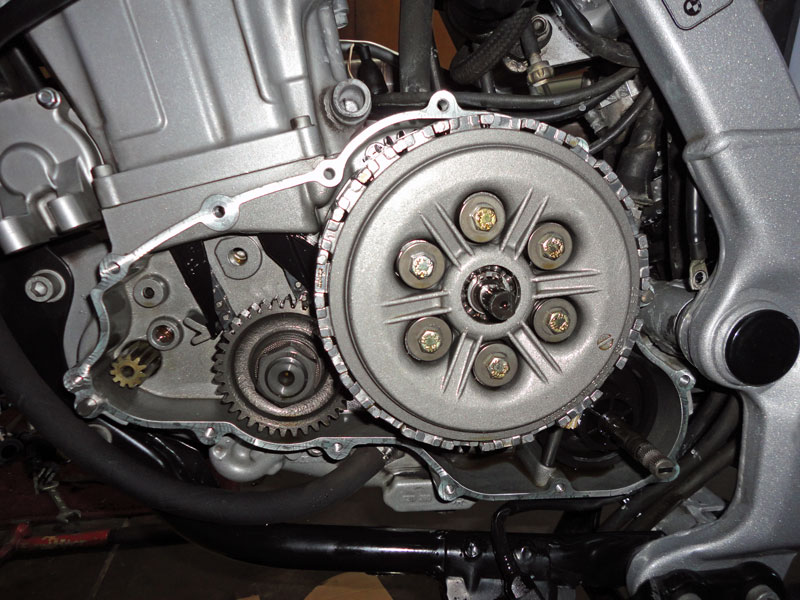
All buttoned back up with a new side-cover gasket. Alignment of the waterpump drive gear, the clutch shaft and the shifter shaft proved to be tough but once it was all lined up, it slid right back together.
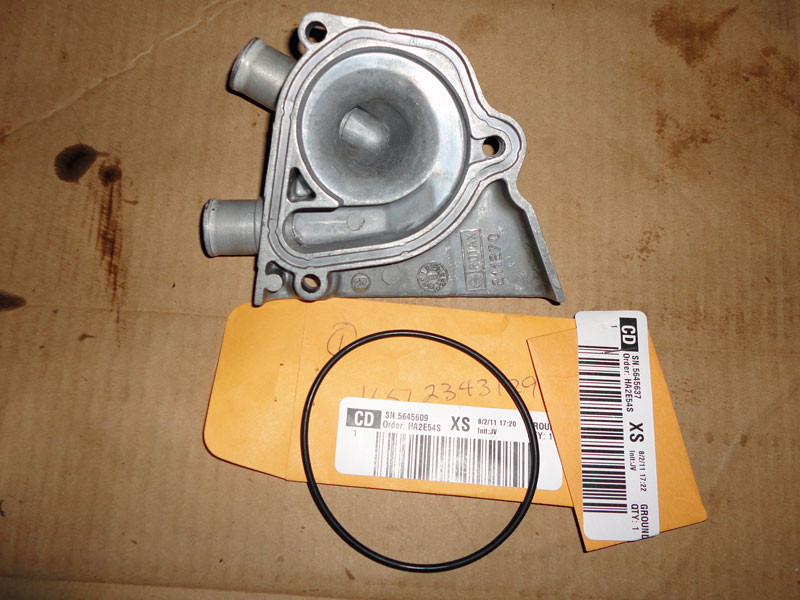
New o-ring and crush washer for the waterpump housing.
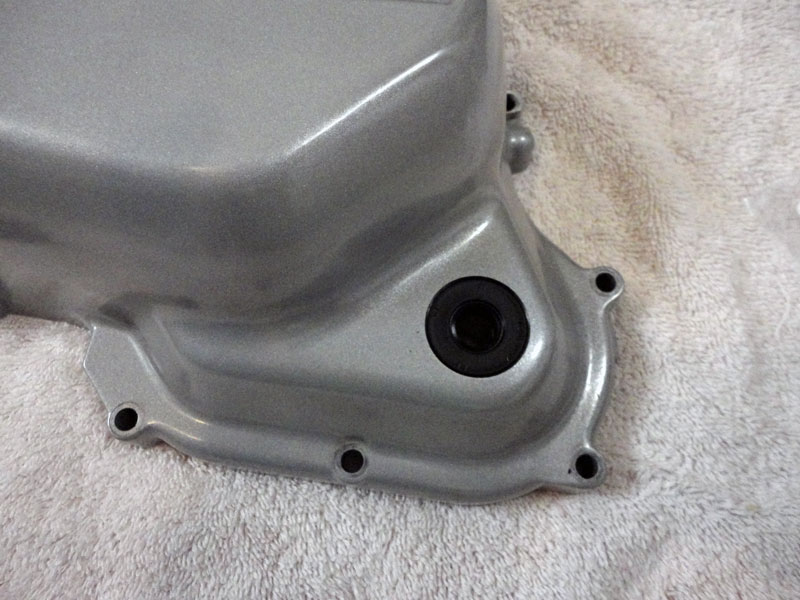
Left side back together with new hoses and clamps.
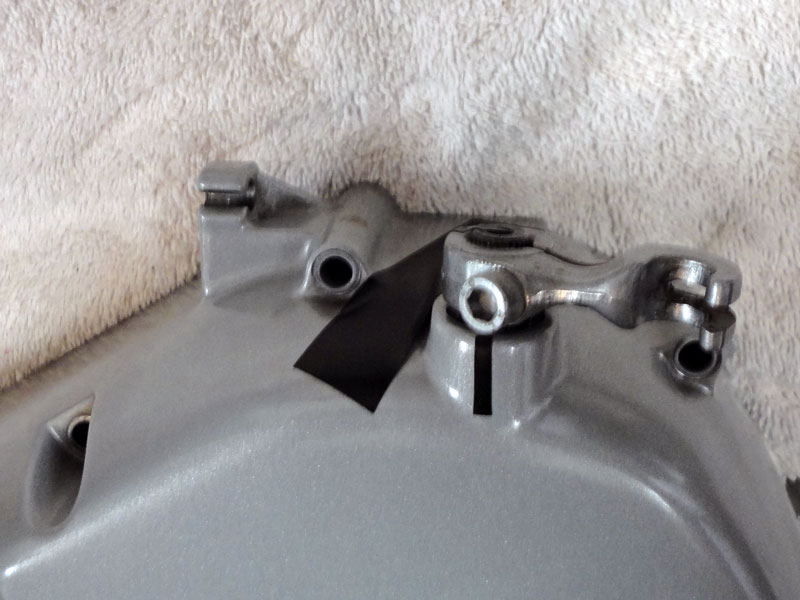
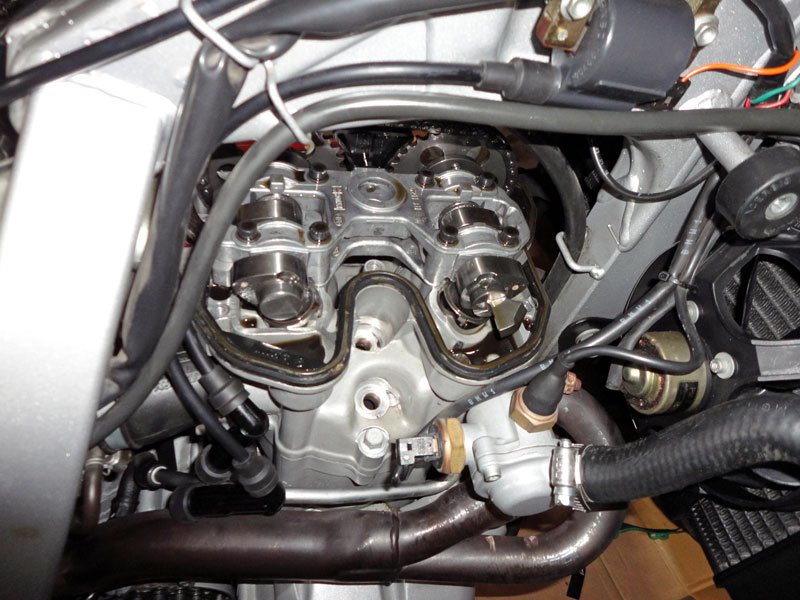
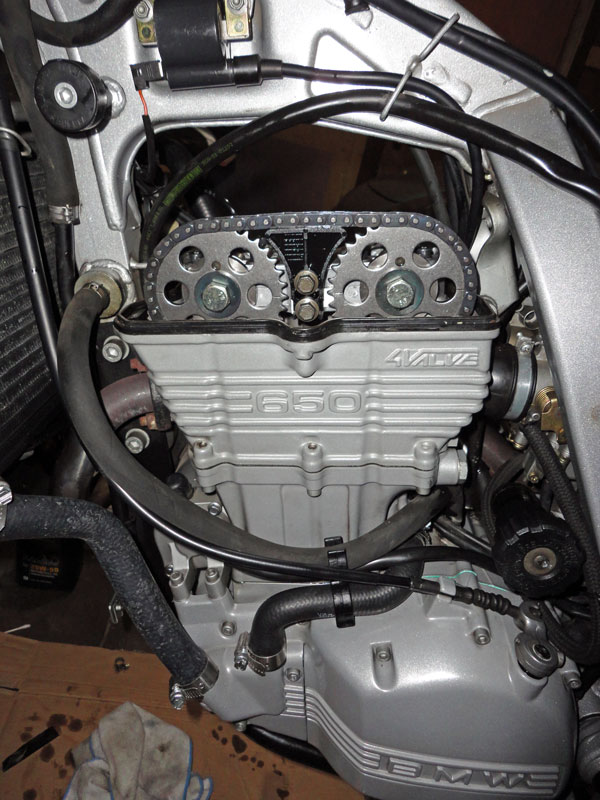
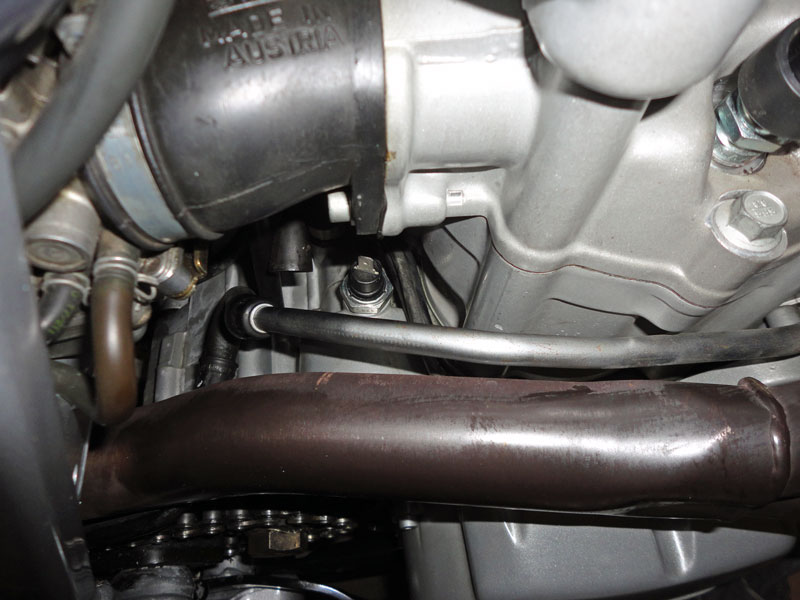
Moving onto the valve adjustment, the drivetrain with the valve cover removed.
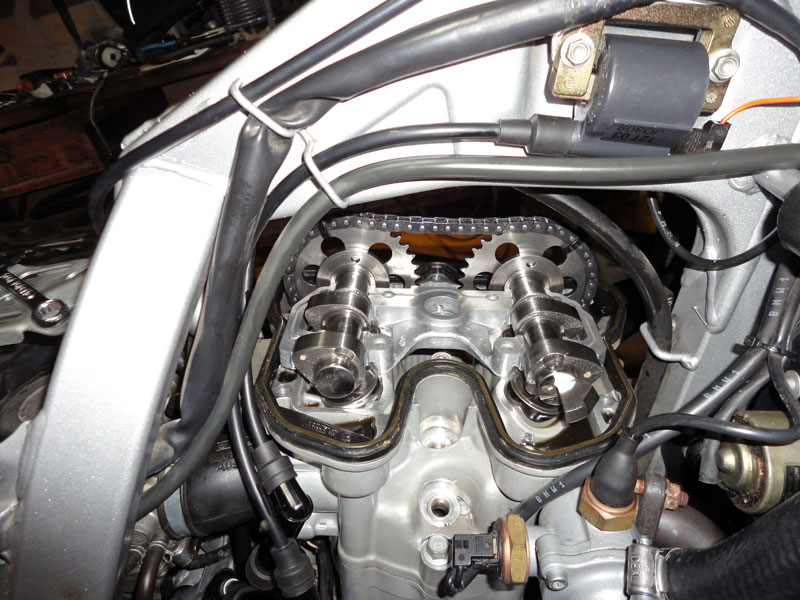
The right side intake valve was out of spec. The clearance was specificed at 0.004 to 0.006 inches and it measured out at 0.0015 inches. The remaining valves were all on the loose side, 0.006". I pulled the cams, replace the shim and re-timed the top end.
And lastly, a new oil pressure sensor to remedy the leaking original.
The next steps include:
1. Buying new crush washers for the timing chain tensioner and oil drain plug and installing them.
2. Removing the valve cover and loctiting the upper guide bolts.
3. Buying a new o-ring for the oil filter houseing and installing the oil filter.
4. Filling the oil, coolant and installing the gas tank.
5. Starting her up and hoping she runs well; bleeding, then, the cooling system.