Once you have those in hand and ready to install your first step is to drain the fuel from the tank and into a fuel can by disconnecting the fuel line from the fuel filter and setting the petcock to the PRI setting which stands for prime. This setting allows fuel to pass through the petcock regardless of engine vacuum. It would be ideal to capture the fuel in a fuel can to keep things clean and reuse the fuel you have drained once again. Unless the fuel is varnished up, or there is rust particles in the tank. If rust is present consider using this time to get the tank cleaned out and lined.
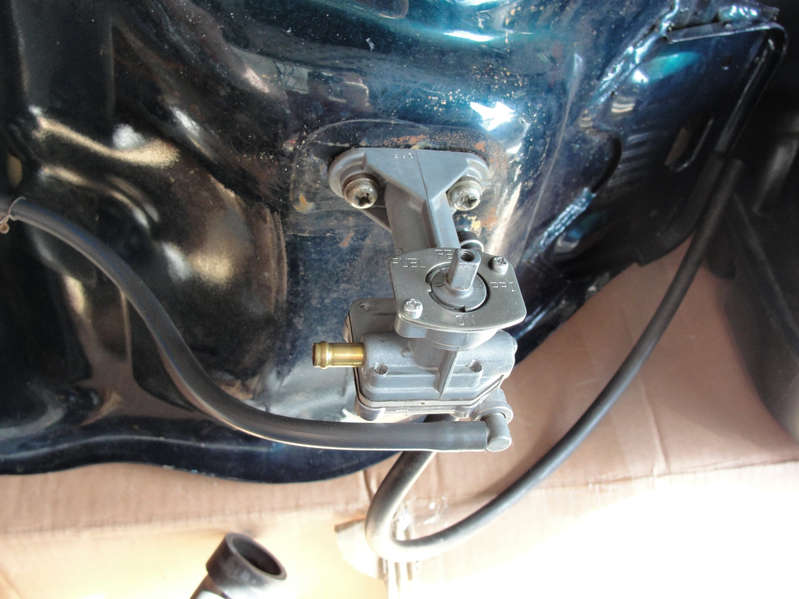
It may be possible to remove the petcock without removing the tank off the bike. However in this write up my tank was already removed due to other works in progress. I suggest removing the tank to simplify the removal of the petcock and to keep the extra gas from leaking all over the bike. Now that you have removed the tank from the bike then remove the petcock from the bottom of the tank via the two screws as seen here:
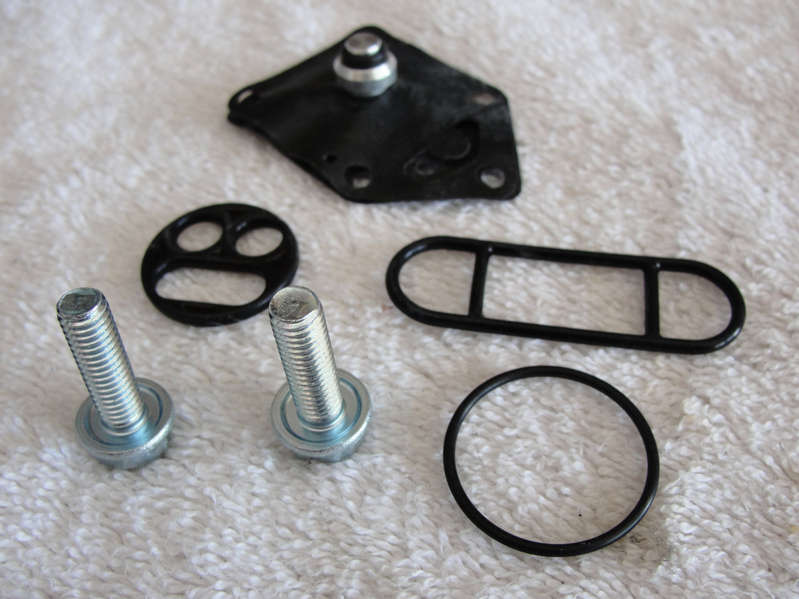
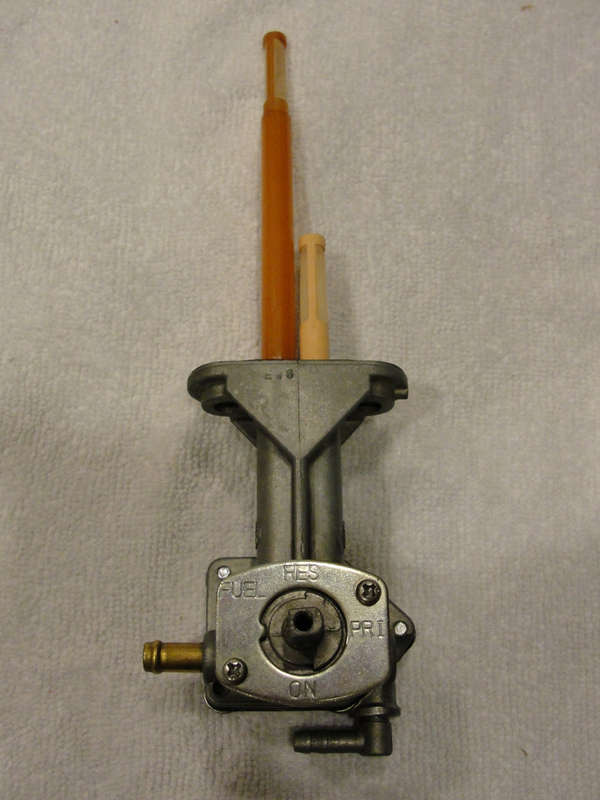
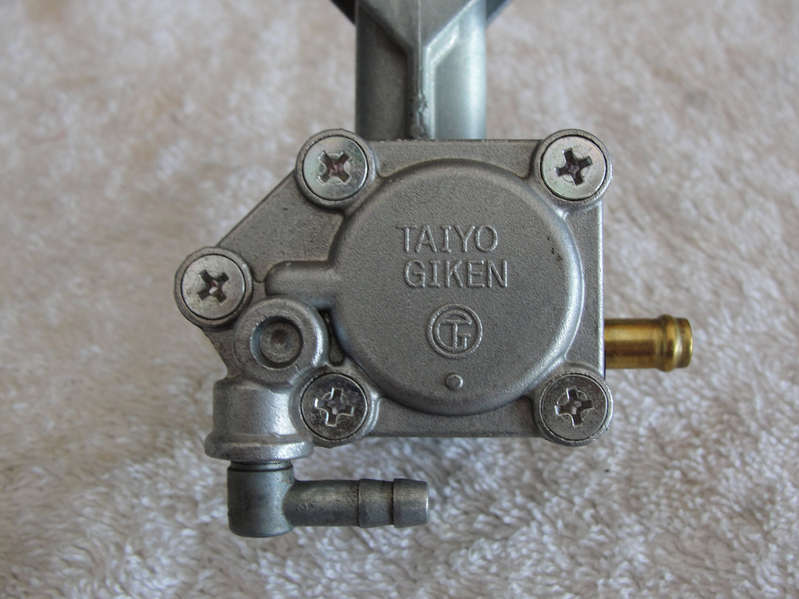
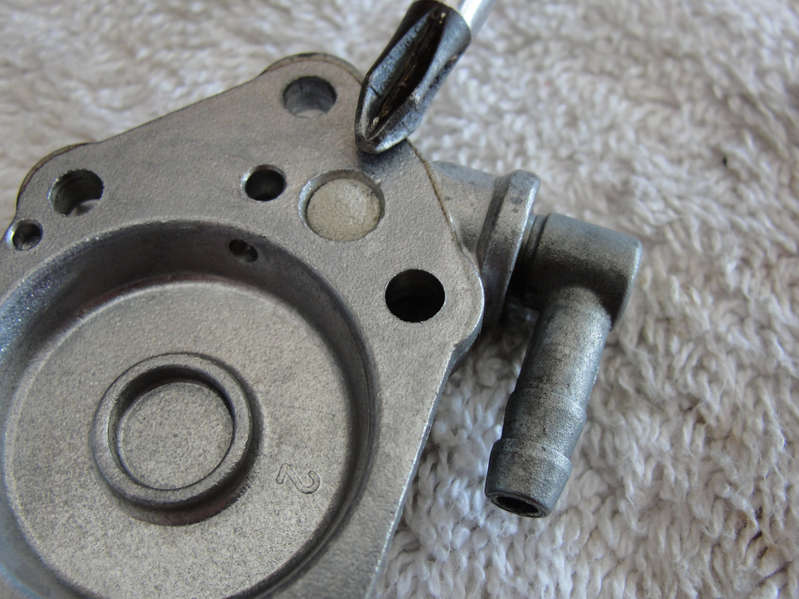
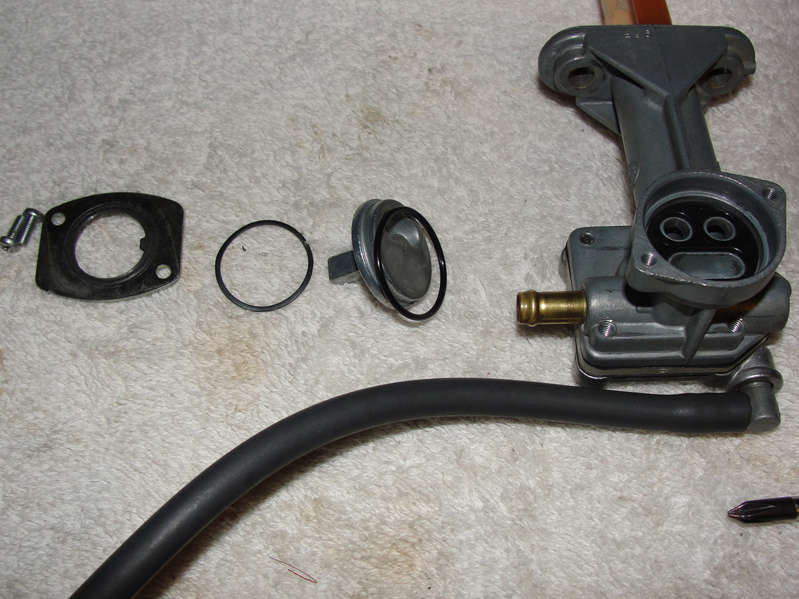
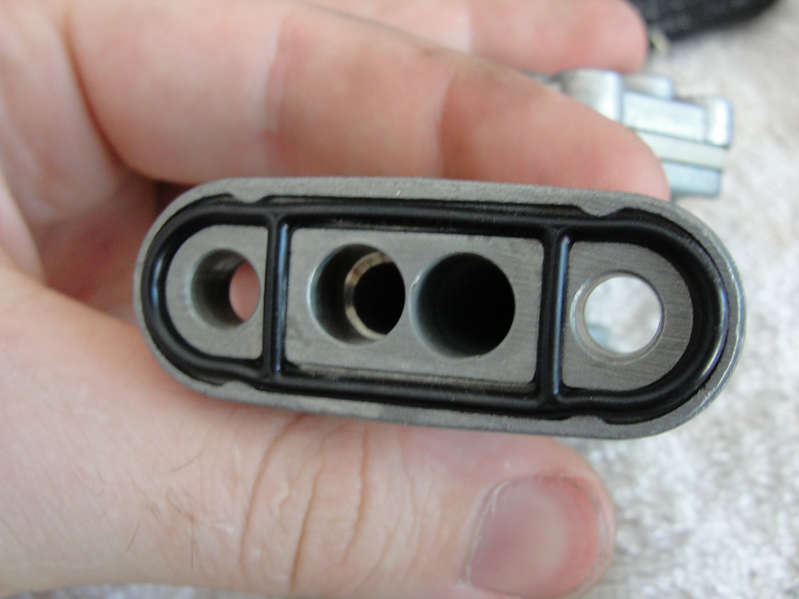
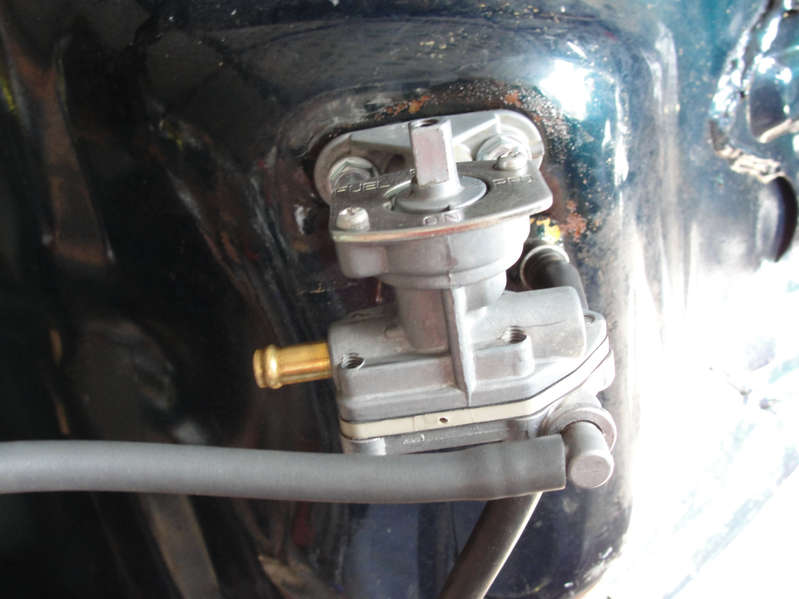
This is what should come off of the tank. The high inlet hose is used in the ON position, and the shorter inlet hose is for RES (reserve). Check the screens to make sure they are clean and clear of any dirt, rust or grime. Also if they are missing entirely they should be replaced. These mesh screens are the first line of defense for foreign particles making their way to your carbs.
Carefully pulling them out you will then be able to remove the gasket that holds between the petcock and the tank.
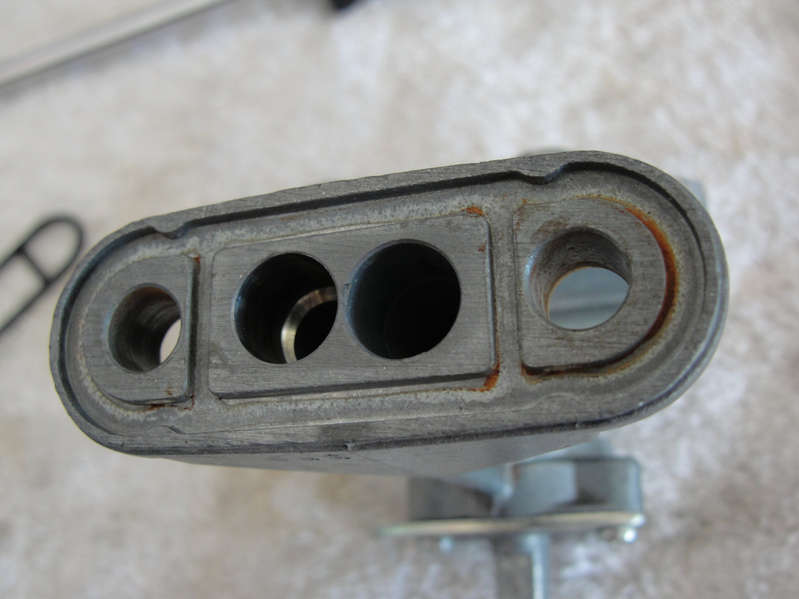
Once removed clean the groves where the old gasket laid with a tooth brush or soft wire brush. You can see below mine had a bit of rust that came from the bottom of the tank.
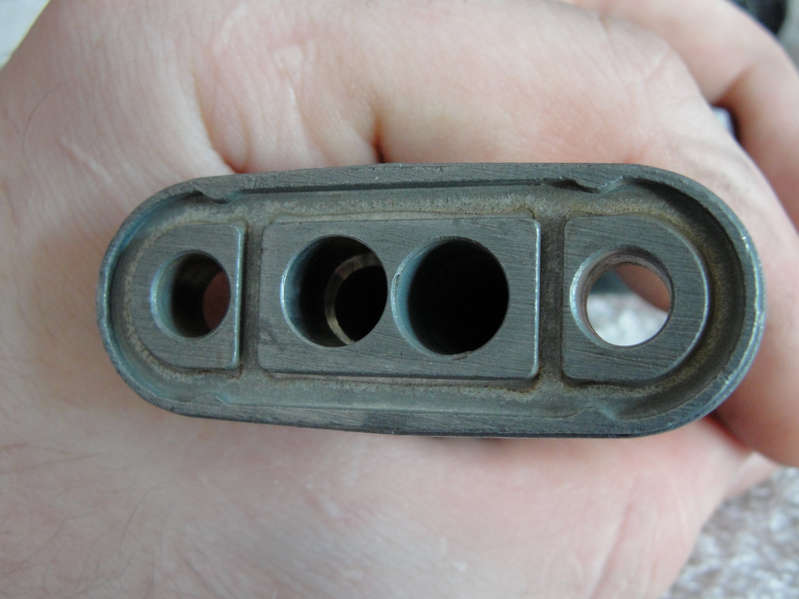
And now it’s clean.
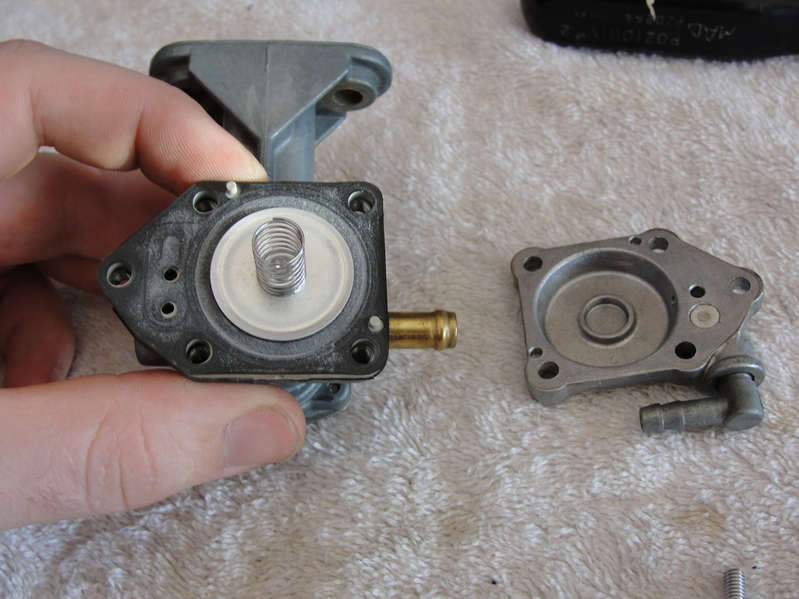
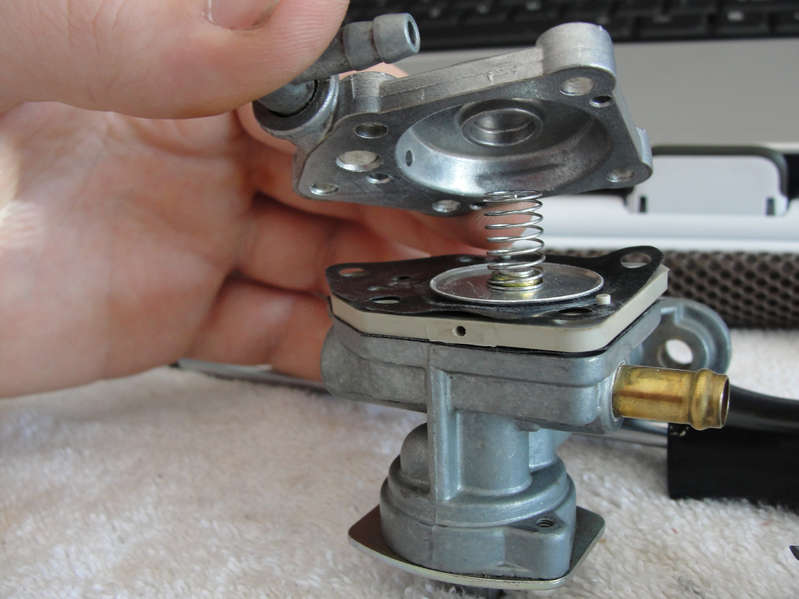
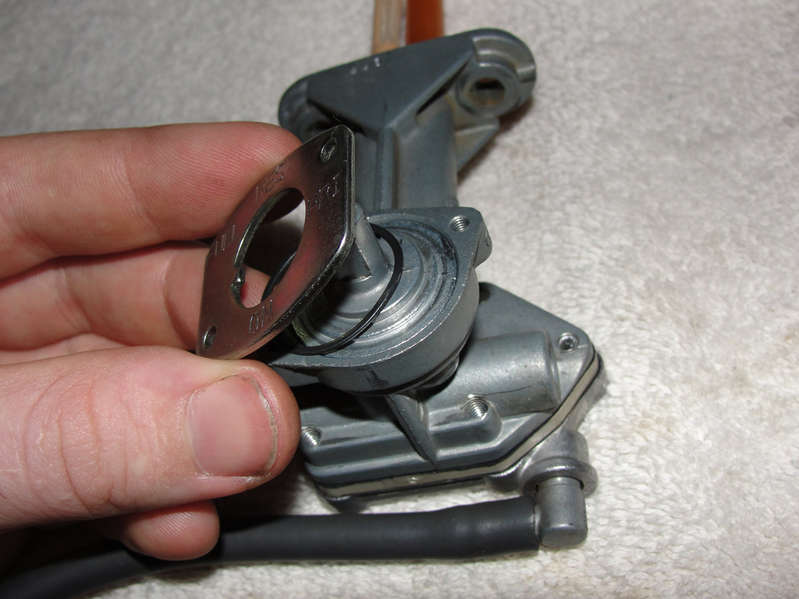
Moving on, we will start with the vaccum controlled valve which is on the backside of the petcock held in place by 5 philips screws seen here:
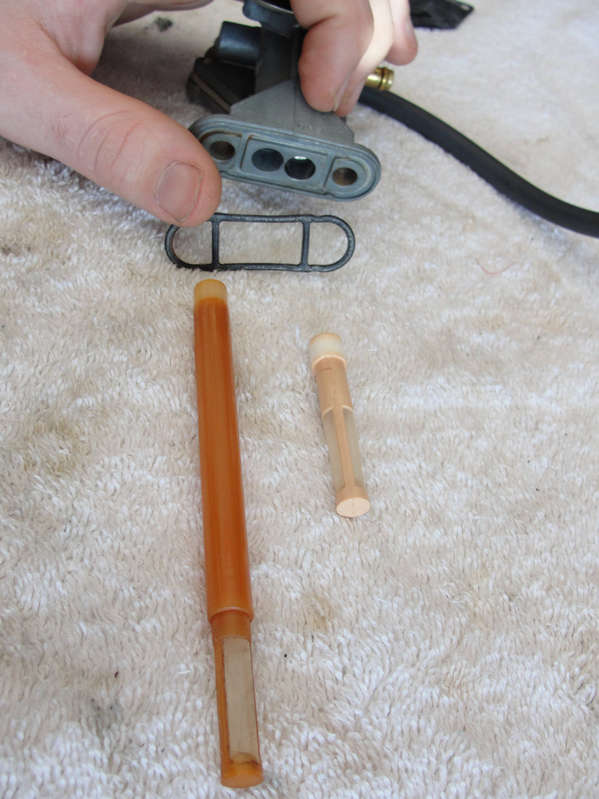
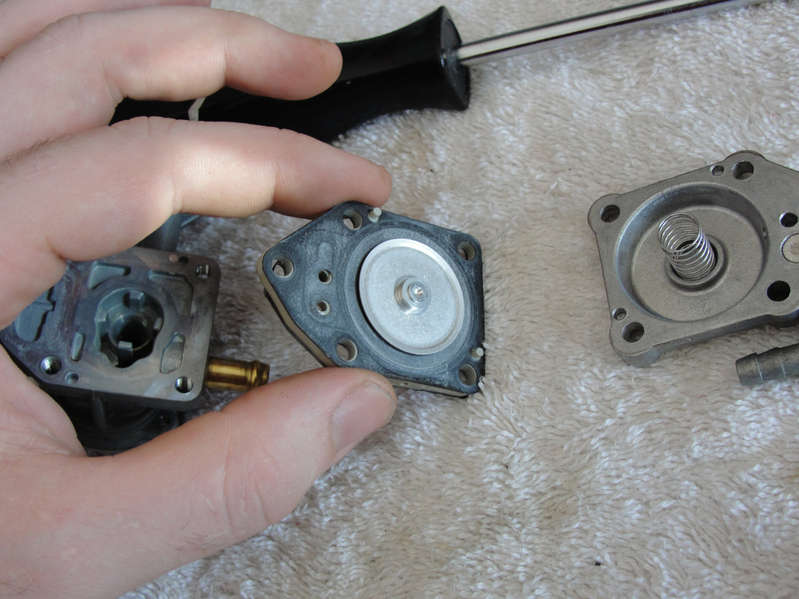
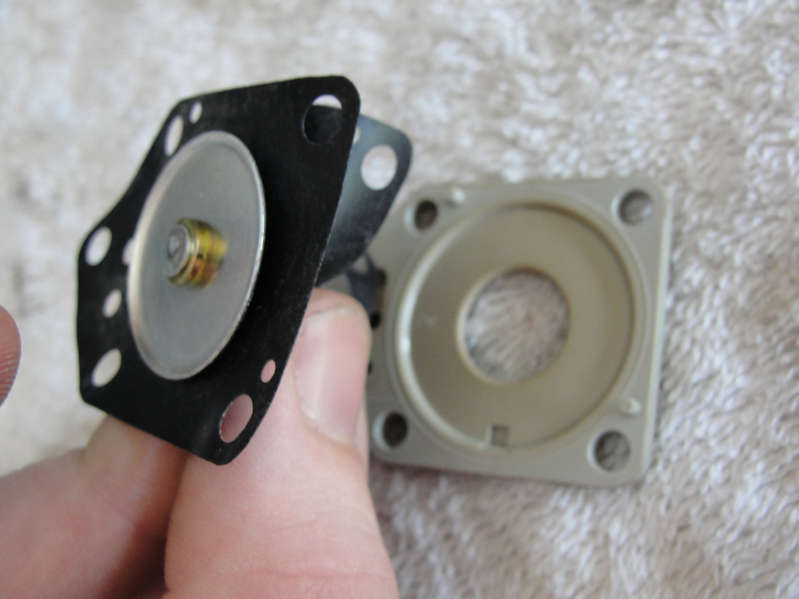
As you lift the cover off be sure not to lose the spring pictured below:
Also be sure the filter for the vacuum line does not pop out and get lost seen here at the tip of the screw driver:
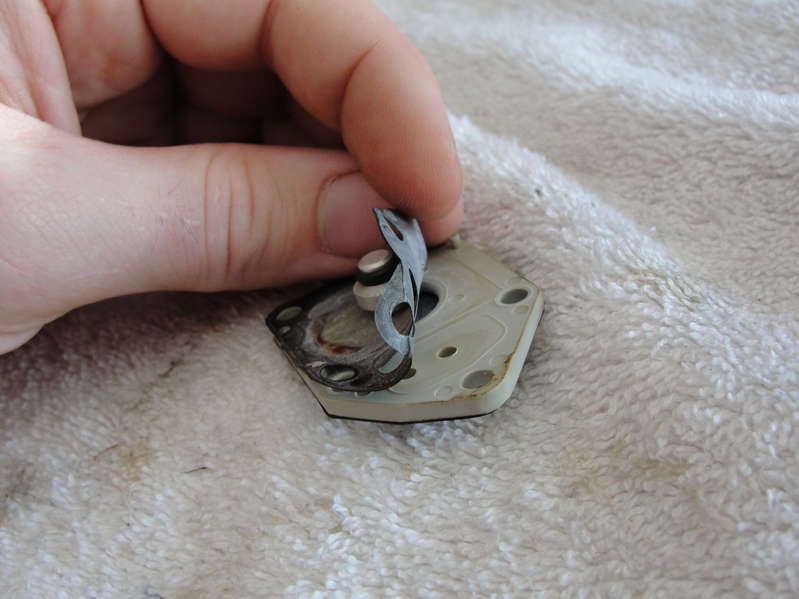
Once you have the spring set aside lift the valve core out:
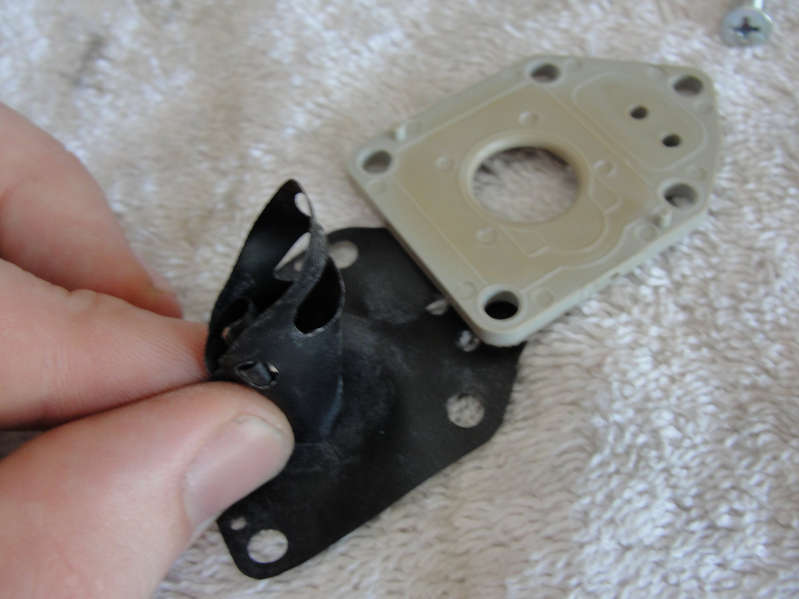
Separate the rubber from the plastic and pull it through the hole in the plastic making sure to keep note of which side the valve stopper is on. The pictures below can be used for reference.

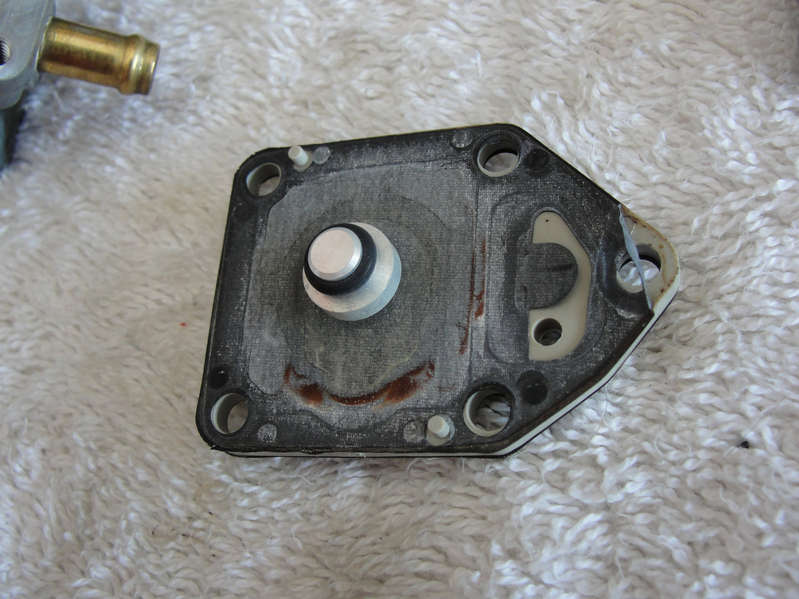
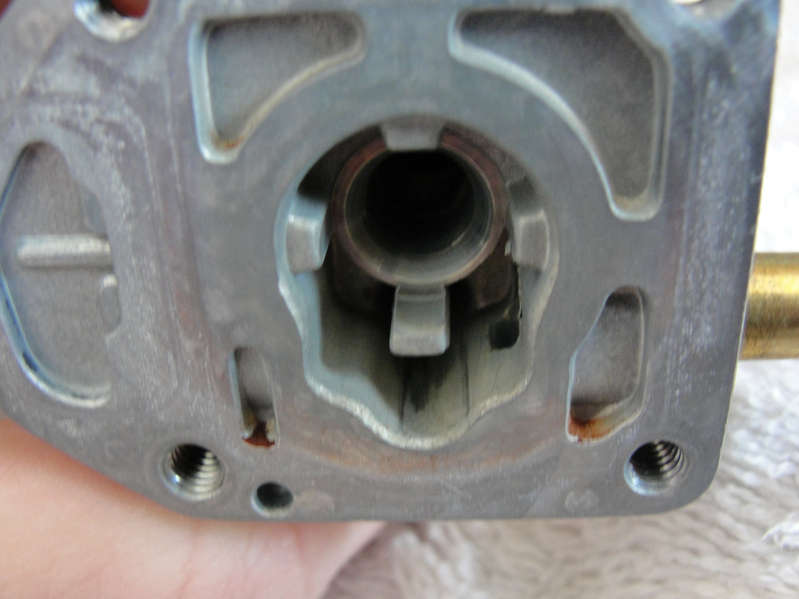
Once this is removed clean the plastic up with a soft bristled tooth brush to knock any soot. Also clean the petcock housing, you can see where some rust particles where left in mine in the brown areas.
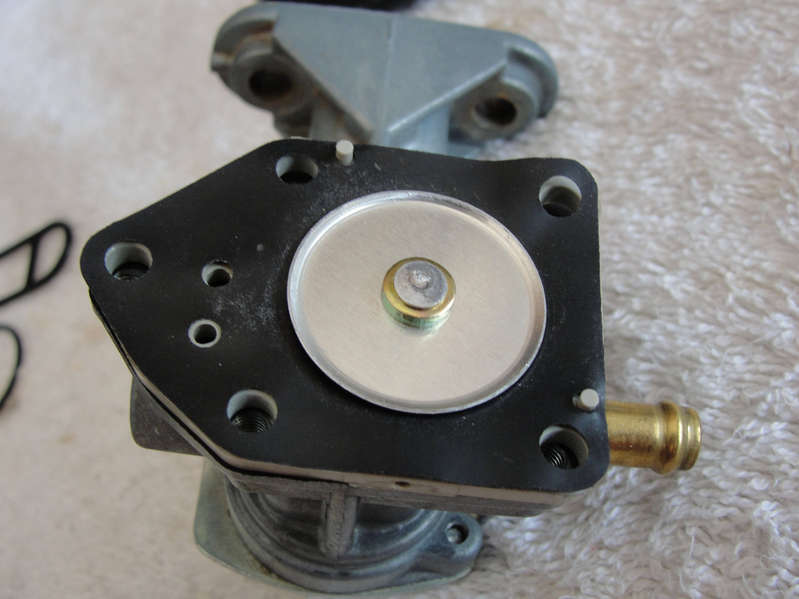
Now that the parts are cleaned up put the new valve gasket in place the same way the old one came off. Be VERY careful not to rip the new gasket when pushing it through the hole. You can see the big metal circle goes on the side of the plastic with the large circle cut out of it. Also I found it easier to put the gasket down my work area with the part to be pushed through the hole rolled up between my fingers like so:
With that all back together and everything lined up properly on the plastics making sure the tiny nubs are poking through the holes they should be on both sides, place it back onto the back of the petcock and put it back together being sure to keep the spring and tiny air filter in place.
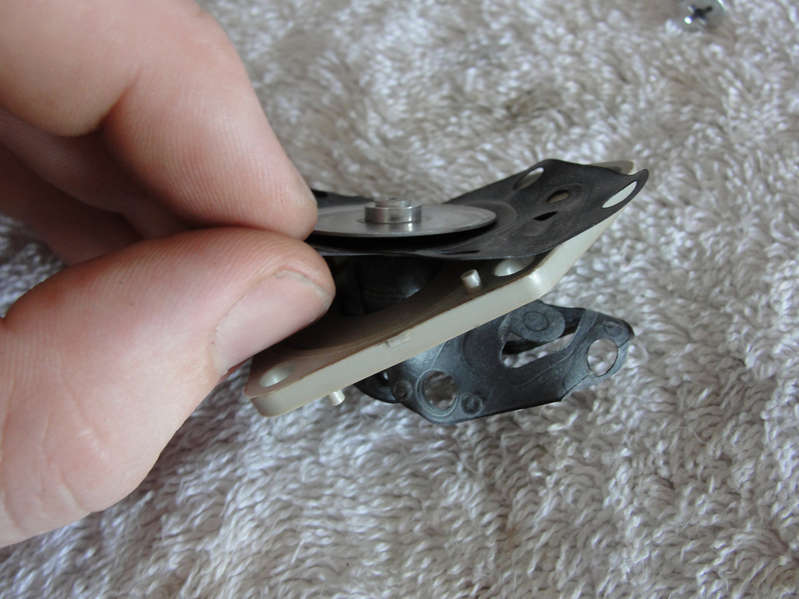
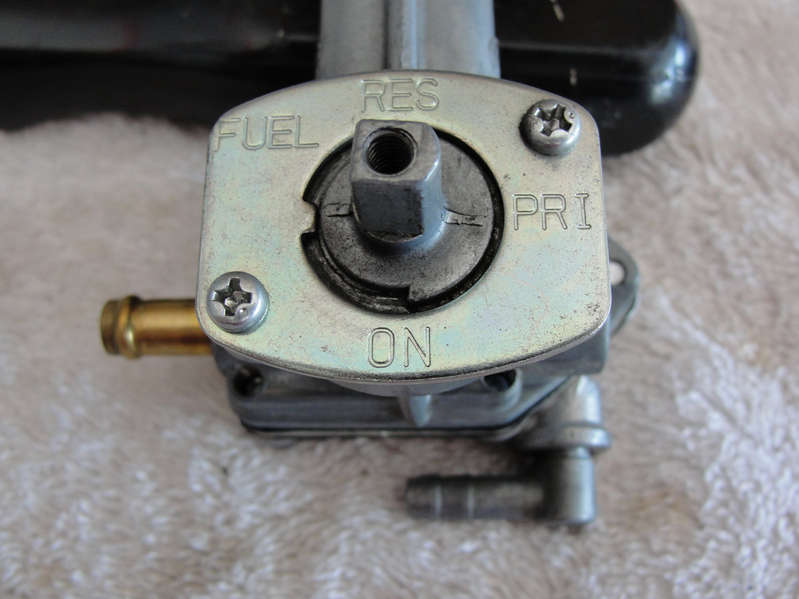
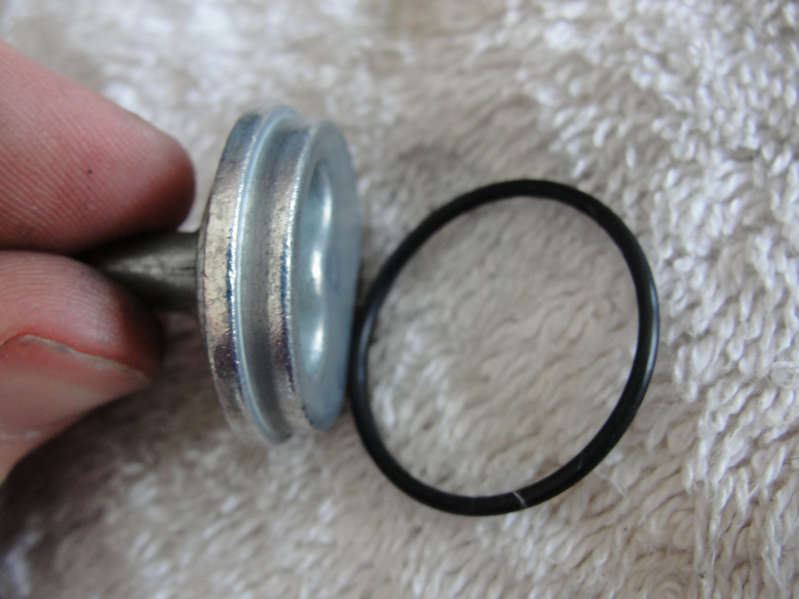
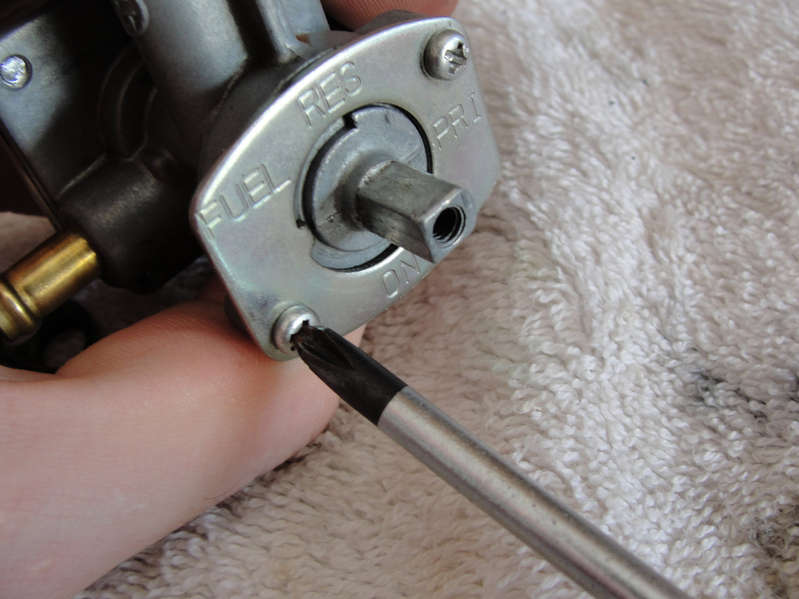
Now with that done flip it over and begin on the other side removing the 2 small screws on the face that shows the writing of which direction the valve is turned. Behind this metal face plate is a wavey metal ring, be sure not to lose it.
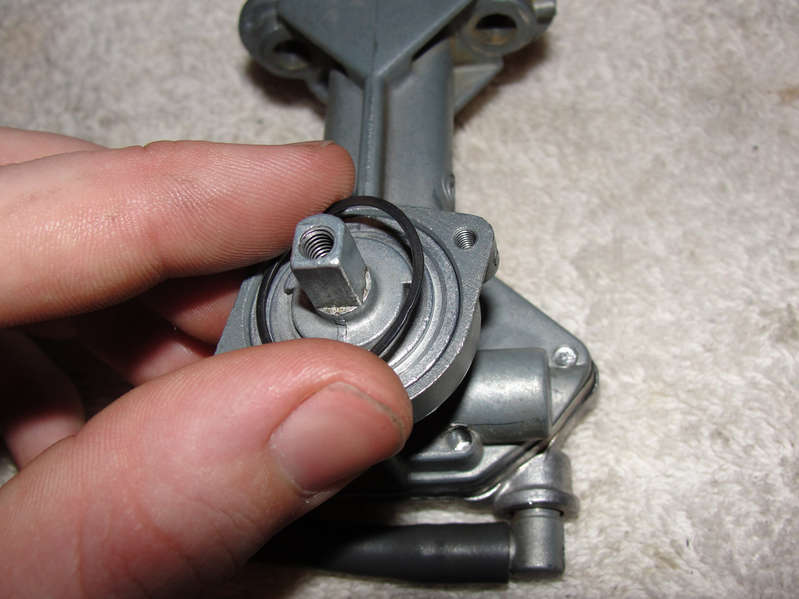

Remove the cock and seal seen below:

Clean all the areas where gaskets once were. I used a q-tip with rubbing alcohol.
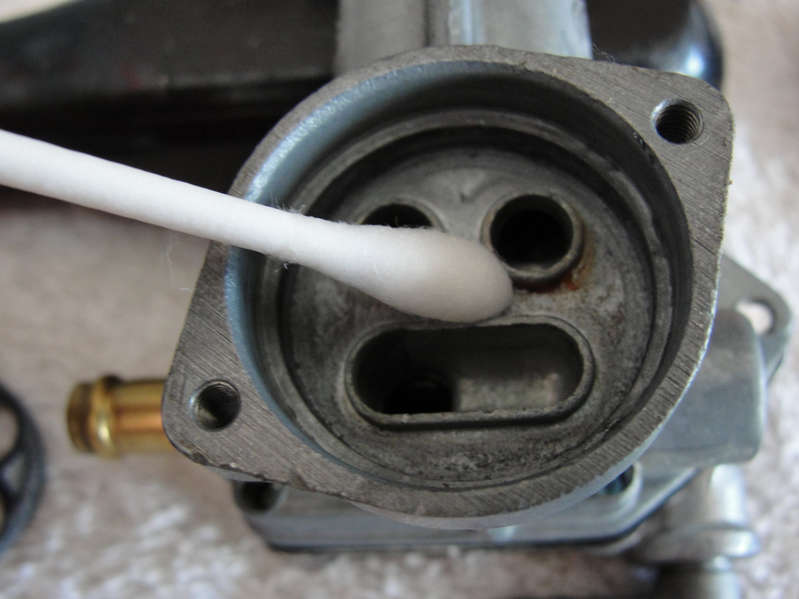
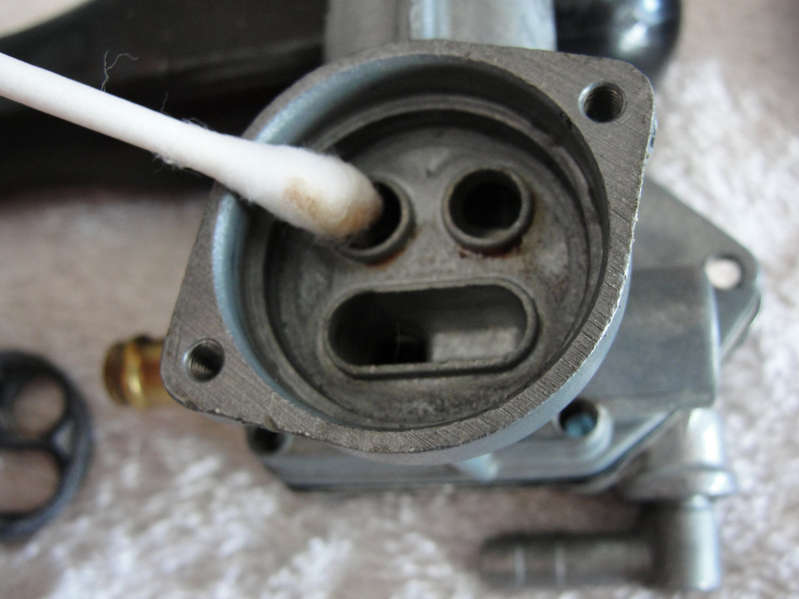
Be sure not to leave any q-tip material behind in any of the holes. Put the new gaskets in place and put the cock back together. I found it easier to push the cock into place using some oil around the seal. If you pull it back some while installing it, the o-ring gasket will come off the surface it lays on, so do this in one motion of pushing it into place.

Put the wavy metal ring/washer and face plate back on and screw it back into place. The metal ring that looks all bent up is ment to be like this to hold pressure from the face plate to the cock keeping it pressed in. Do not try to flatten this ring as you will lose tension against the gaskets inside and cause leaks.
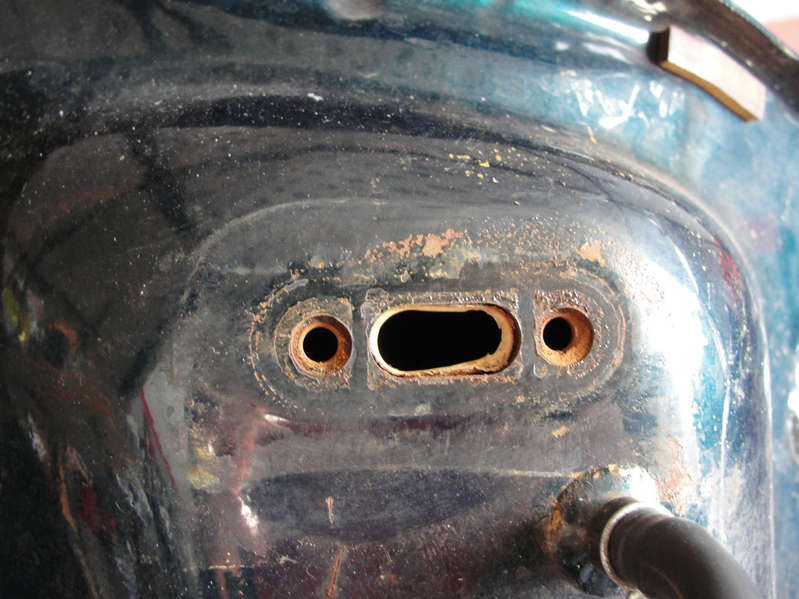
Put the gasket into the groves that were cleaned earlier. The reason they needed to be cleaned earlier instead of now was to prevent any dirt from getting back down into the holes.
Clean the surface area on the bottom of the tank where the gasket will rest. I used some clear nail polish on the surface rust areas that formed once my tank was etched and cleaned just to prevent any problems later on. It looks dirty in the picture below, but it works well.
Put the inlet tubes back into place as pictured.

Bolt the petcock back to the bottom of the tank with the new screws.
Put your tank back together onto the bike. Set the petcock to on. Fill with fuel. Enjoy…
This guide can also be found on the SECA II FAQ here.