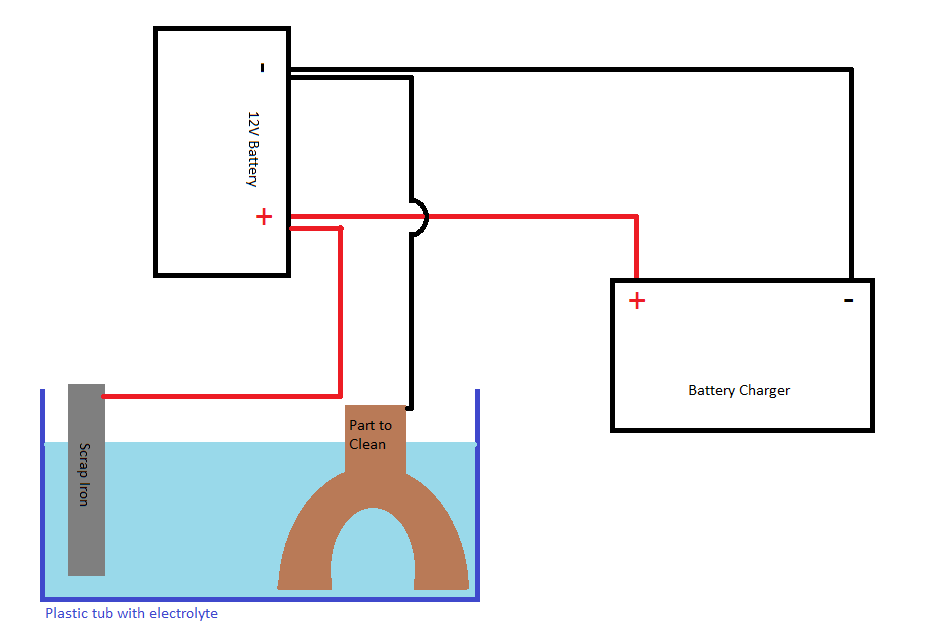
Electrolysis provides an effective, relatively safe, and cheap method for removing rust, especially from delicate or bulky parts. This method consists of submerging a rusty metal part in an electrically conducting solution and applying a current. The positive lead from an automotive battery charger is connected to a sacrificial steel anode and the negative lead is connected to the part to be cleaned. When the charger is turned on, current flows and a reaction occurs: Black rust near the metallic iron is converted back to metallic iron with a good bond to the original metal. Much of the red rust is converted to Fe3O4 and becomes detached from the surface. This loosens the rust so that it may be easily brushed off once the process is complete. Electrolysis does not damage the underlying metal but only removes the rust. It will not improve the surface finish of the metal beneath the rust, unfortunately; any pitting on the part will remain.
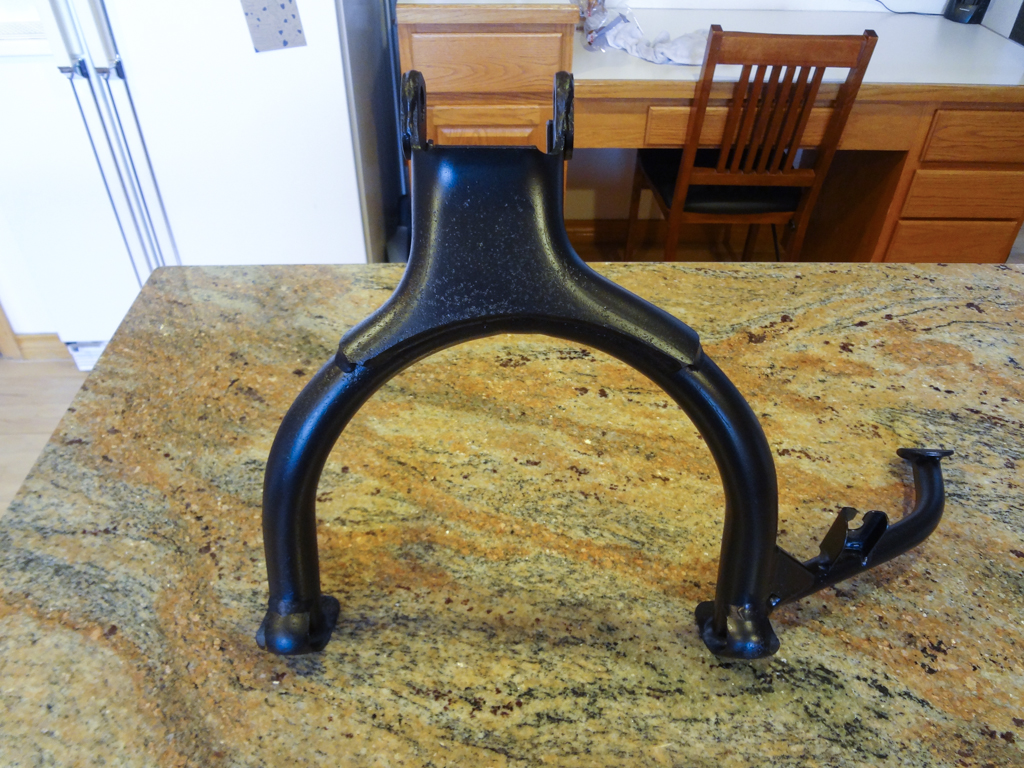
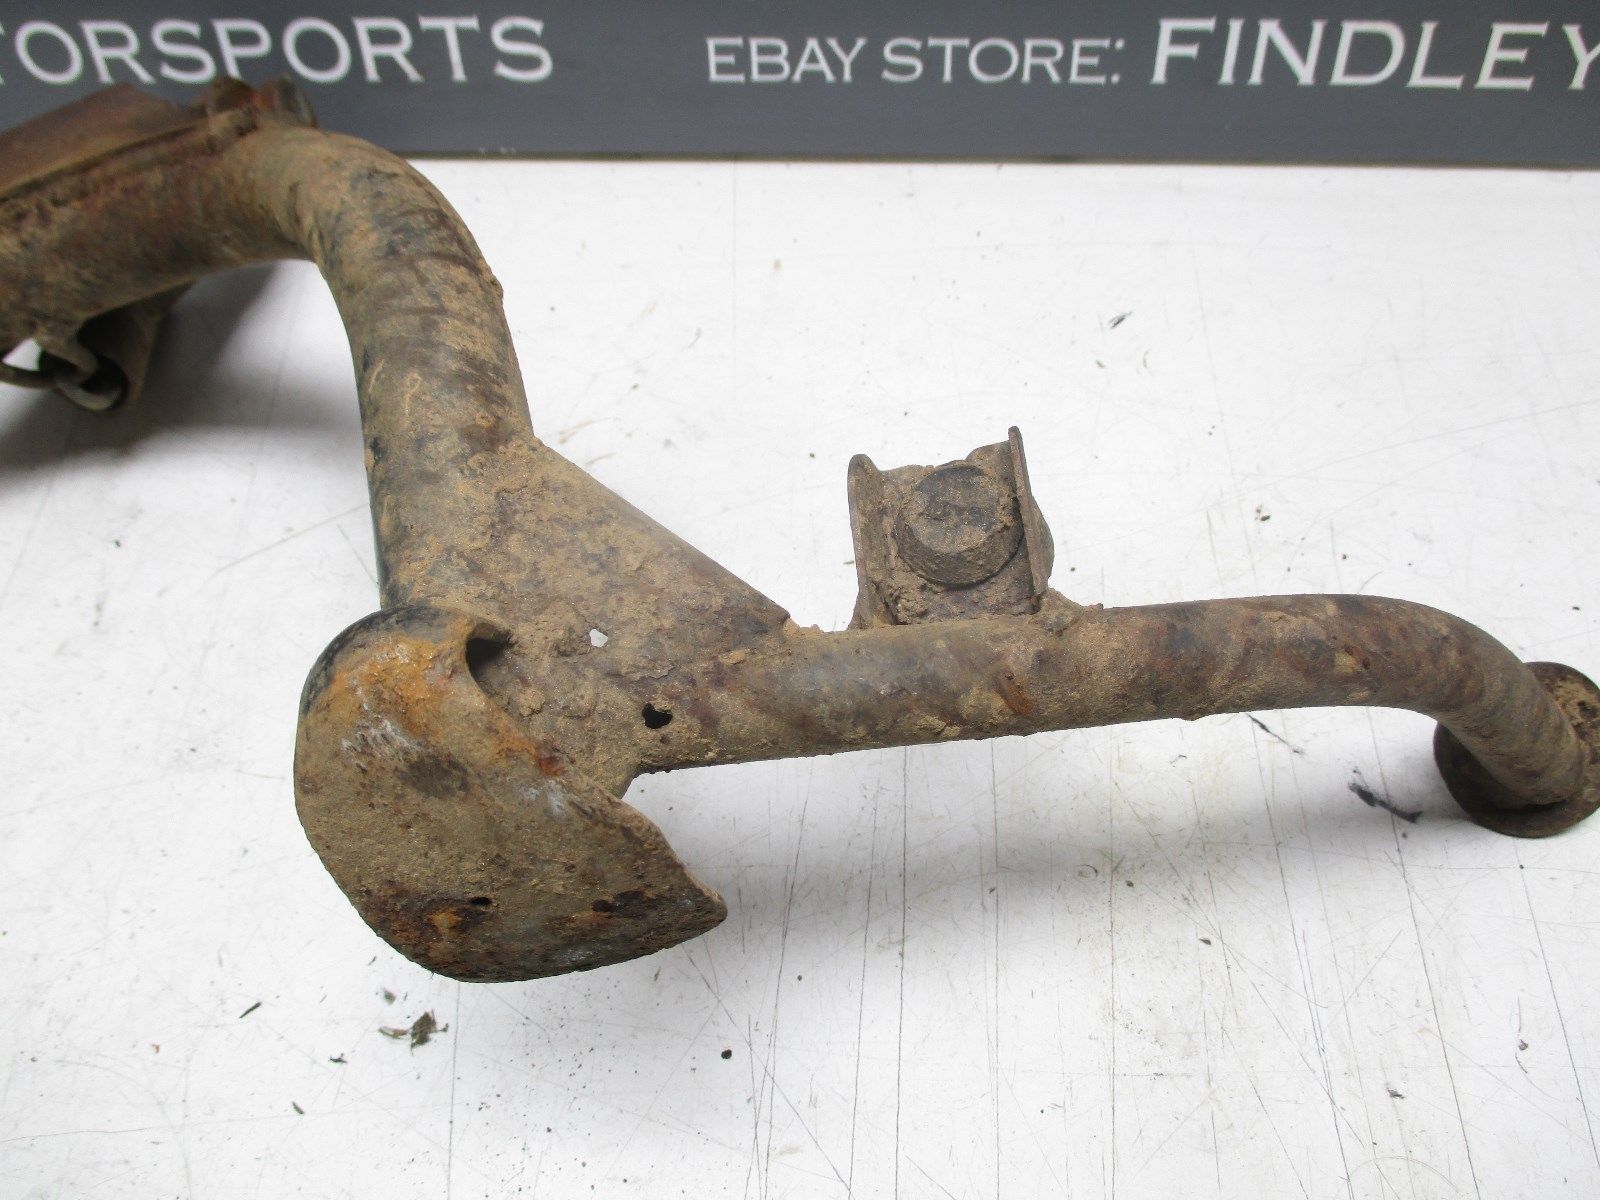
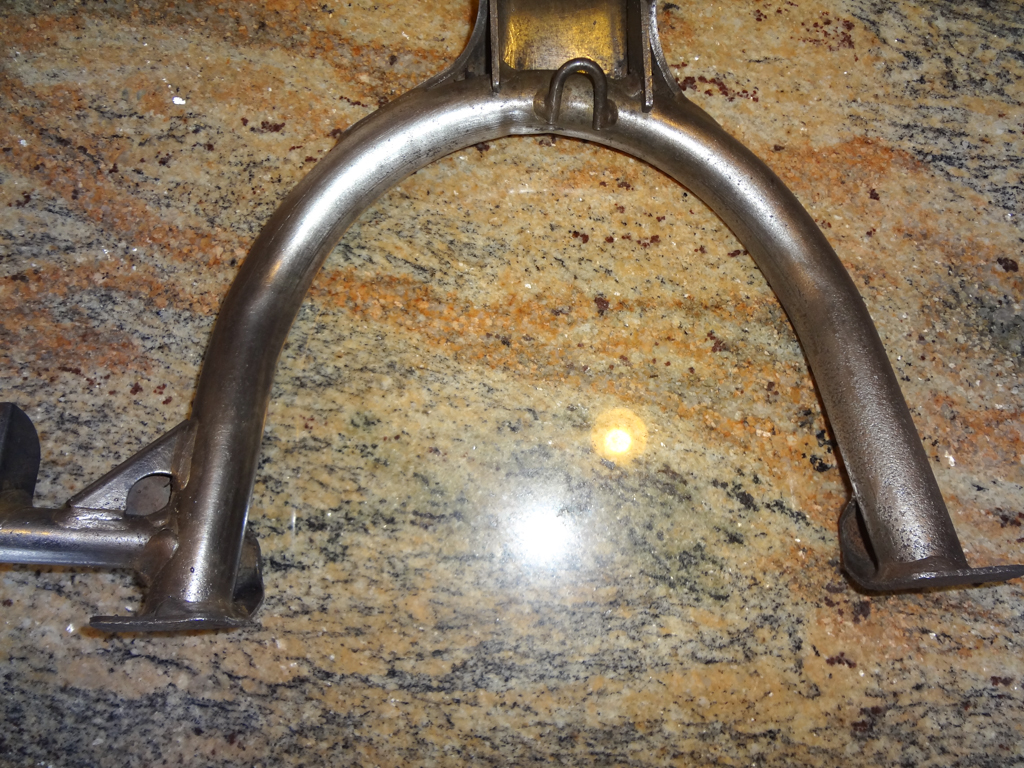
As you all are aware, I recently purchased a rather-cheap but also quite-rusty center stand for my red '92 Seca II. The stand was in good shape, structurally, but covered in rust from sitting in a scrapyard in Illinois. Having used electrolysis in the past, with good results, I decided to go that route to clean up the stand.
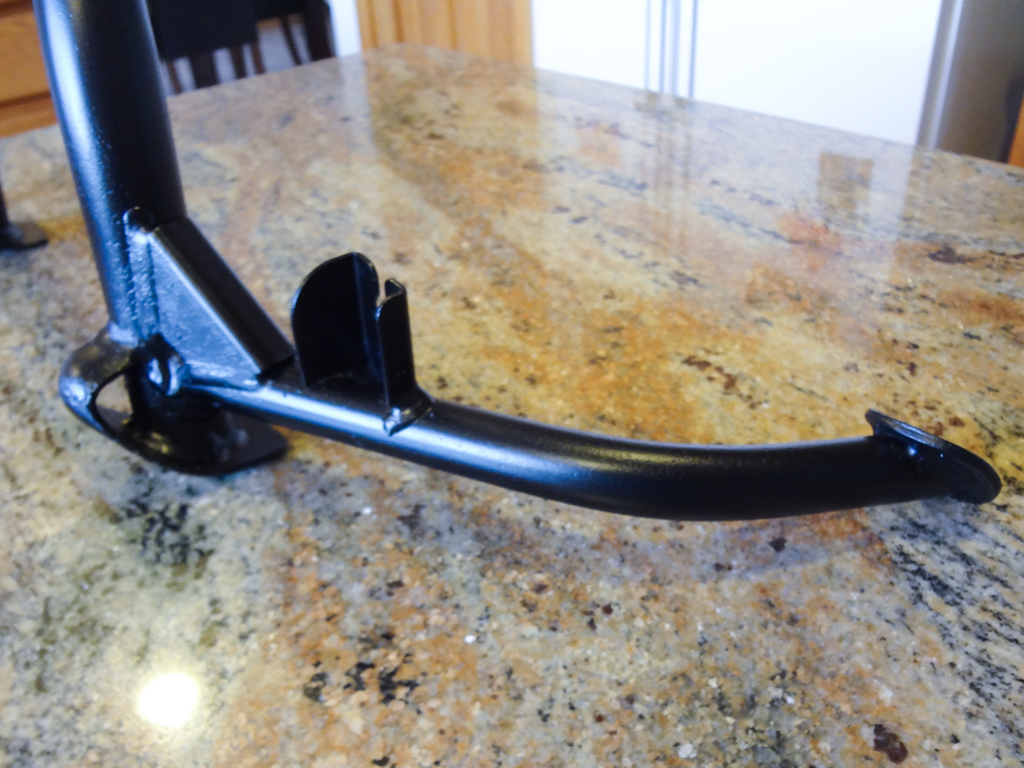
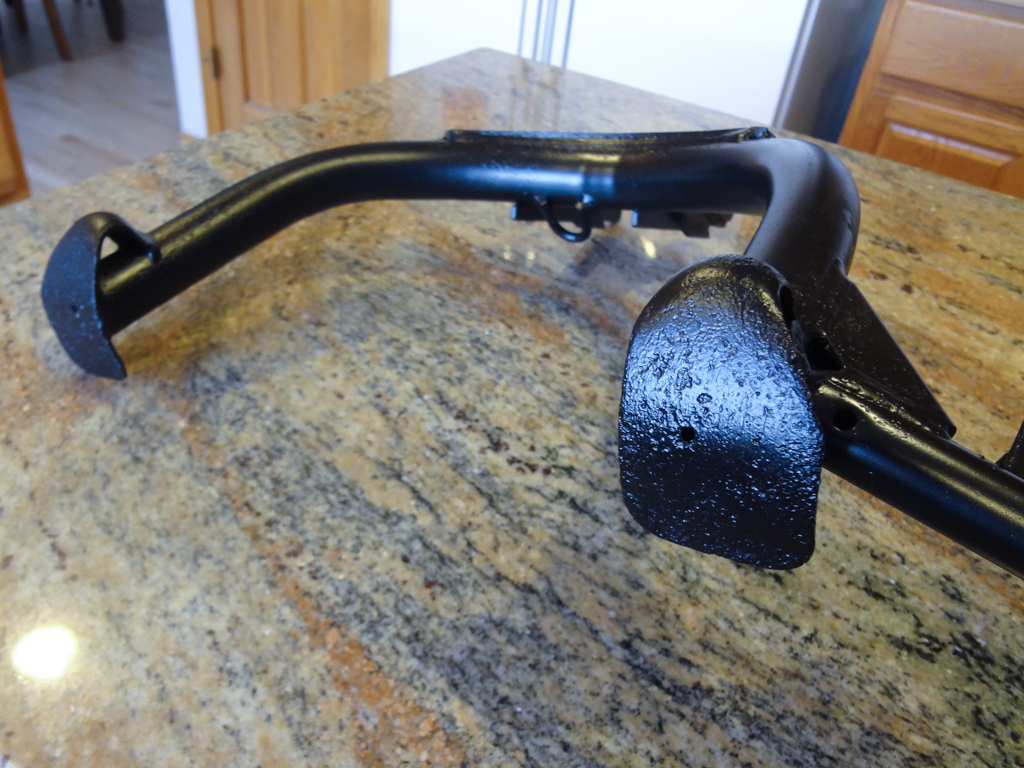
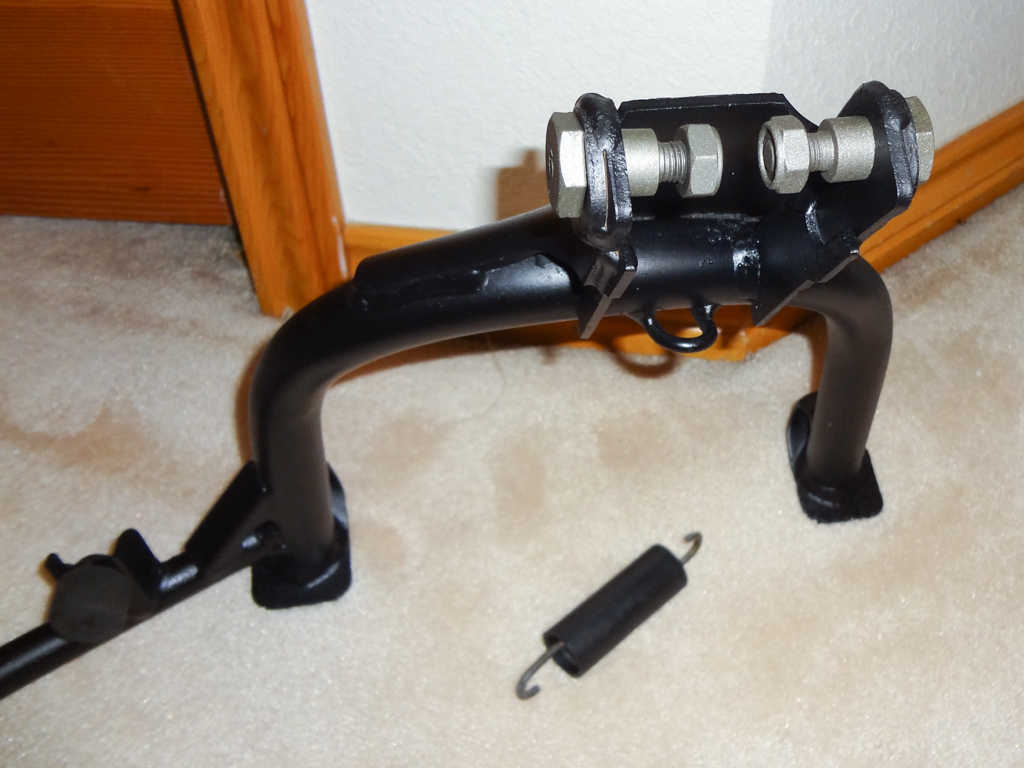
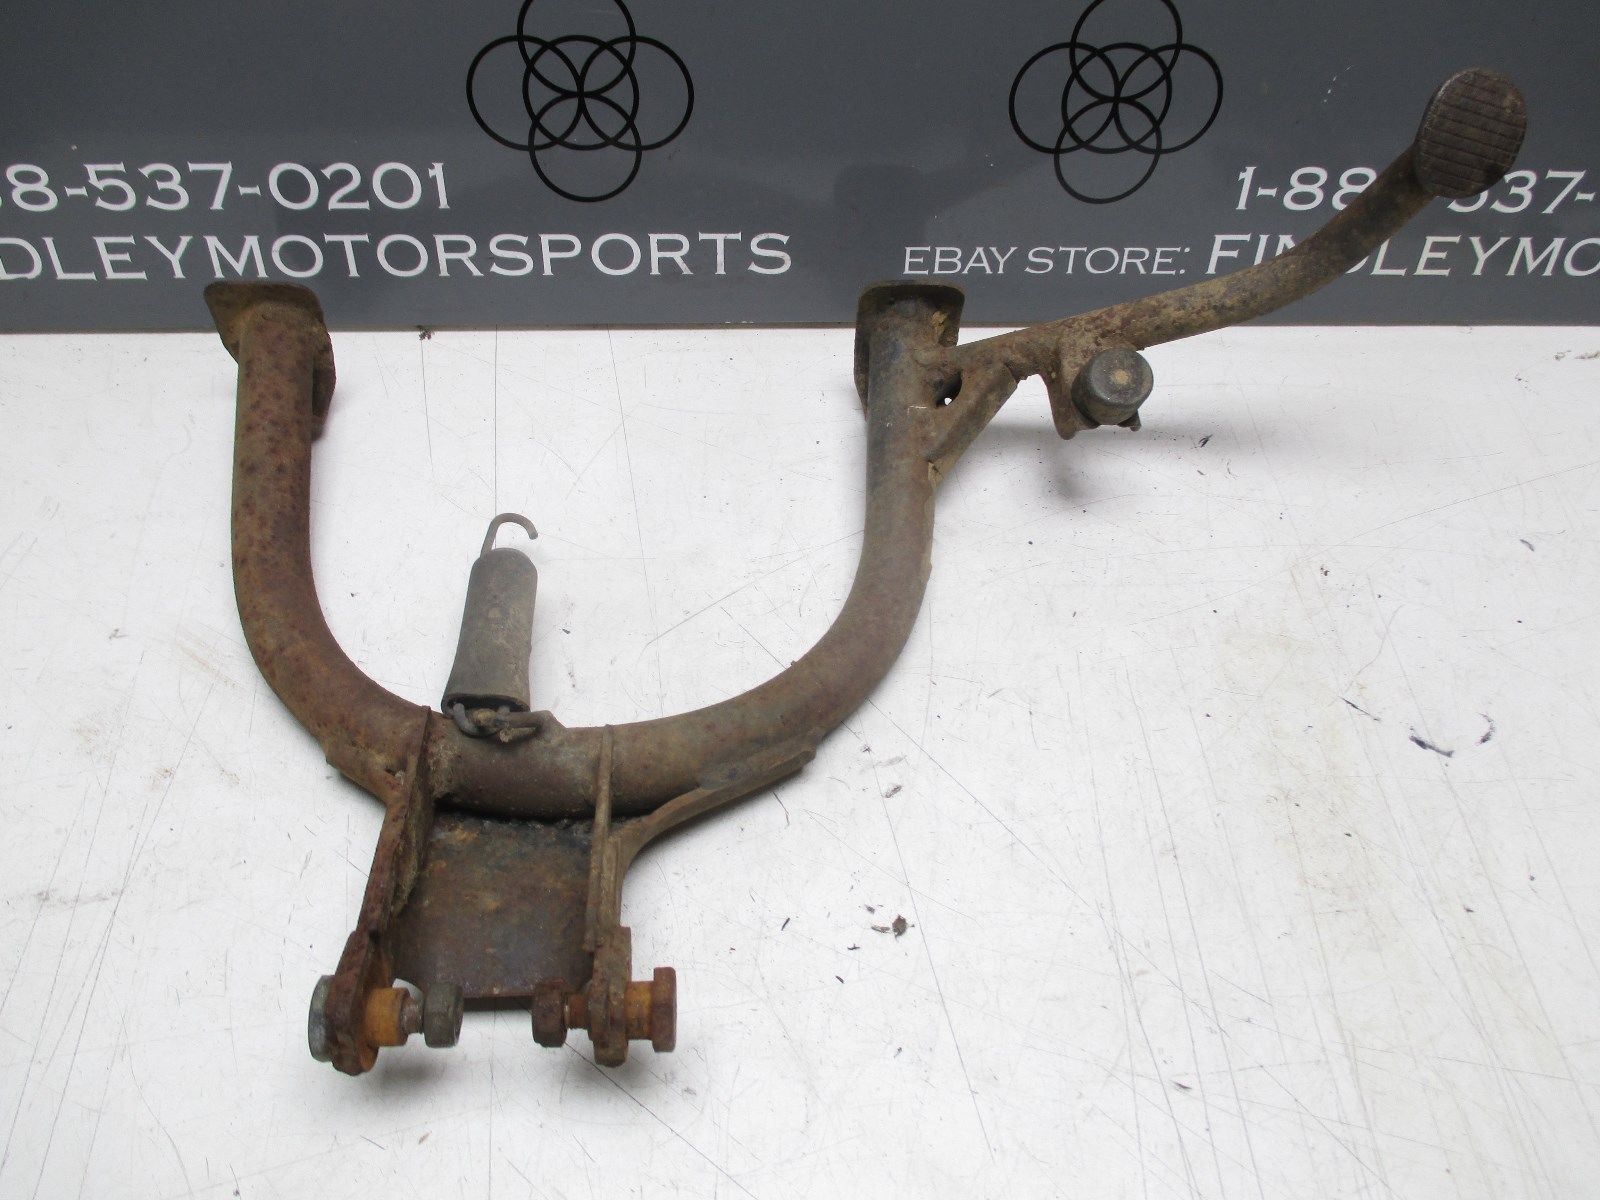
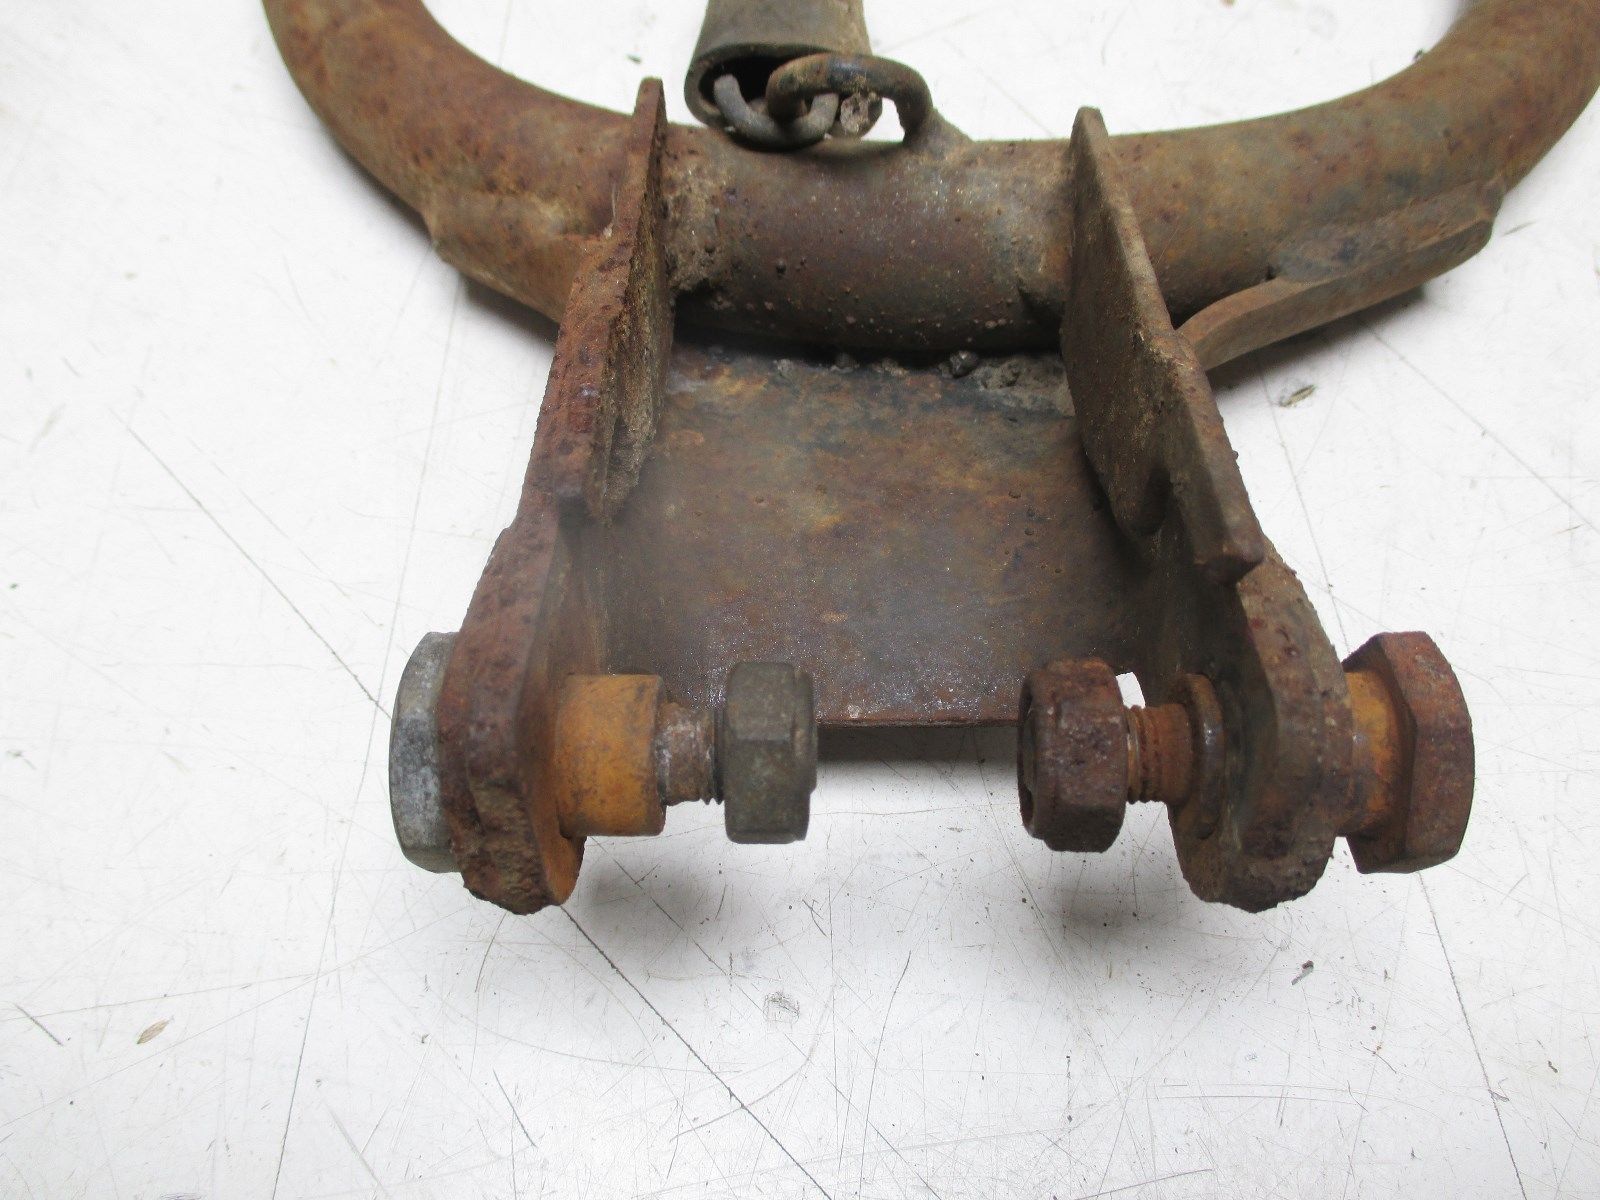
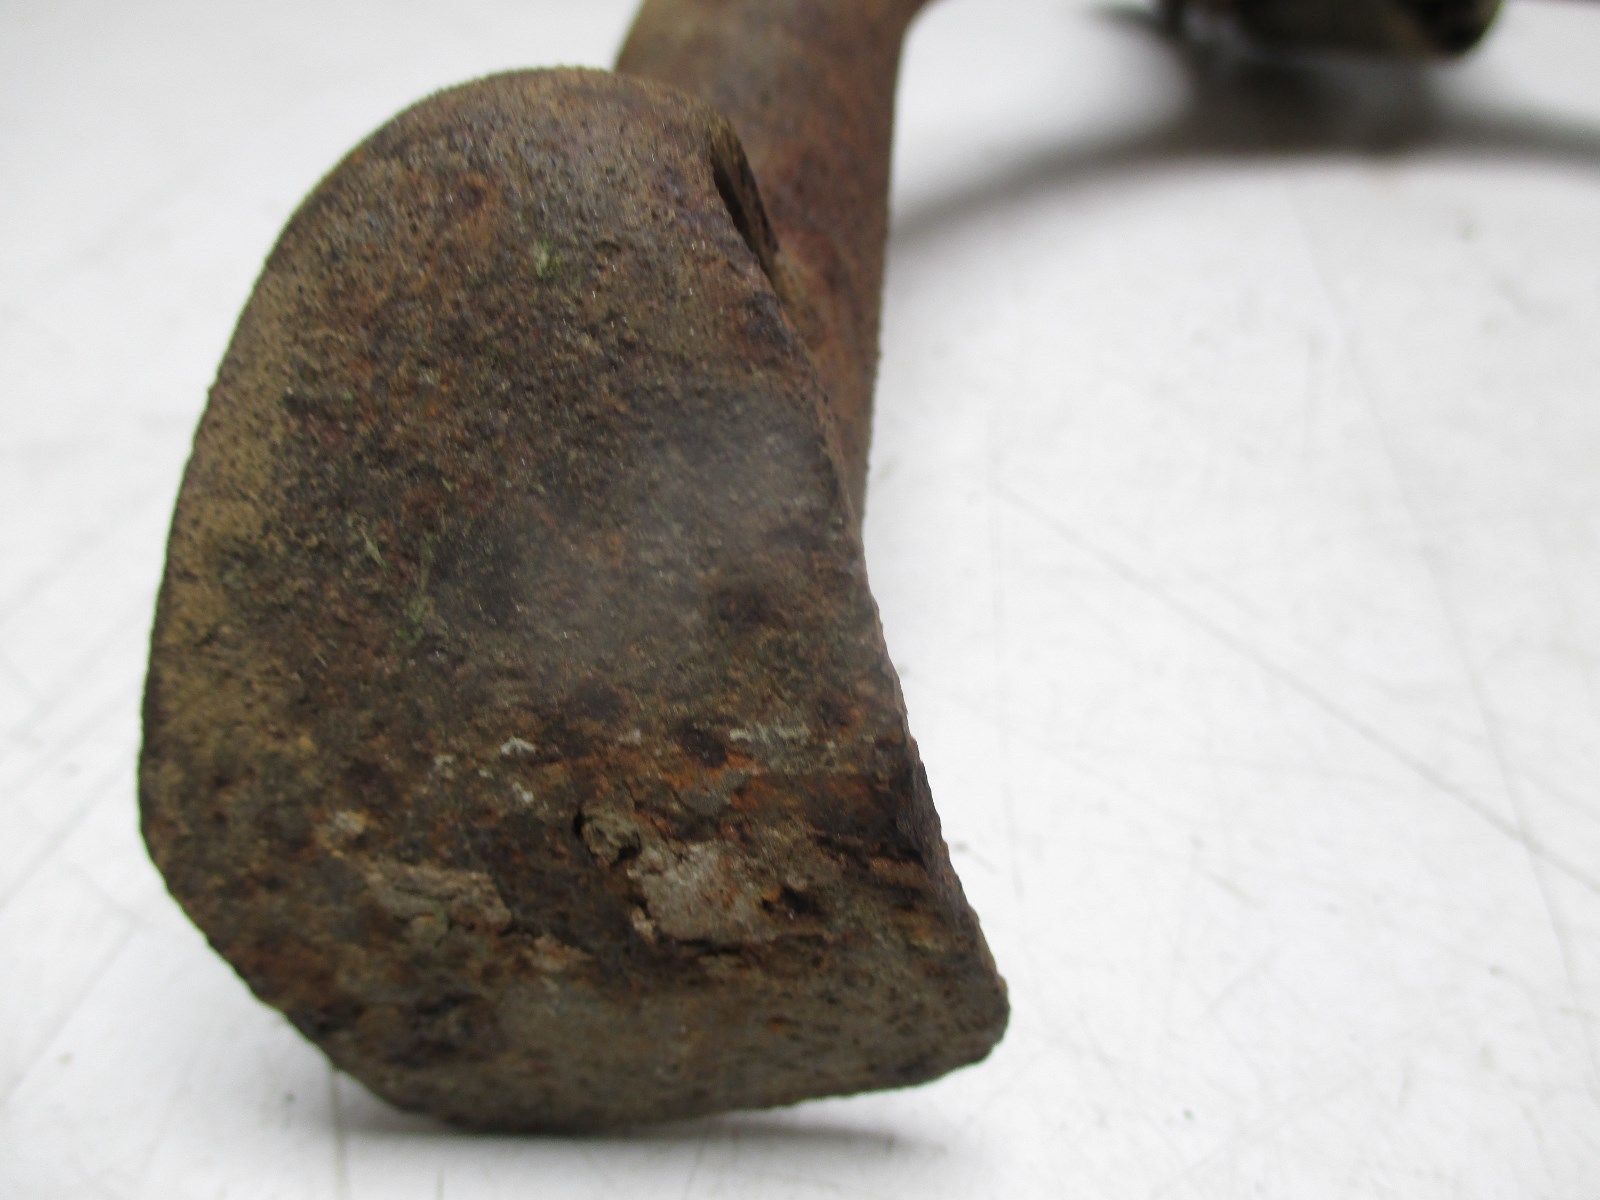
This is the stand, as-purchased:

What's needed?
Plastic (non conductive) tub or bucket
Electrolyte mixture consisting of water and Sodium Carbonate (commonly sold as Washing Soda)
A manual battery charger
A spare 12V battery (as needed)
A piece of old scrap iron to use as an anode.
The electrolyte:
The electrolyte consists of a mixture of washing soda (sodium carbonate) and water. I used a ratio of one-cup of washing soda per 2 gallons of water. Add the water to your plastic tub and then mix in the washing soda.
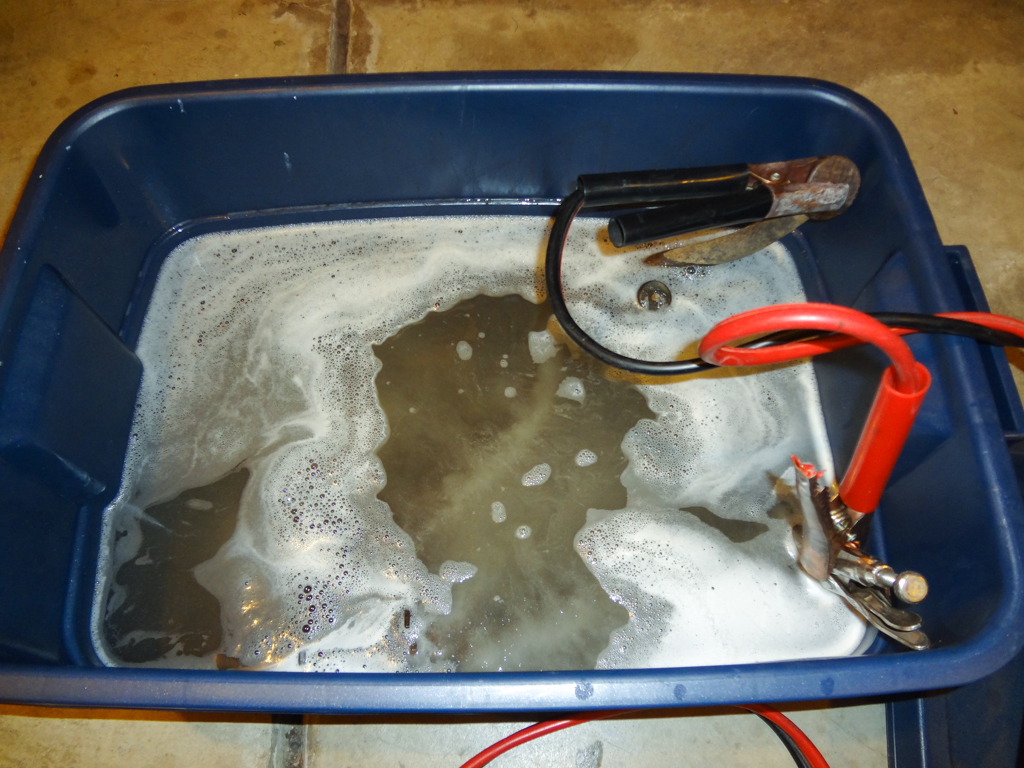
The Setup:
I am using a cheap Harbor Freight manual battery charger. It's rated at 6 amps at 12 volts. It will not work unless it is connected to a battery so I run a battery in-line. If you are using a battery charger which is completely manual, or another form of DC power supply, you can omit the battery.
Connect the battery charger to a spare 12V battery and then run wires from the battery to the tank. Connect the negative terminal of the battery/charger to the part you want to clean. Connect the positive terminal to the piece of scrap iron. This is important; if you connect these backward, the part you want to clean will actually become more rusty and the scrap iron will become less rusty.
Connect the battery charger, 12V battery, scrap-iron and rusty-part as shown:
Here's mine, connected as described:

Once everything is connected, plug in the battery charger and turn it on. You should immediately see bubbles form on both the anode and part you're cleaning. Here's mine immediately after turning on the battery charger and connecting the part:
[youtube]qY9imYflsQE[/youtube]
Electrolysis works on a line-of-sight principle; that is, the electrons flow directly from the part to the anode and only the areas of the part which can directly "see" the anode will be cleaned. Let the process run for many hours and move your anode around so that each area of the part is cleaned. I spent 24 or so hours moving mine around and ensuring I cleaned every area of the centerstand.
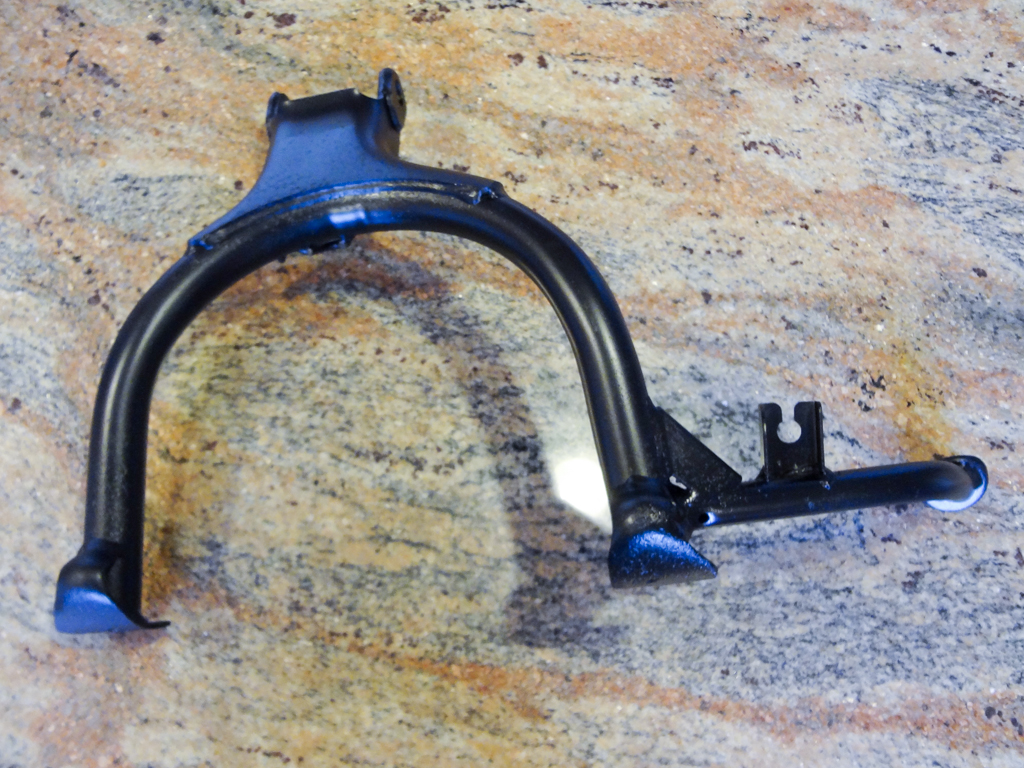
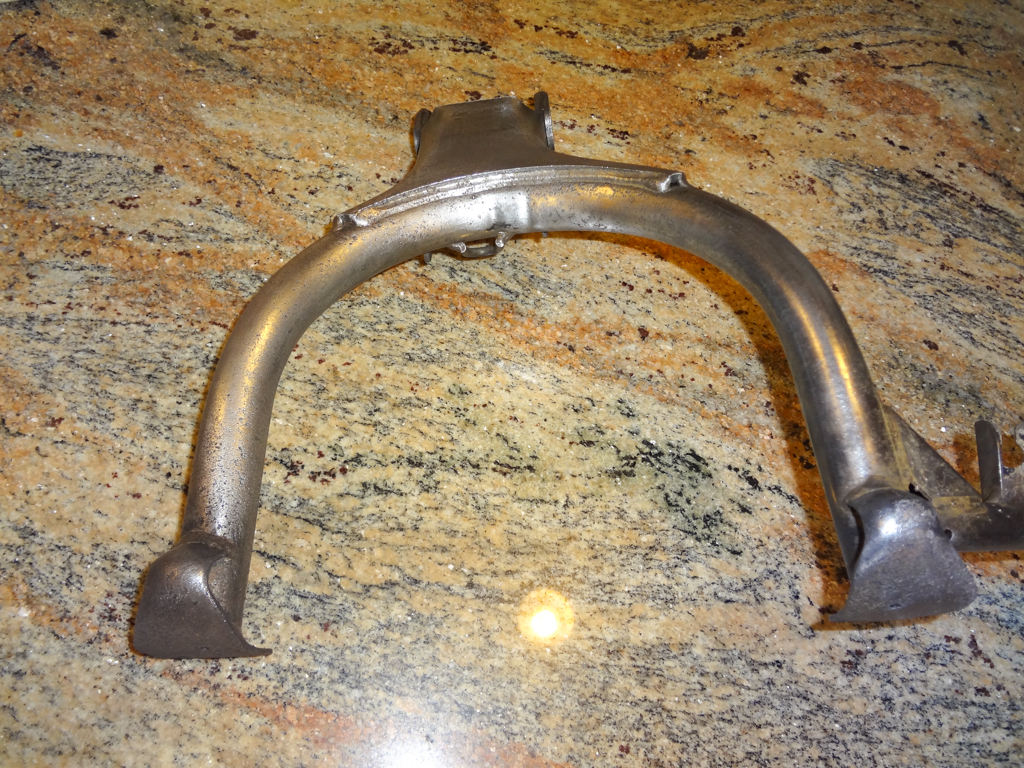
Post-electrolysis Results:
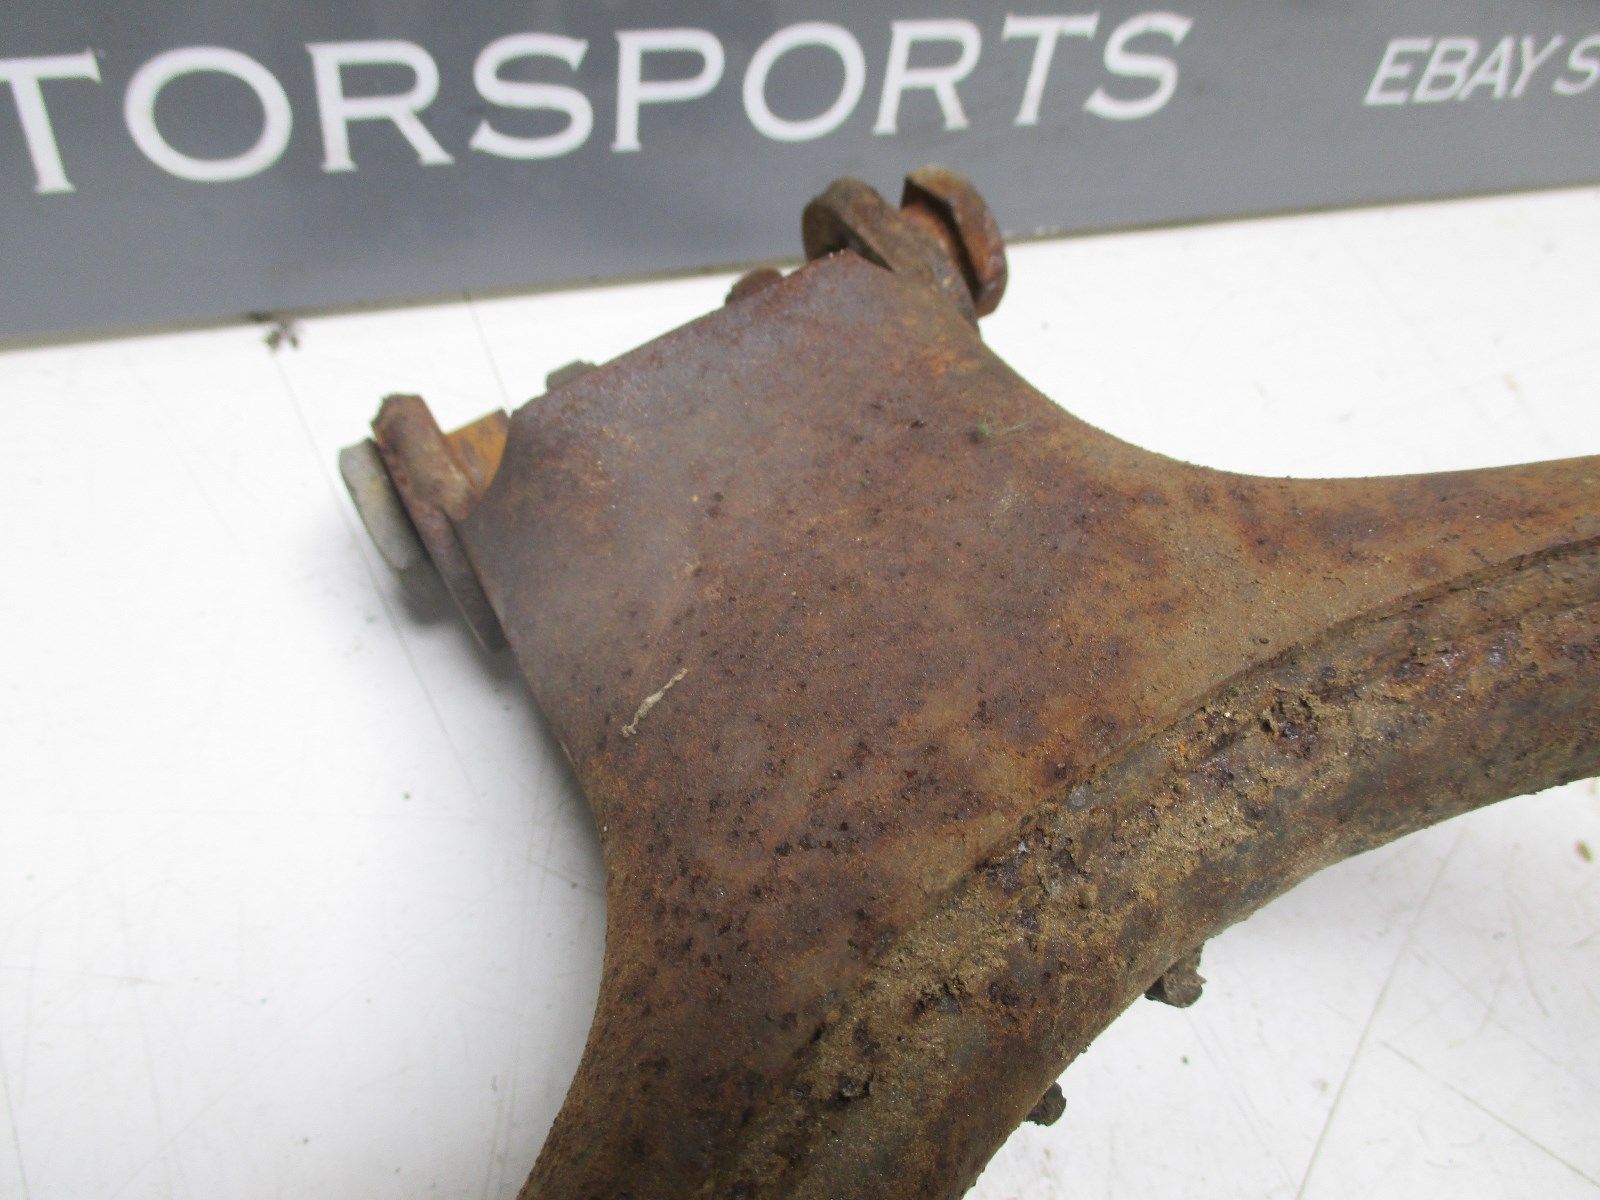
Here's the centerstand after having the rust removed using electrolysis. I scrubbed it up with a wire brush afterward to remove any remaining paint.

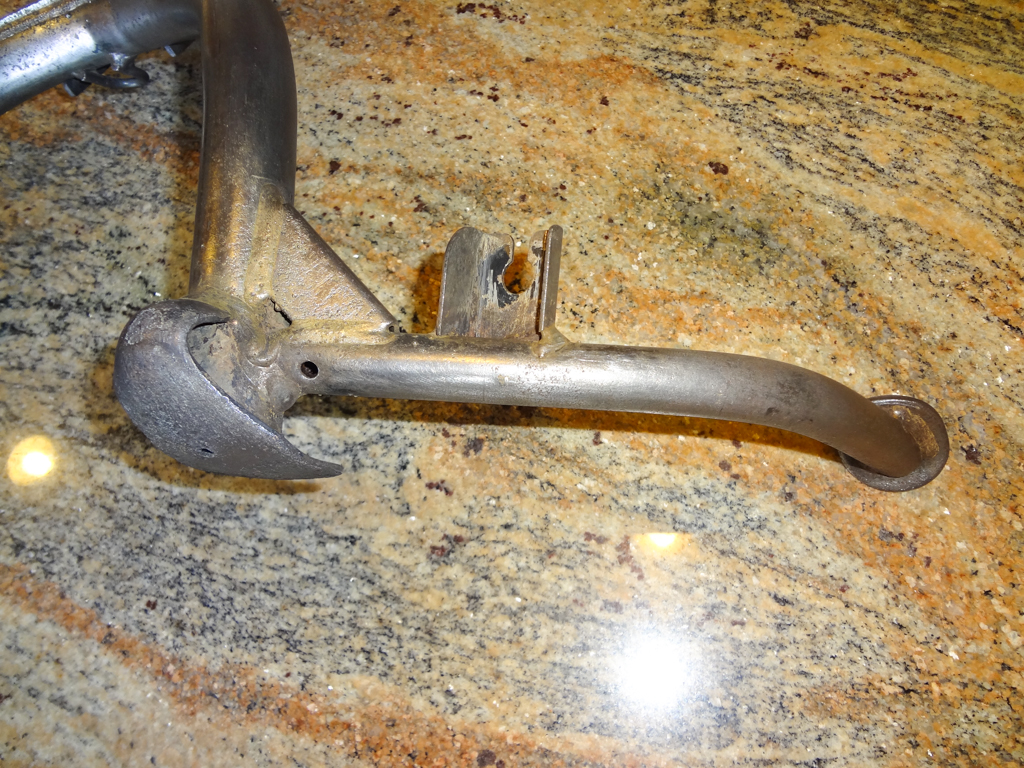
Finished part:
I baked the stand in my oven for a few minutes to dry it out and then gave it a coat of low-gloss engine enamel. Here's the final result: