
- The US Army uses the term BDAR (Battle Damage Assessment & Repair) to describe quick field fixes to make damaged equipment serviceable again. It's a politically-correct government acronym for what most of us call jerry-rigging (or other more colorful and offensive terms). It's never the best way to do things, but it's better than nothing when it's the only option.
- I got this helmet used from some friends. Their kids used it for riding the quad around the yard. They traded me for the helmet I had that had no shield at all since they didn't need one for their use. This one had a shield, but it was in pretty bad shape; like blind-when-headlights-come-at-you bad. Still, I couldn't afford a new helmet, and Shooting Star (the bike I was riding at the time) had no windscreen, so any shield was better than none. I figured I'd just get a new shield for it, but, as luck would have it, they don't make them anymore. Of course!
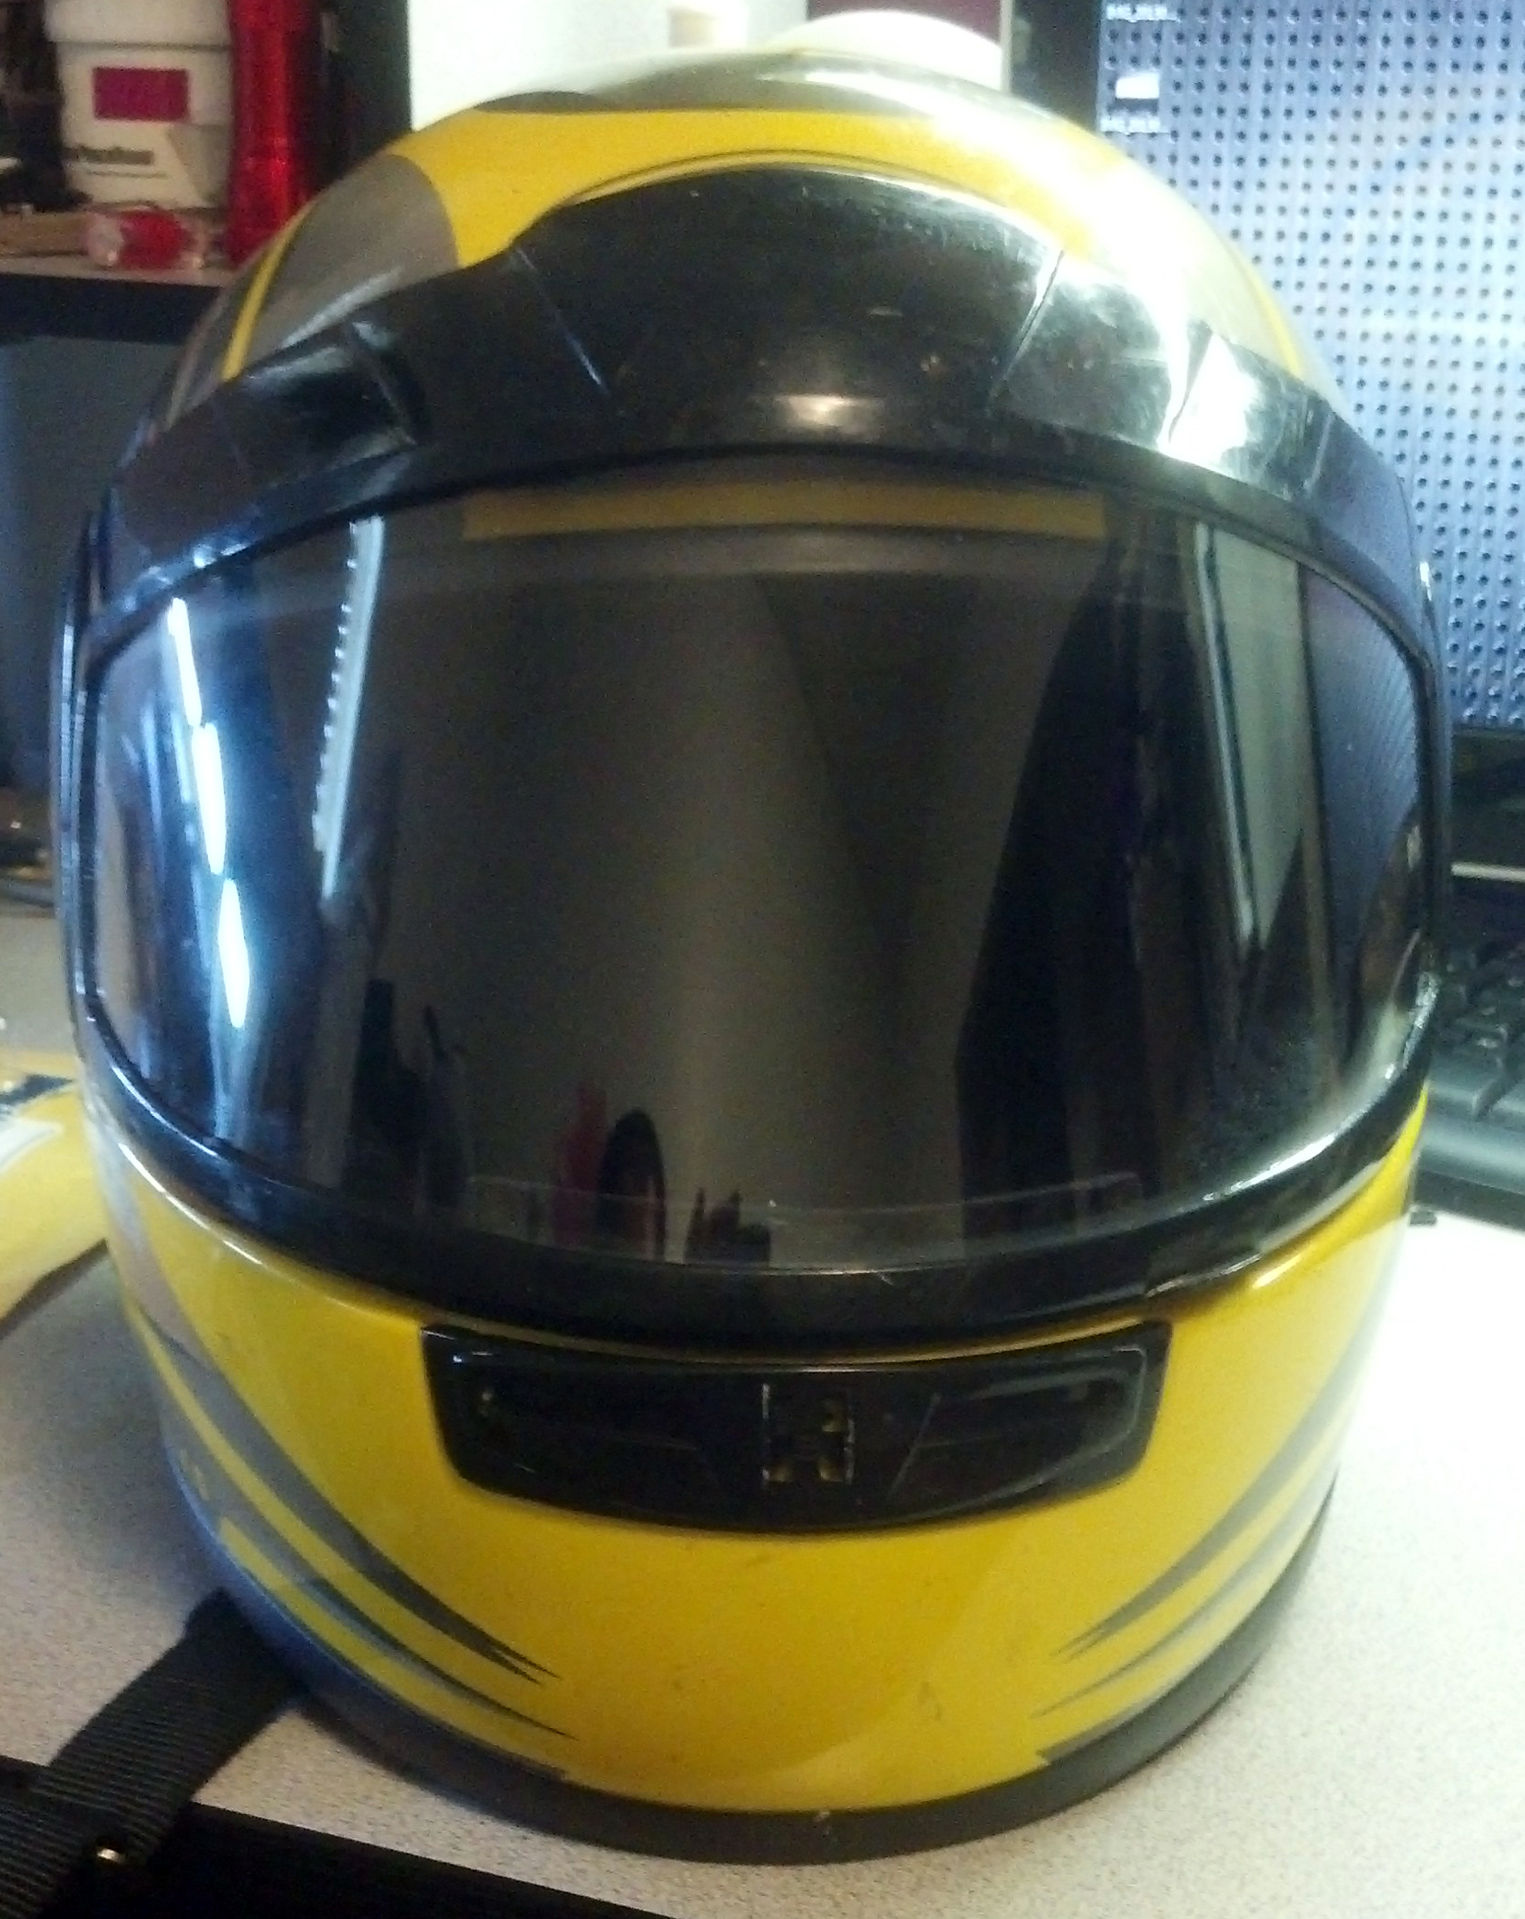
- Fast forward: Now, I want to replace this helmet more than ever; shield is worse than it was, it's super noisy, and it's yellow...I now ride Ruby, who is red. I know just which helmet I want, but can't afford it yet, so this has to get me by awhile longer. I ride in to work at 5:00 am, so headlights are a constant problem and something had to be done.
- Today, I stopped by a local glass shop, and for a paltry $3.00 they hooked me up with a piece of 1 foot x 2 foot 1/8" plexiglass. It's far from ideal for a helmet shield, as this stuff scratches very easy, but it's dirt cheap, crystal clear, and easy to work with. After that, I swung by Advance Auto Parts, bought a $6.49 tube of plastic epoxy, and headed home to get to work. Here's what I did:
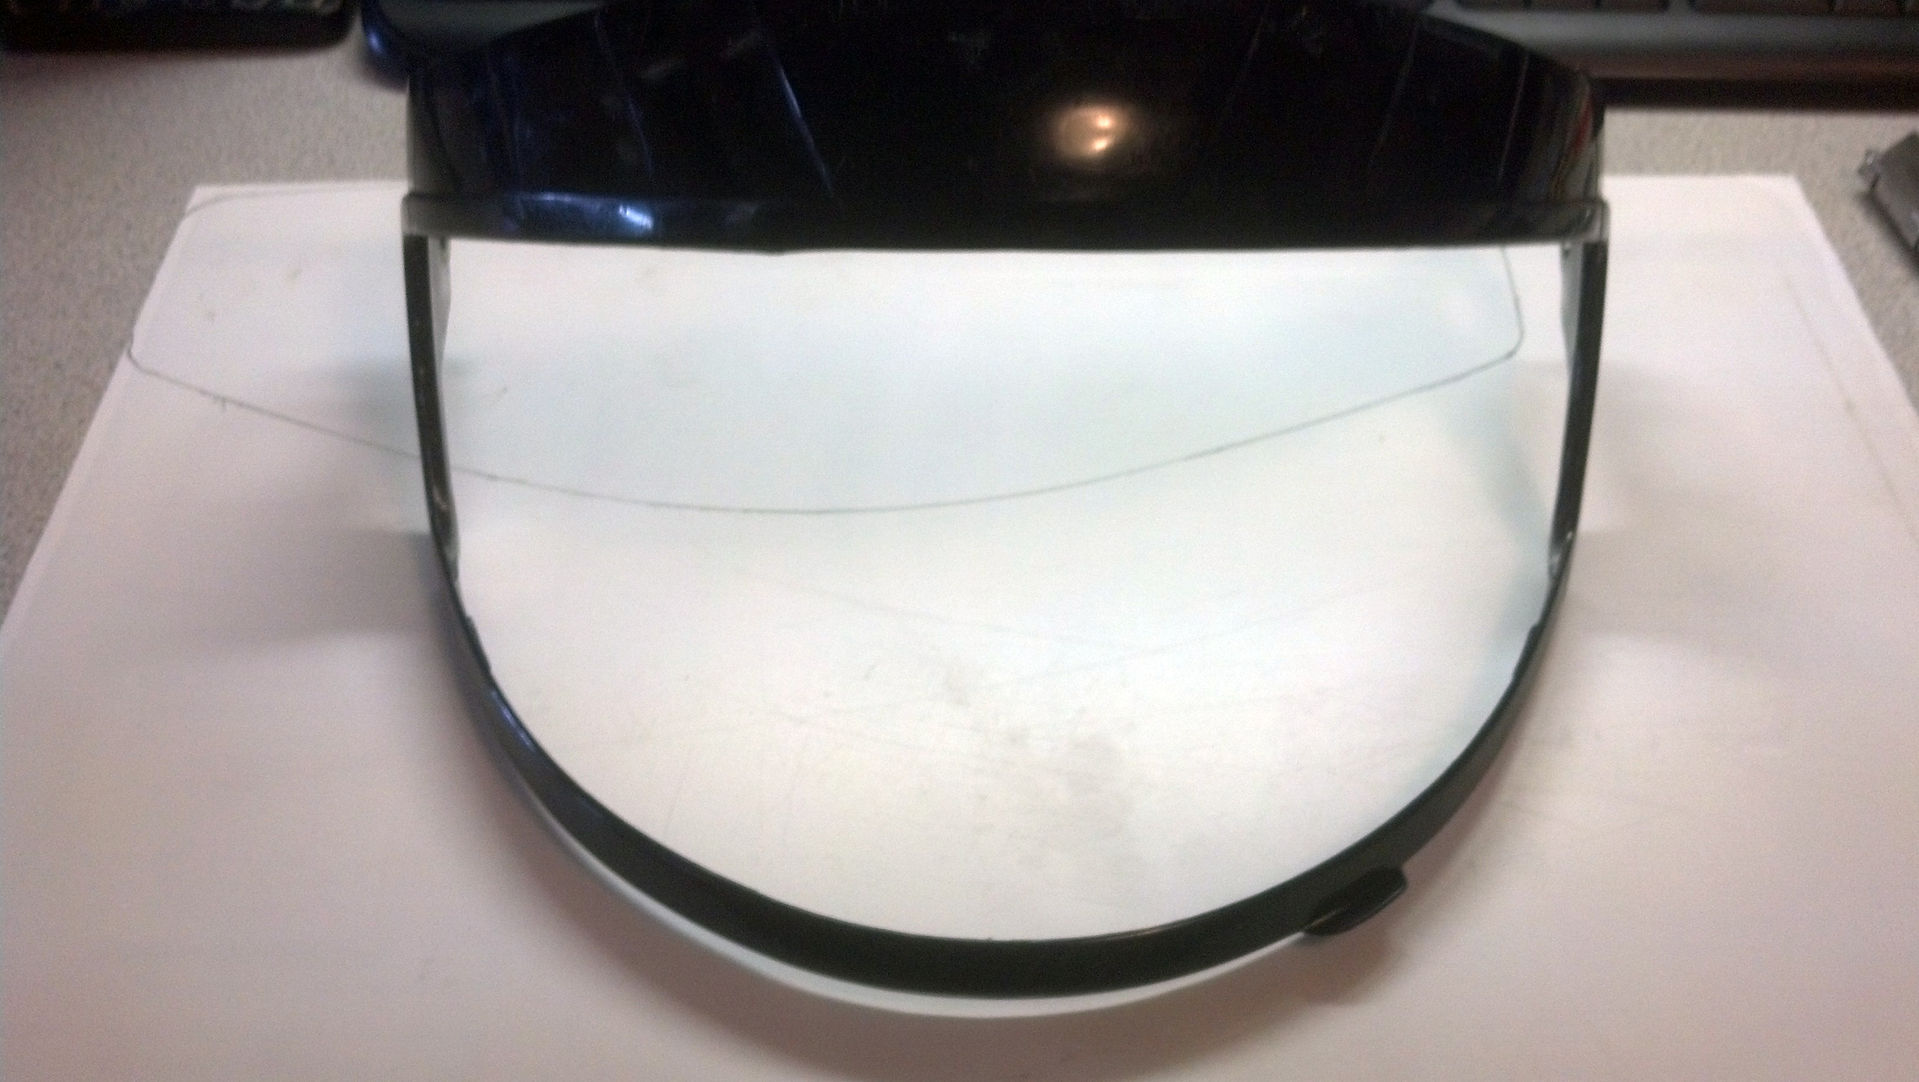
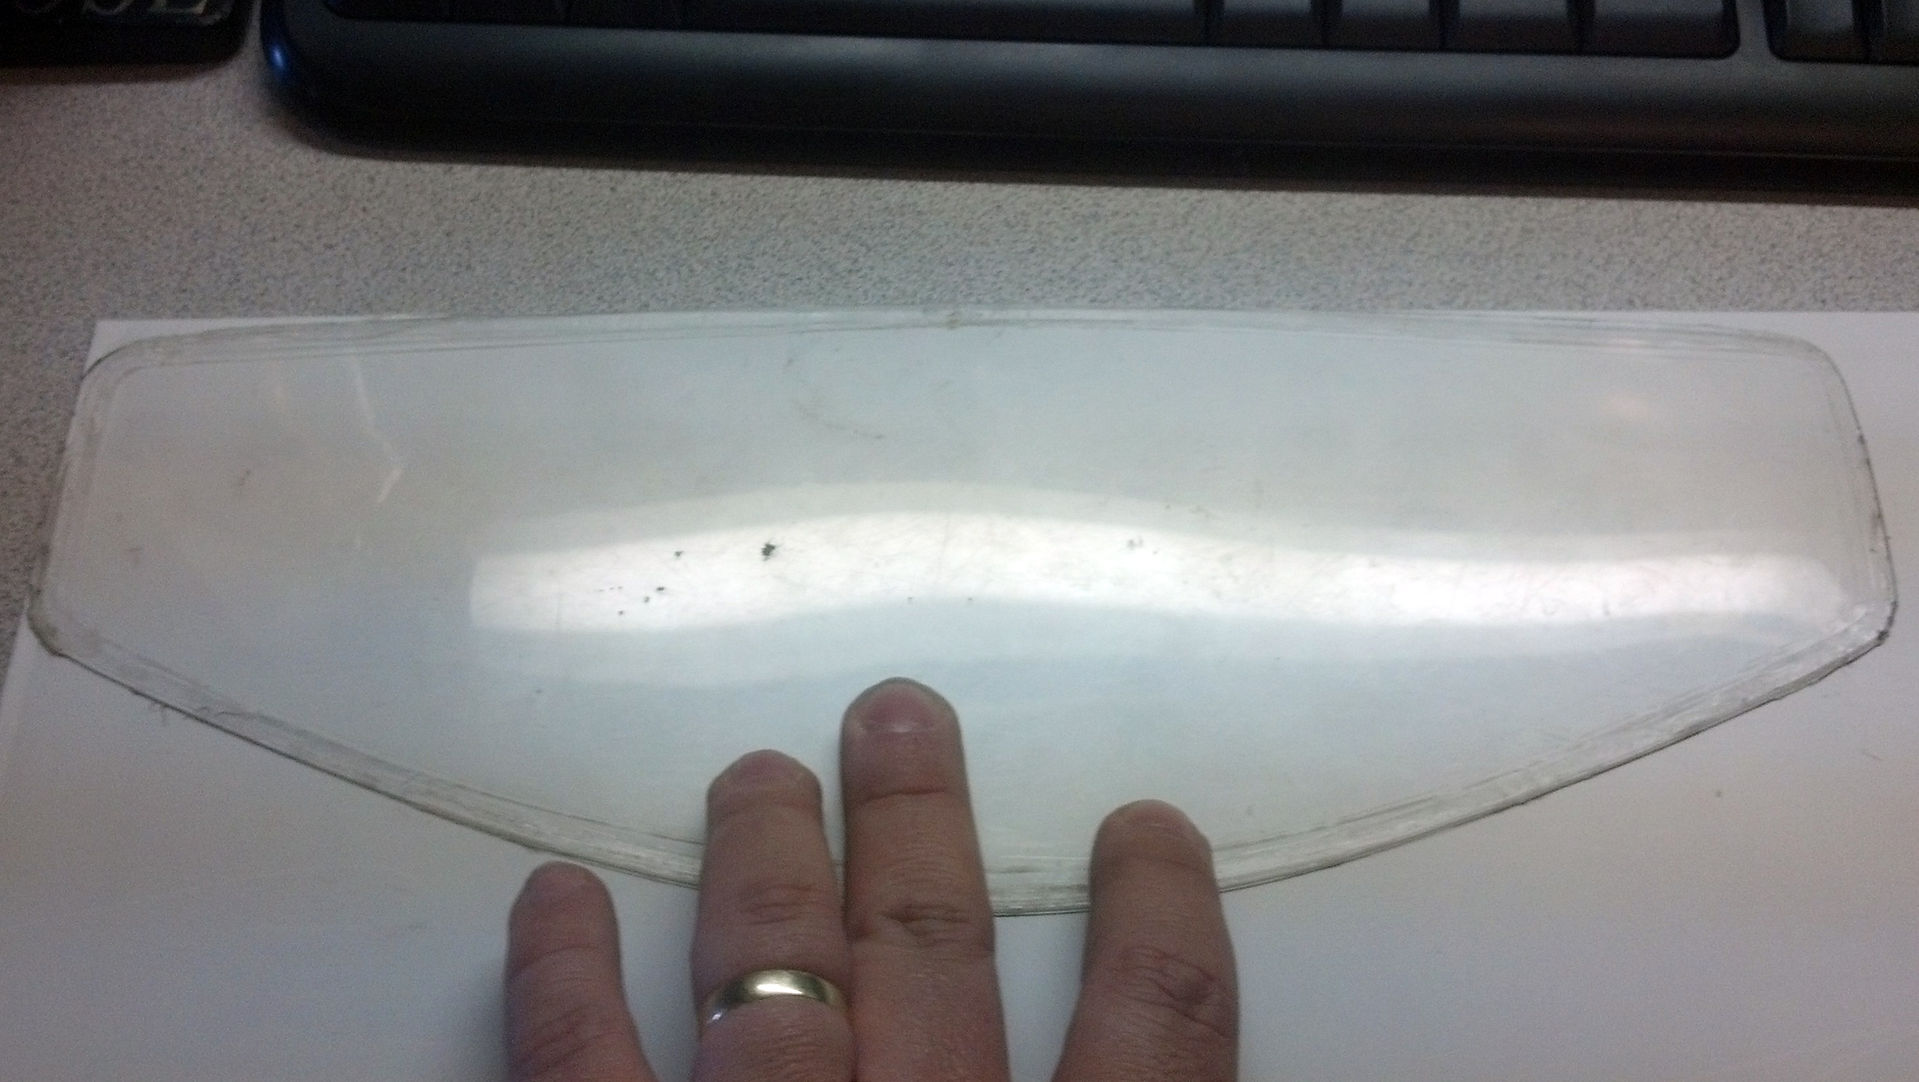
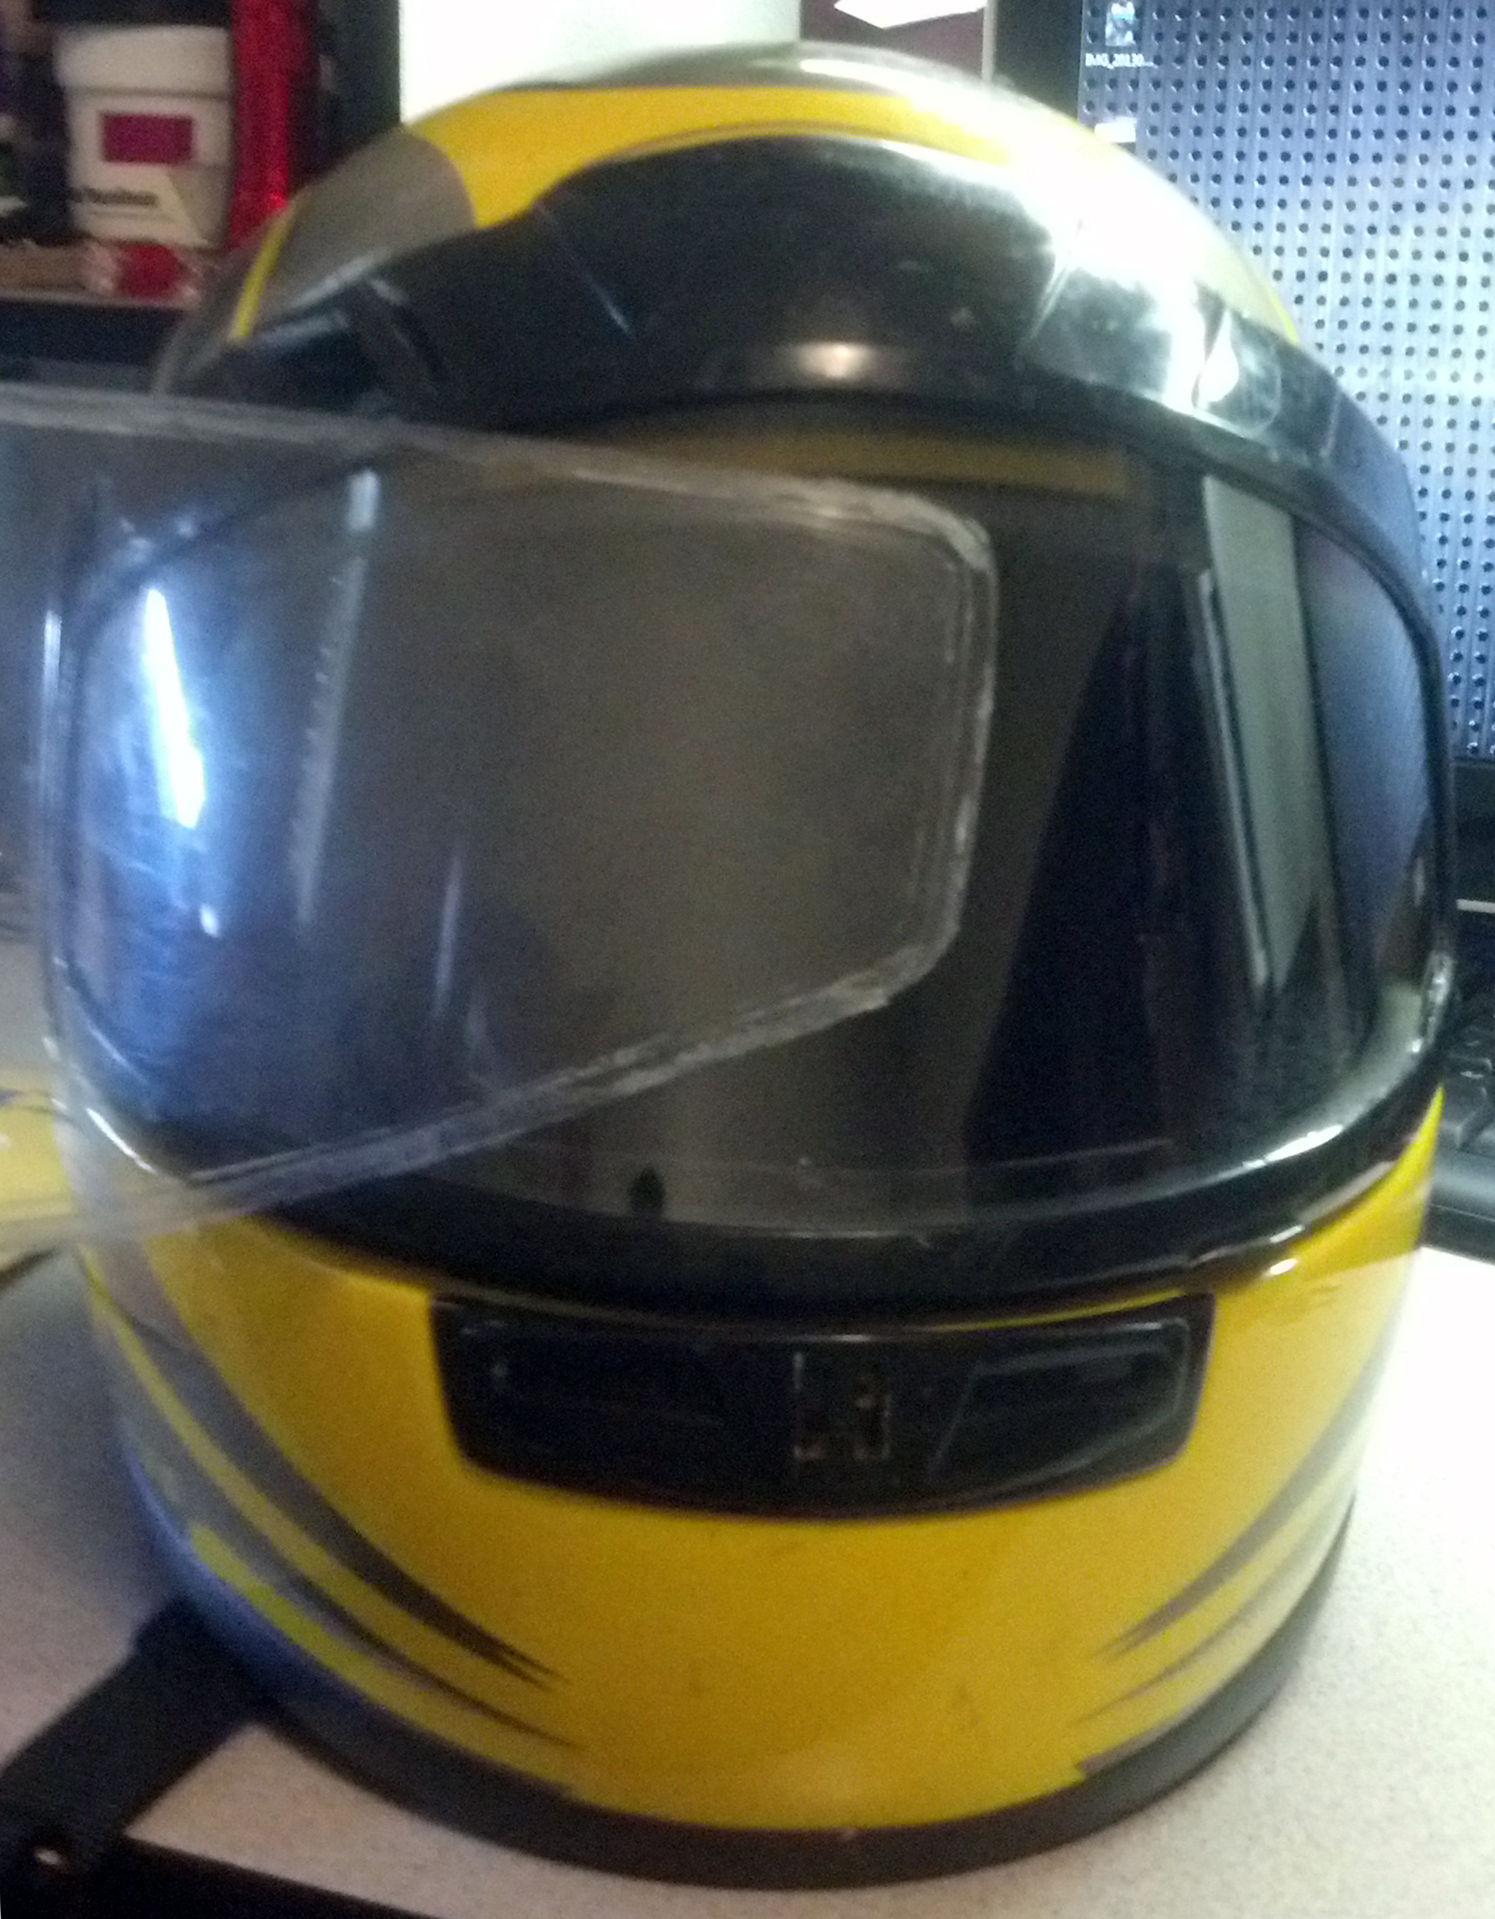
Here's what the old shield looked like (yes, the picture is blurry, but the screen is really that bad):

I slid a very small flat blade screwdriver in between the shield and the frame...
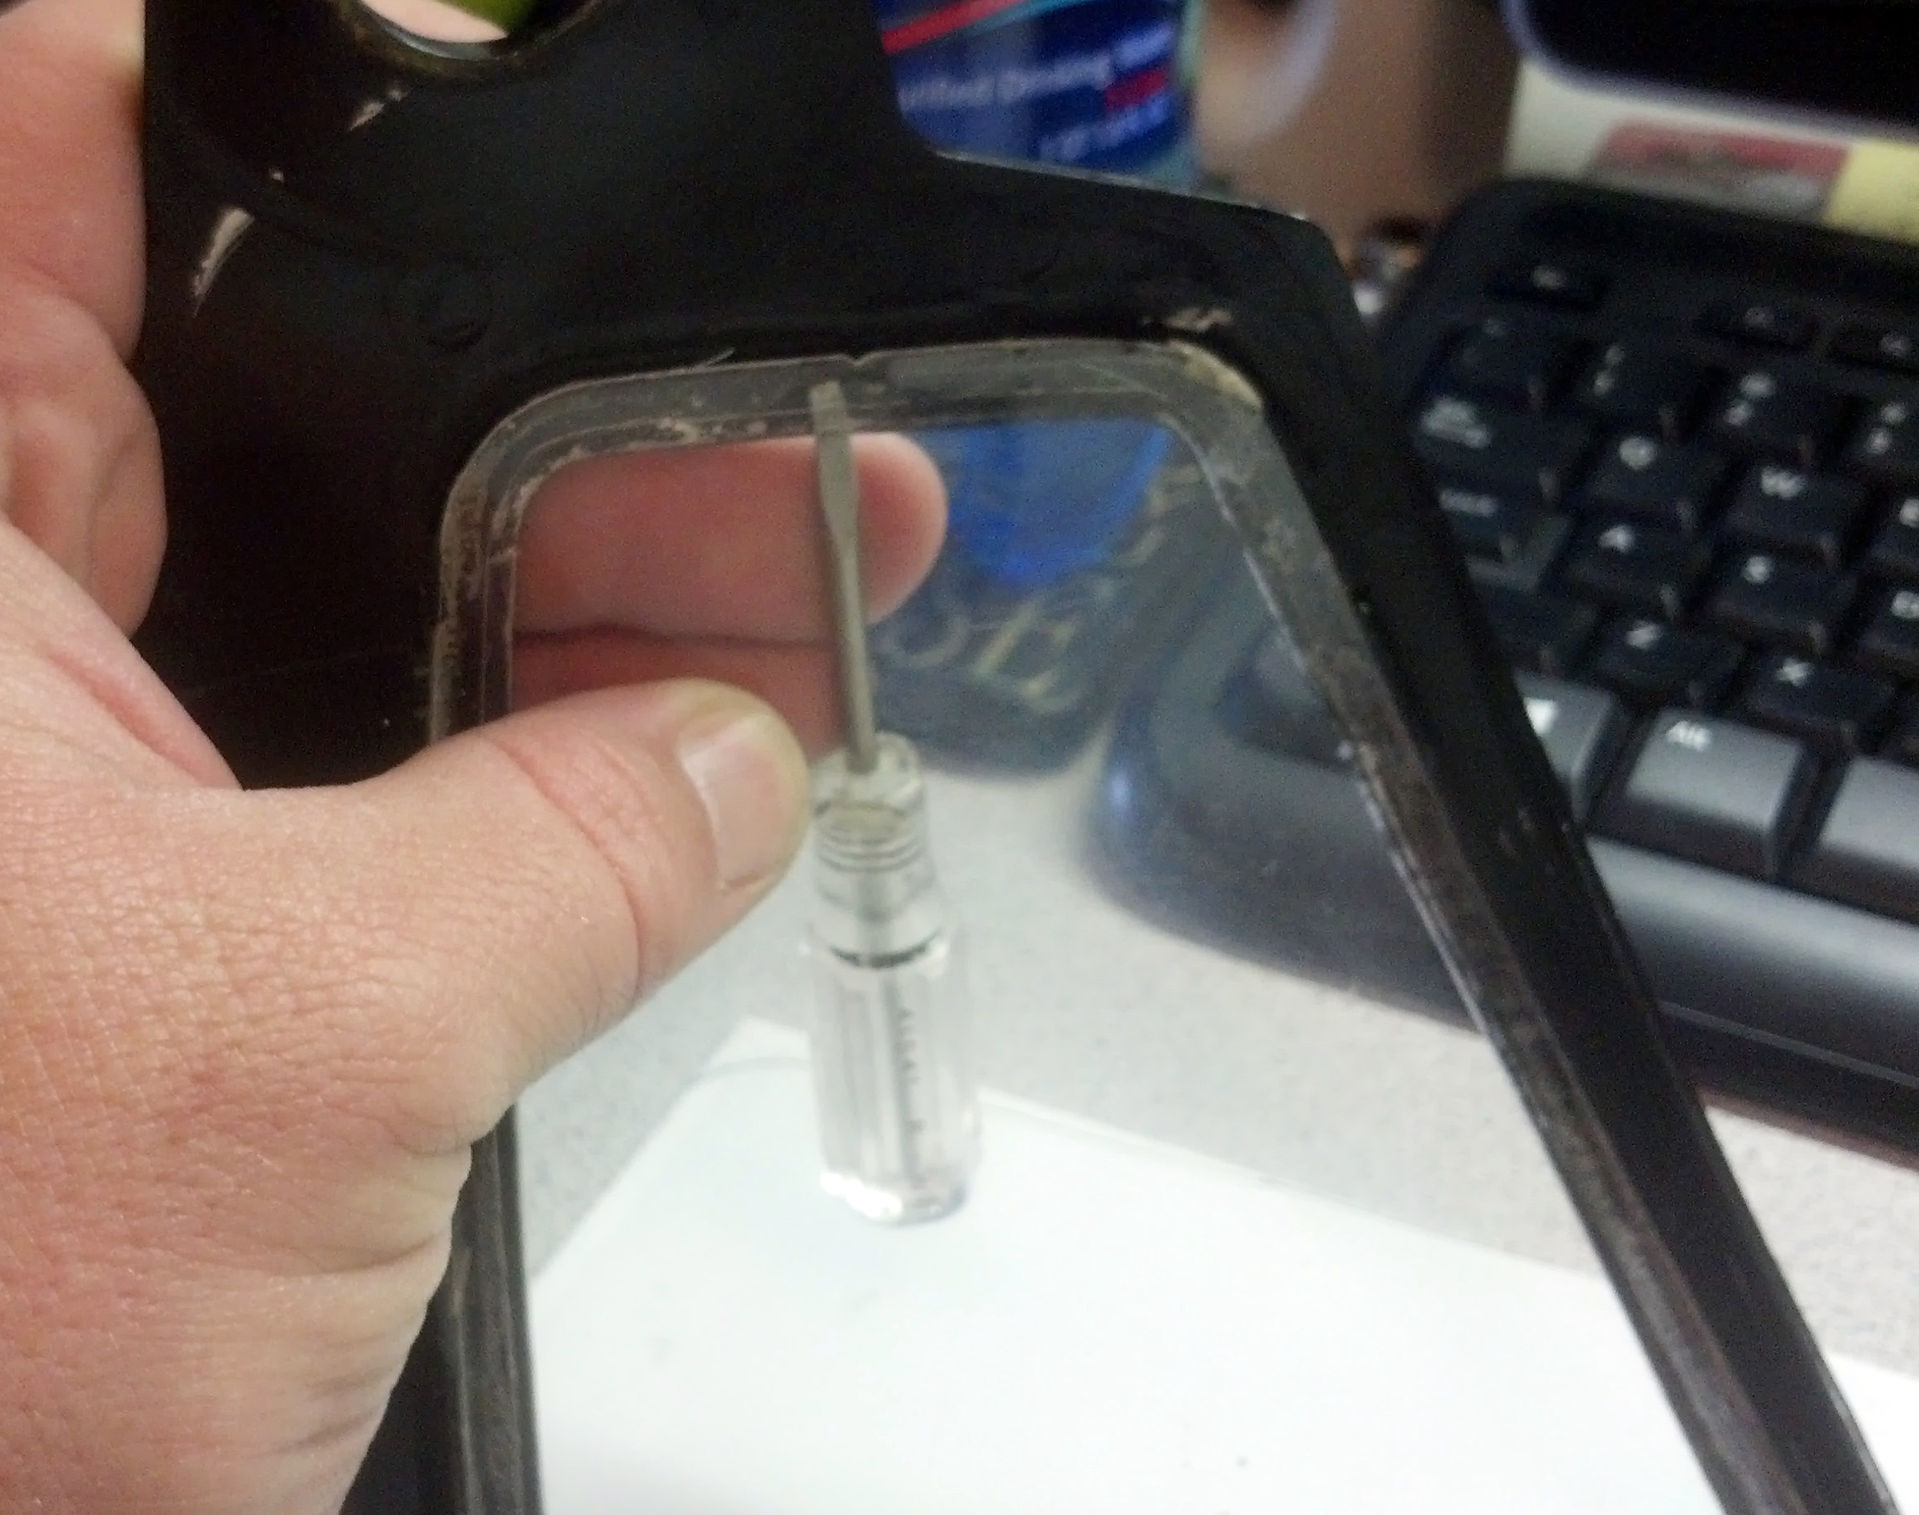
Knowing that I needed the old shield for a cutting pattern, I very carefully pried on it to break the glue holding it in (which fortunately didn't require much force):
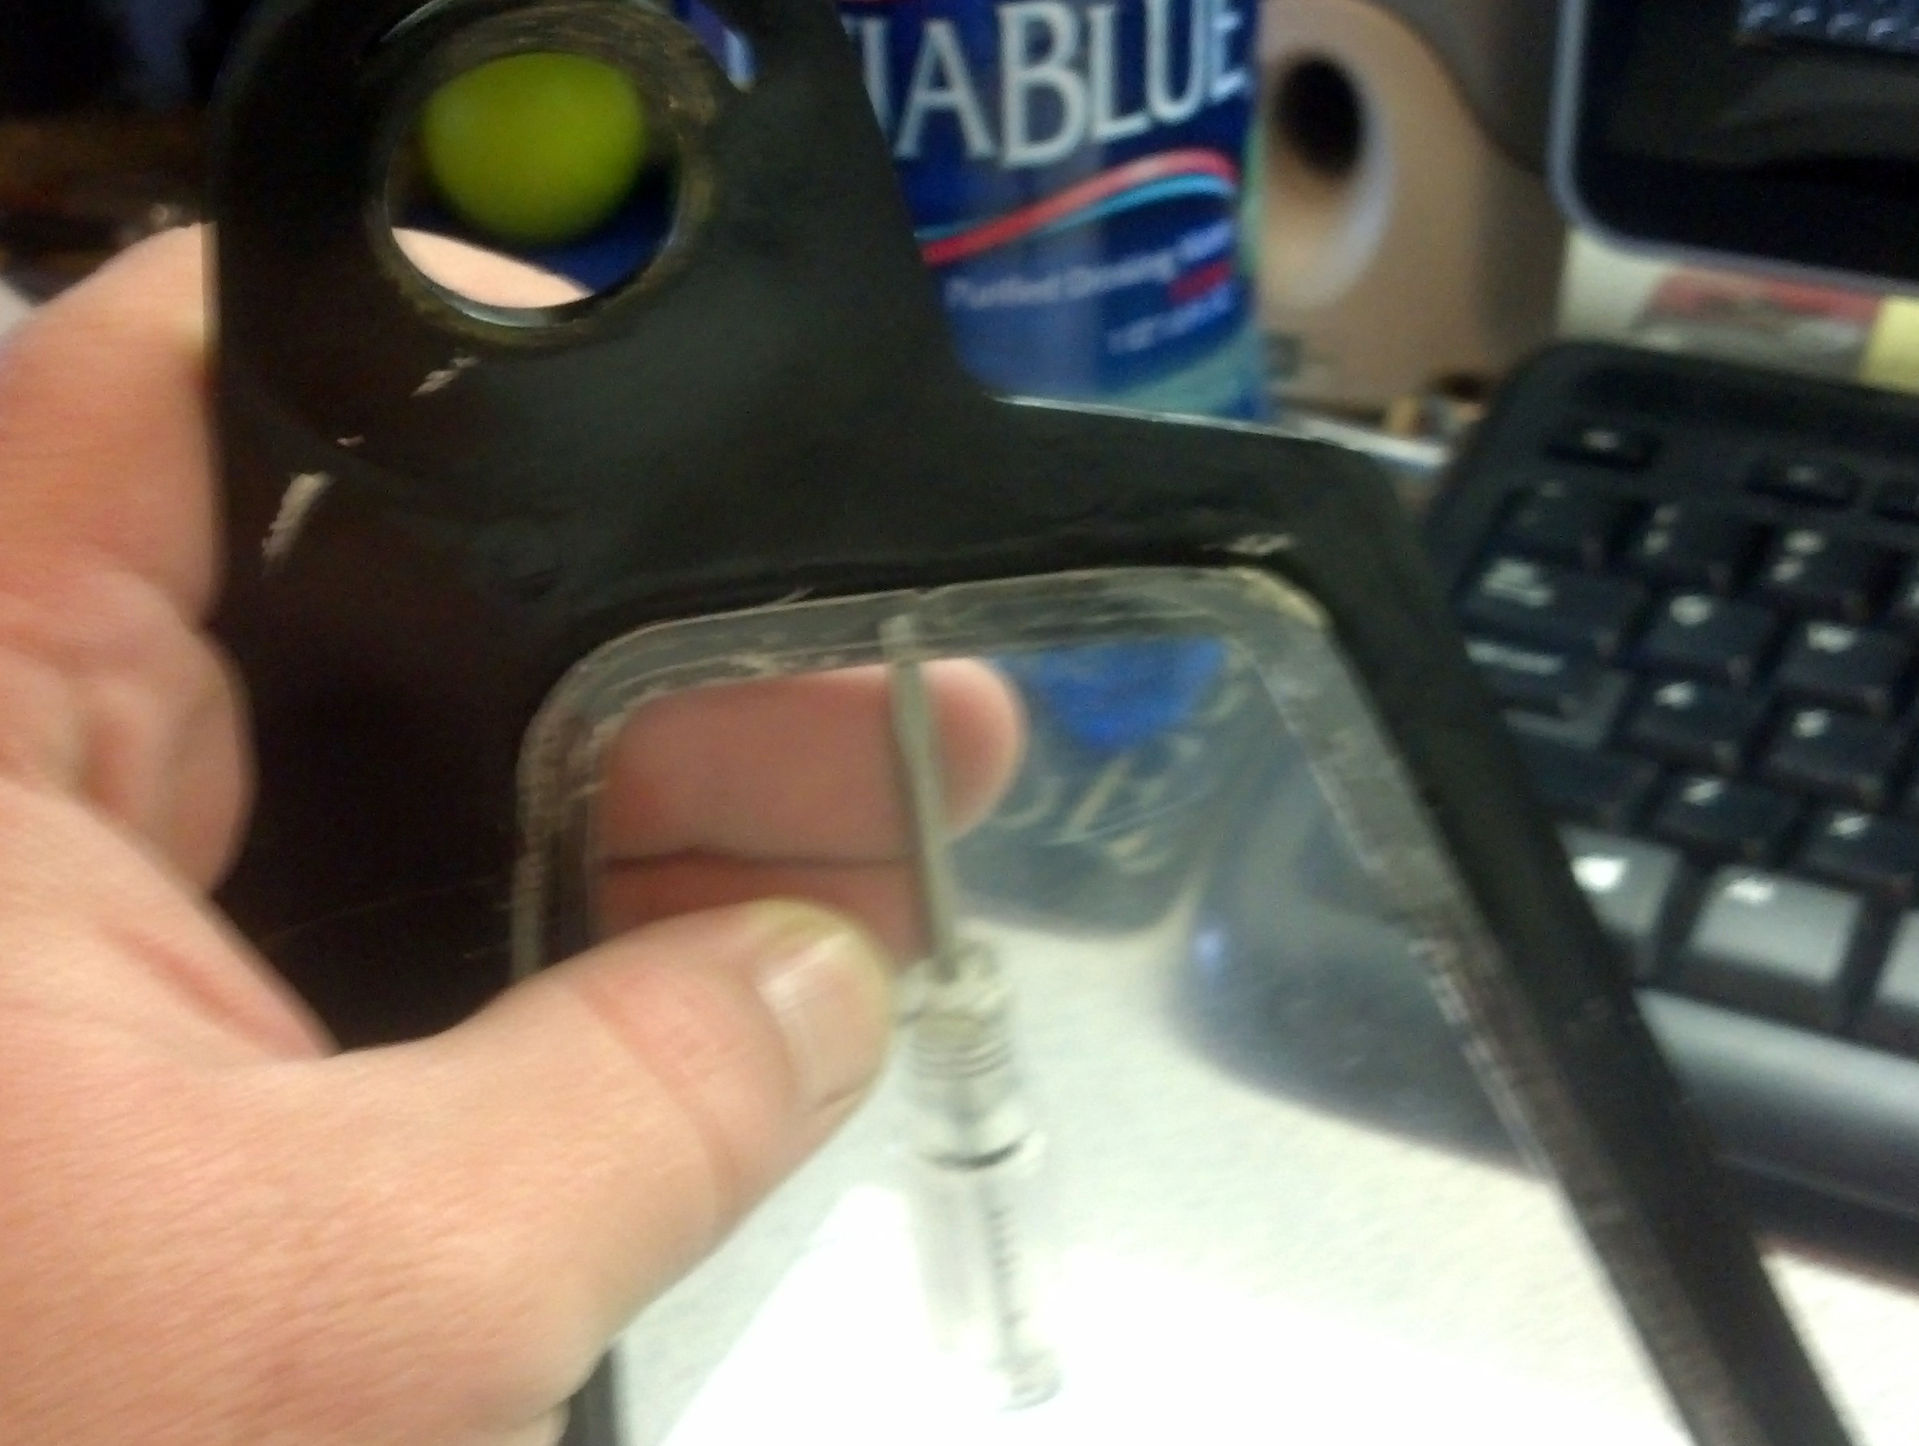
I then slowly worked my way around the edge until the whole thing was loose:
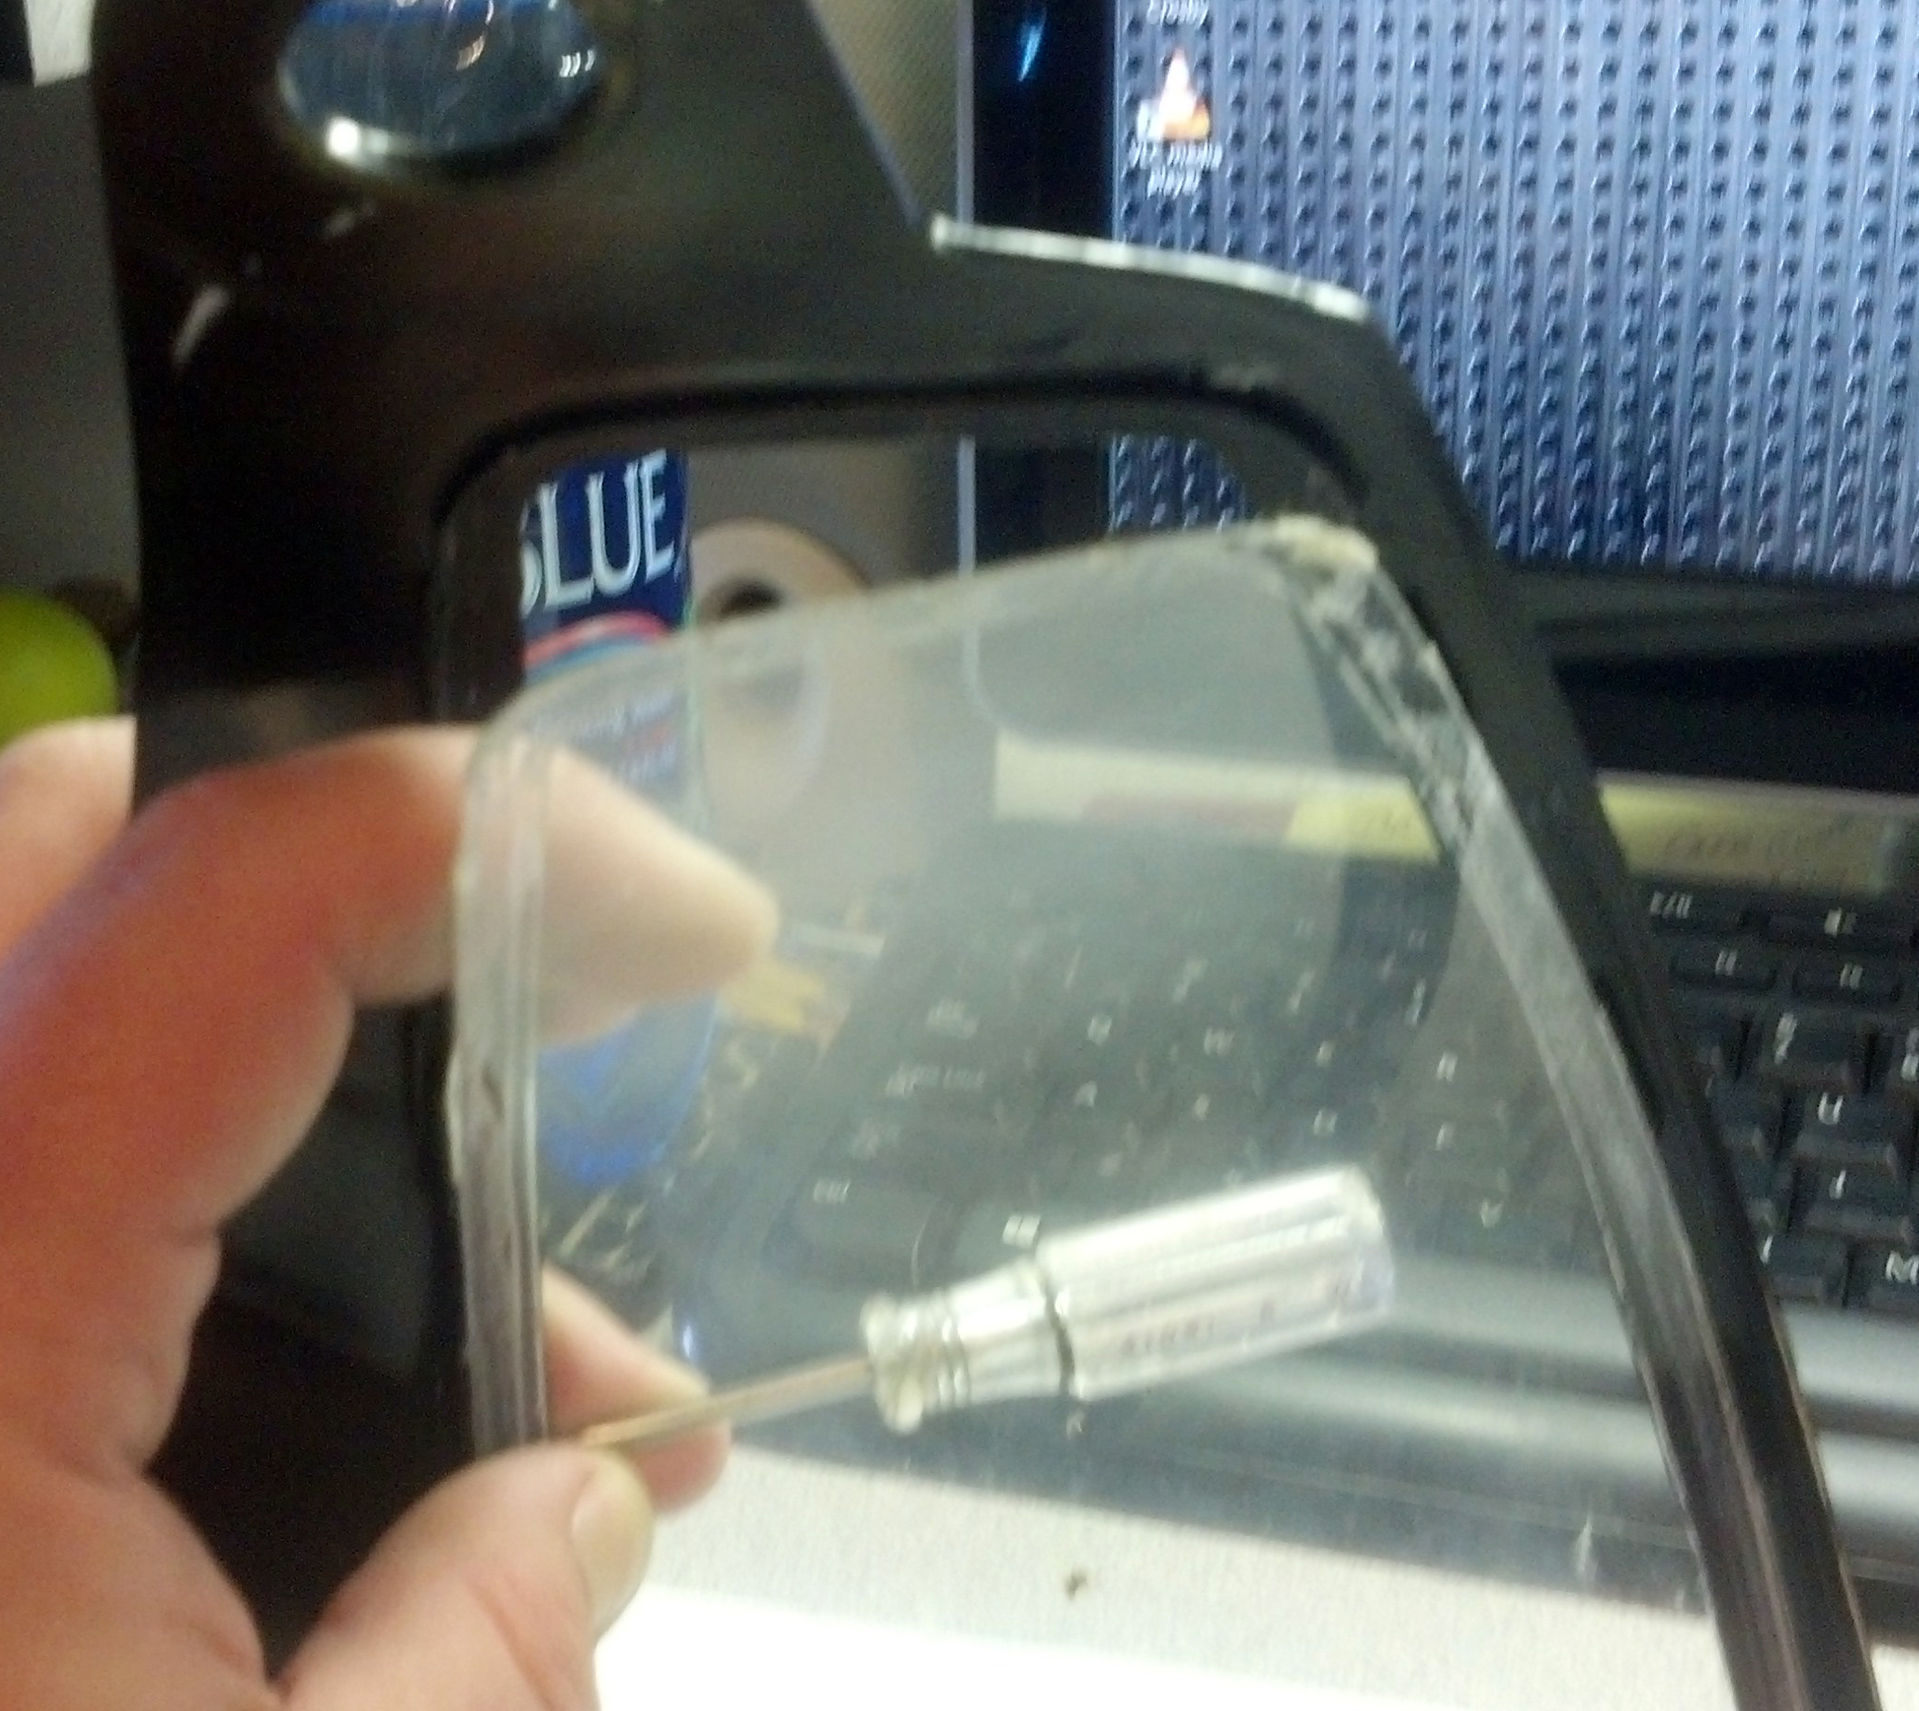
Voila! That's the most clear that thing has been since I owned it...though, a little weak on protection...
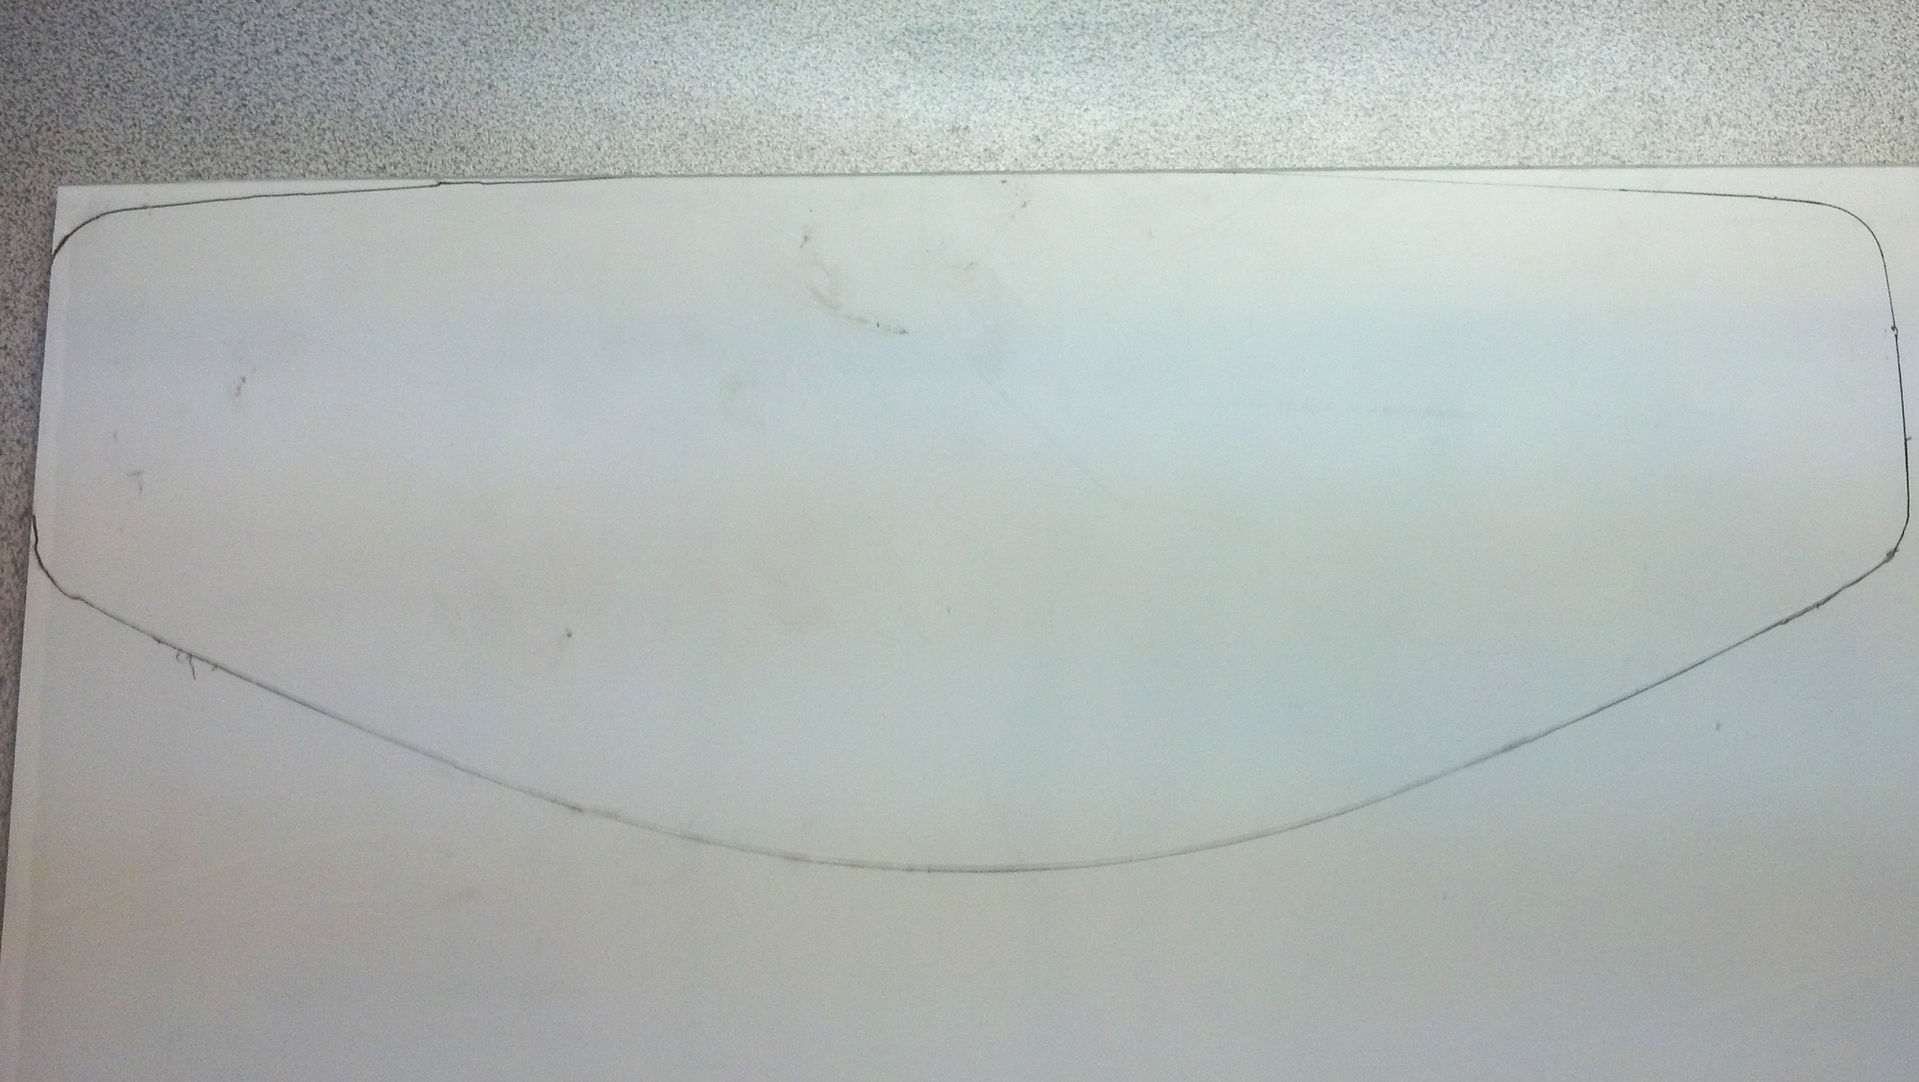
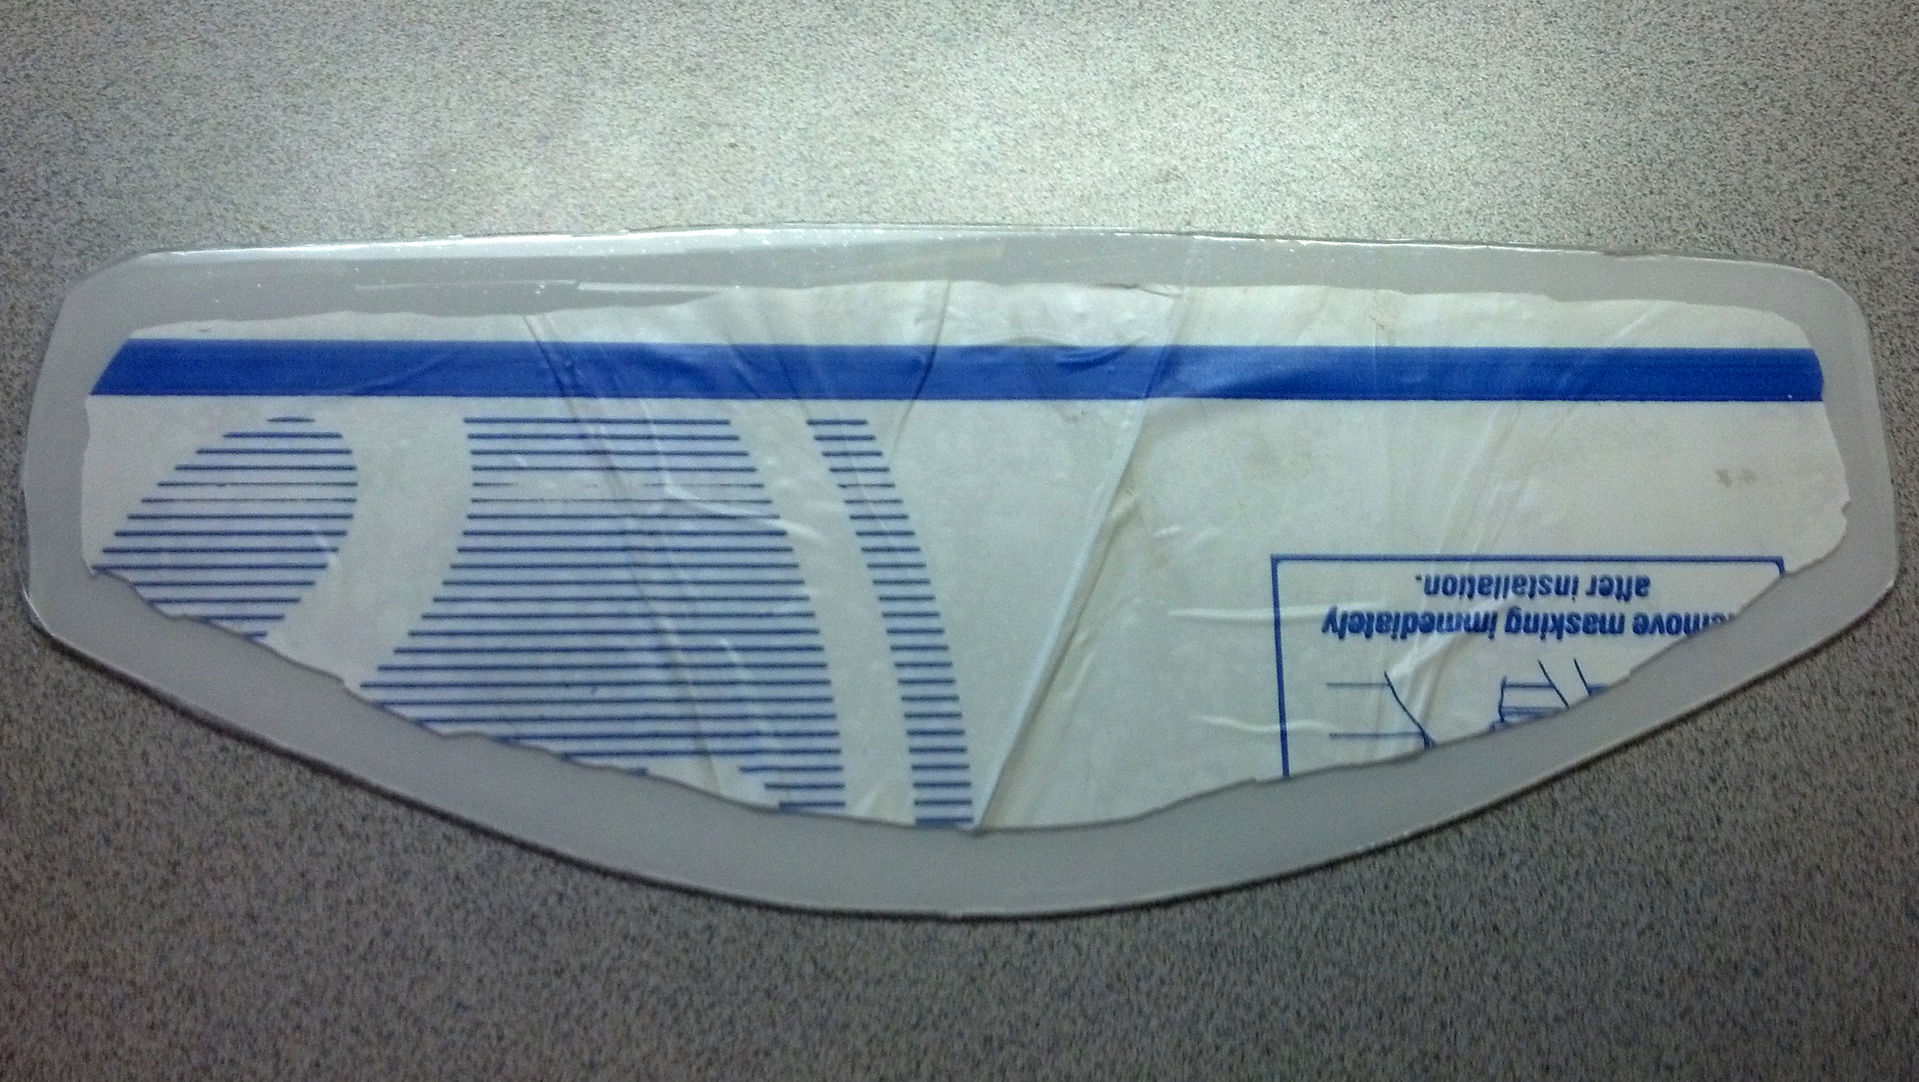
Here's what I will be replacing it with: 1/8" plexiglass (it was the thinnest they had in stock):

I put the old shield on the new material and used a pen to trace out a pattern:
TIP: Keep the pen tilted away from the shield on a strong angle (almost like you're trying to pry underneath it) to keep your drawn line as close to the same size as the original. Most pens taper as they go up, which pushes the ink tip away and you'll end up cutting a bigger piece than you need. Fine trimming is no fun.
I used a regular razor blade (box cutter) to score out a line, then repeated it several times to cut through.
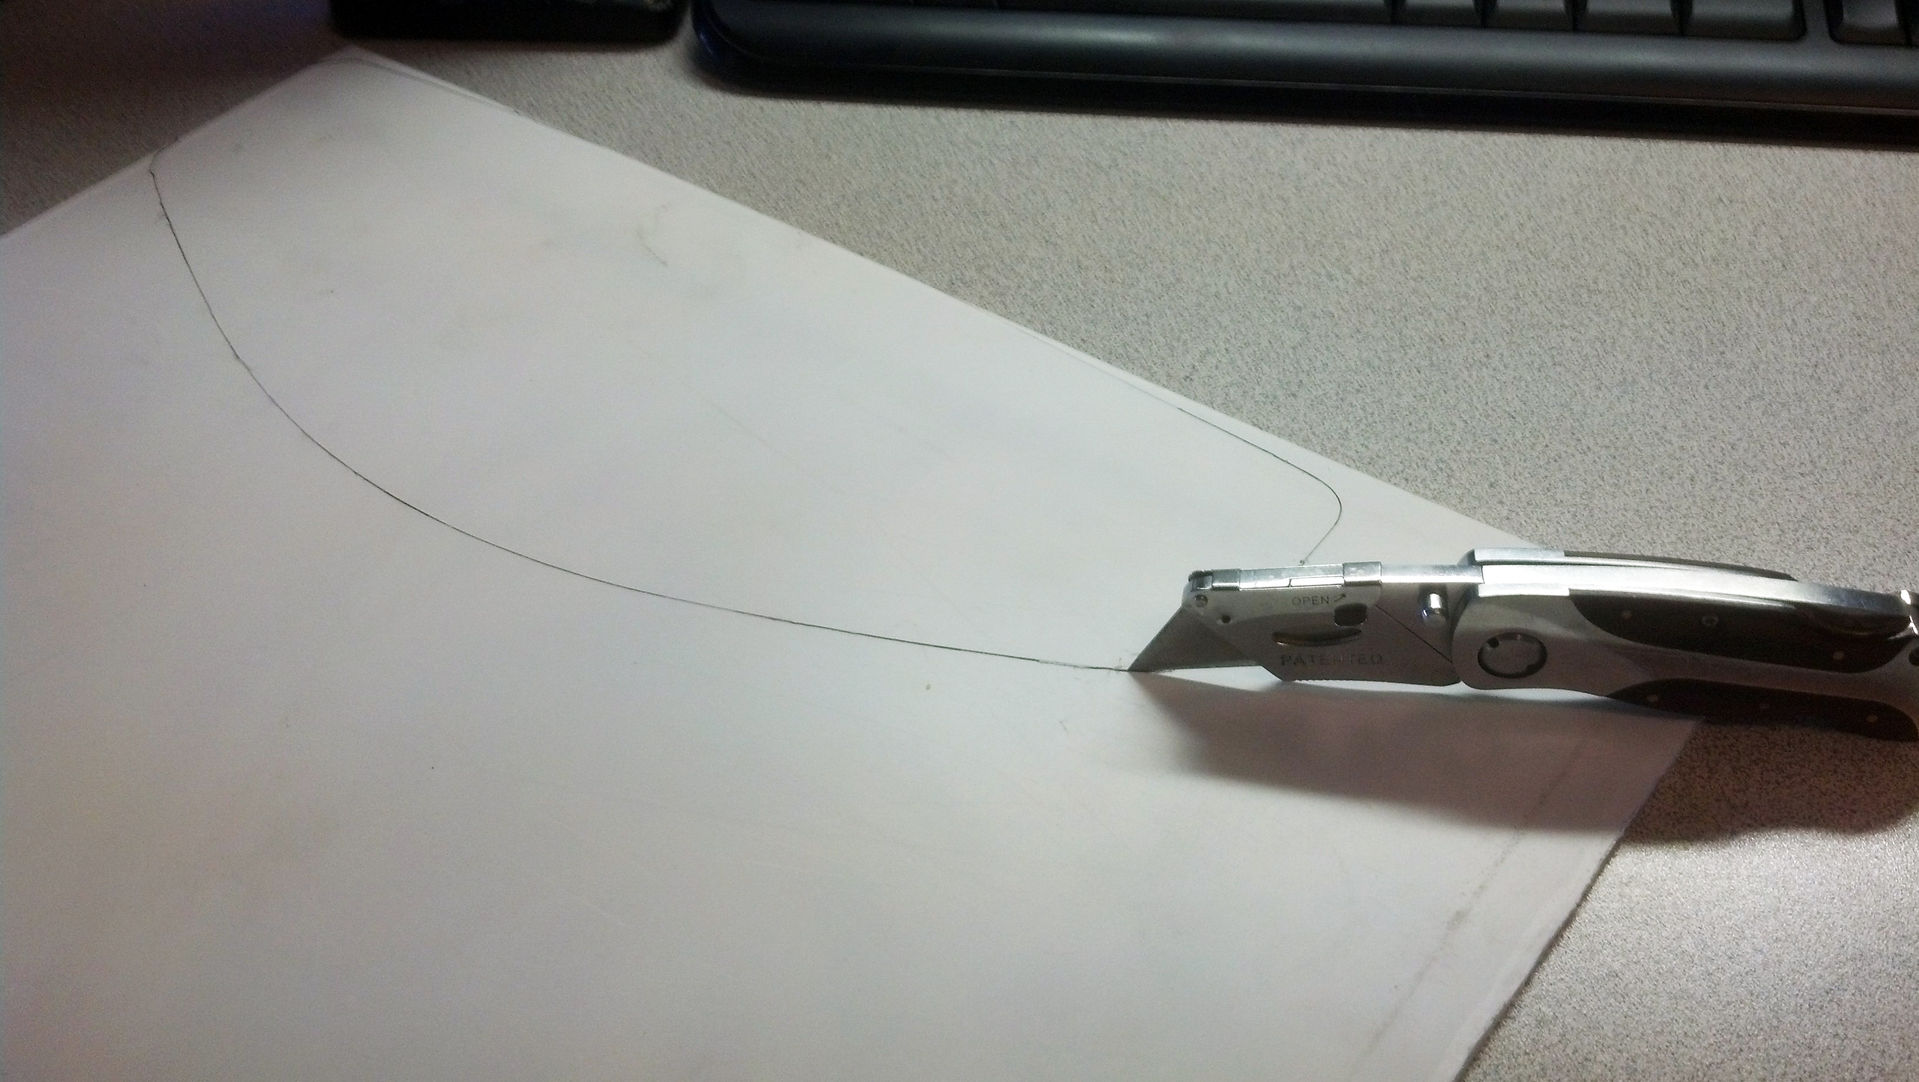
Make sure you protect whatever surface you are cutting on, as you may not realize when you go through, and will likely cut the surface when the knife falls off the edge of the cut. EXPERIENCE TIP: A paper plate is NOT adequete protection for a computer desk...even when folded over. :wallbash:
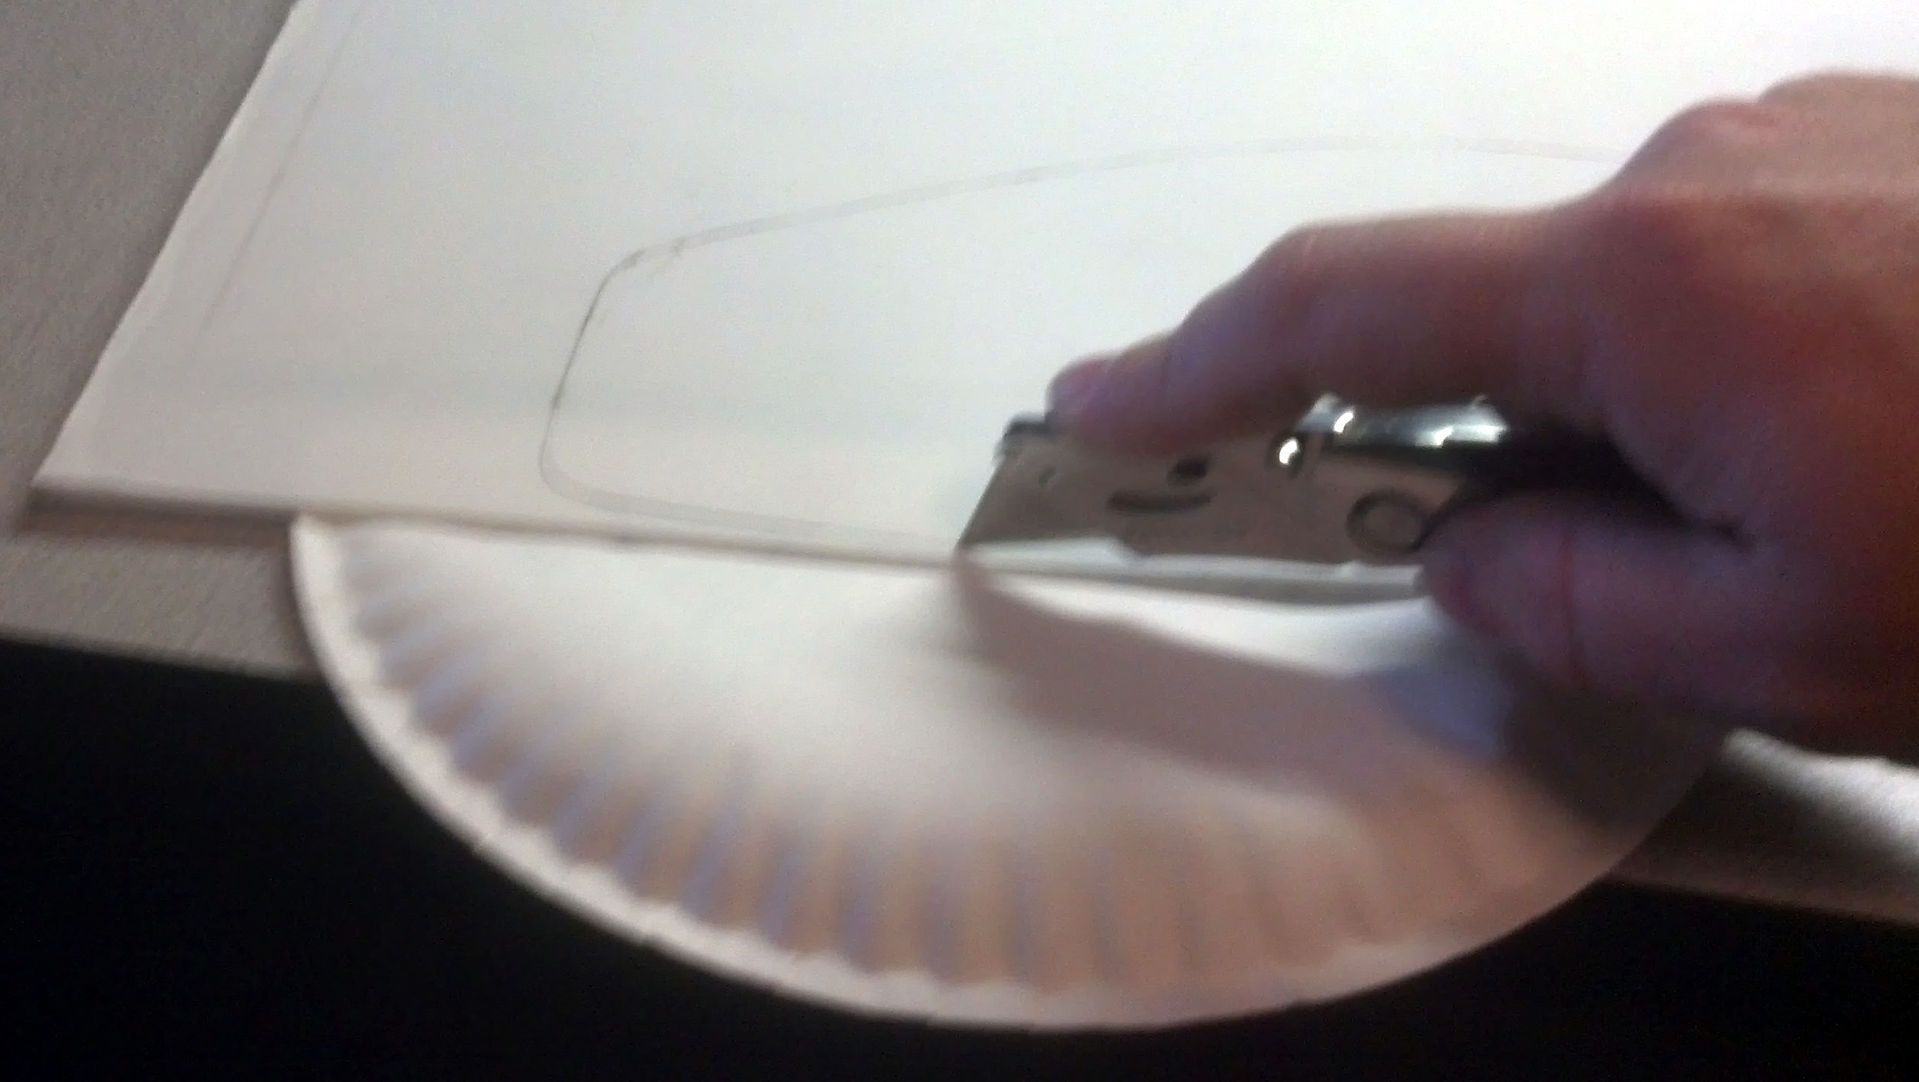
After cutting a few times, I was able to bend at the cuts and snap it out cleanly without having to finish cutting all the way through. Then, I peeled off the protective coating, cut away about a half-inch all the way around it to leave room for glue, and put it back on to keep the rest of the shield protected while I finished the job. I was VERY glad I did, too, because I noticed spots of epoxy on the cover that would have been on my new shield if I hadn't!
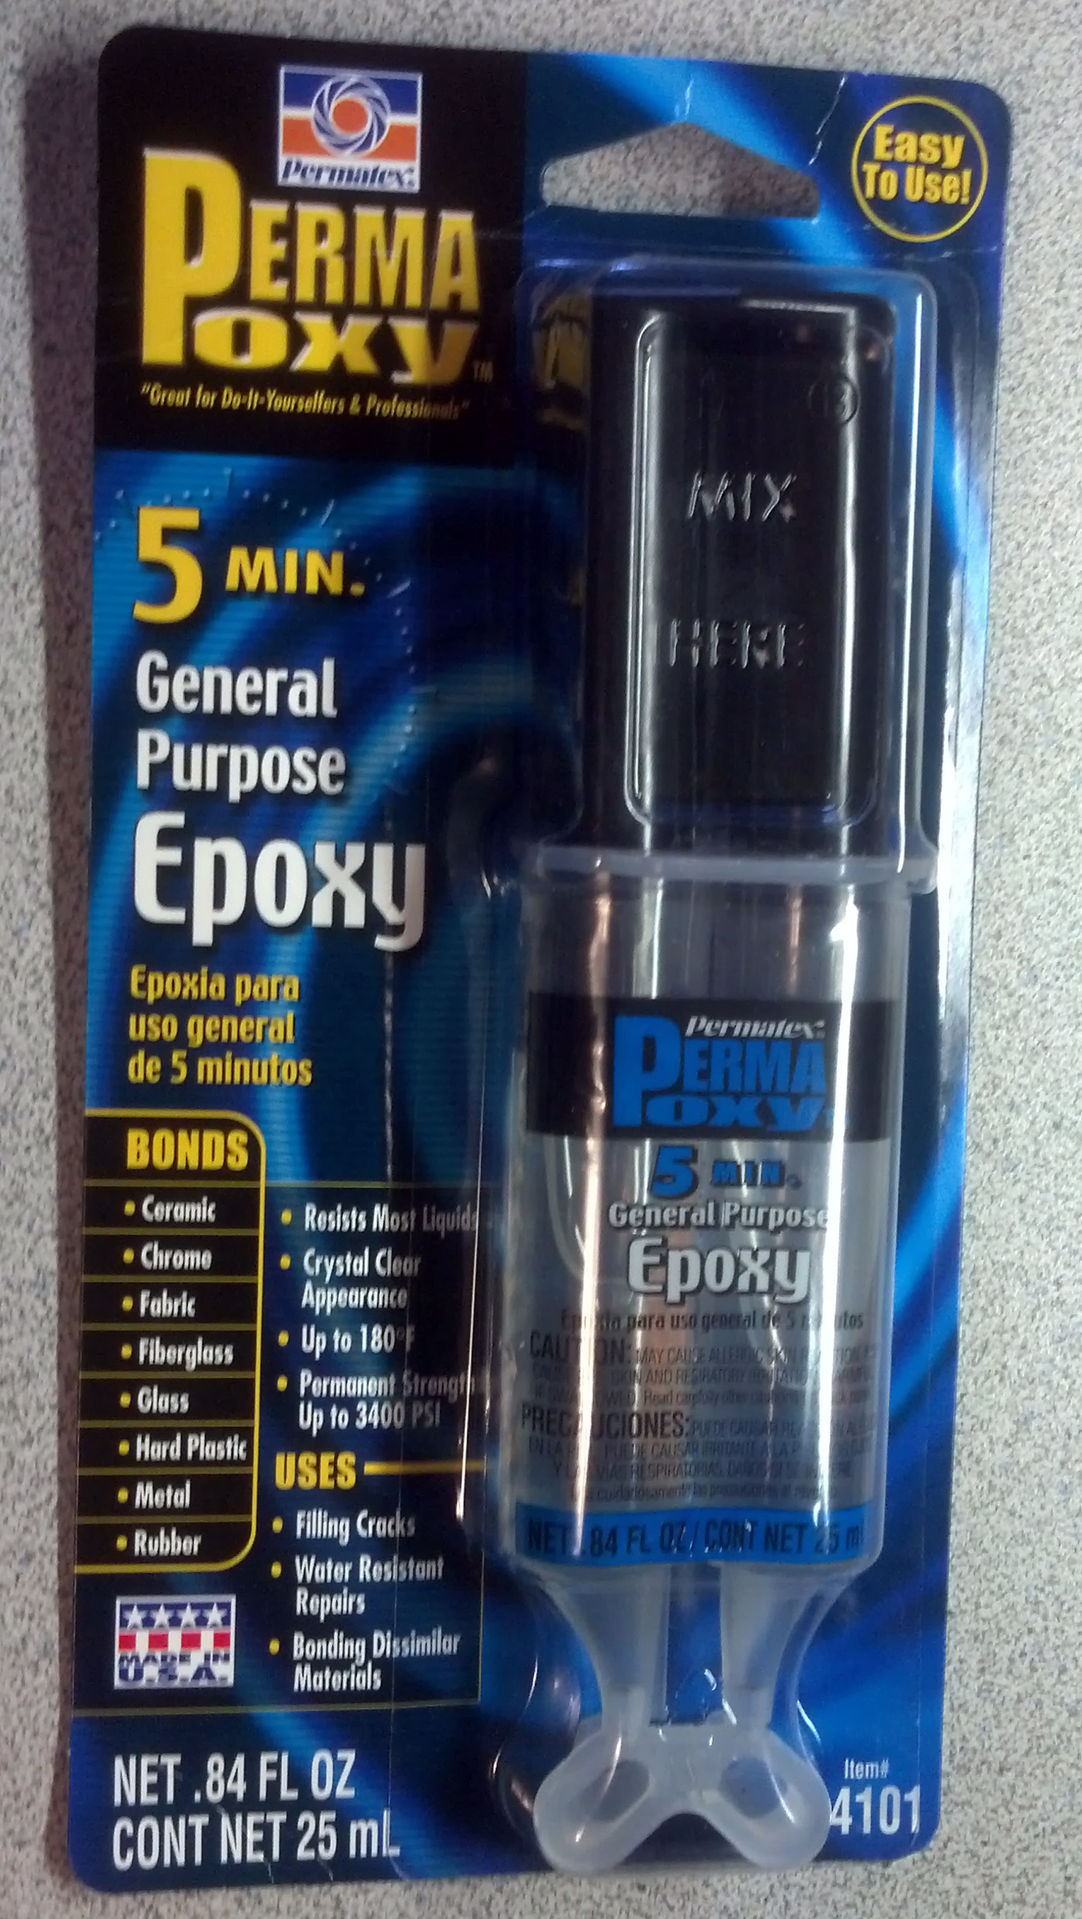
This is the epoxy I used to glue it in. It's made by Permatex. I've used this stuff before; it's impressively strong! TIP: Think CAREFULLY before using epoxy for this, as it is pretty permanent. I used epoxy because I don't expect to ever do this again. This is just a quick & dirty fix until I can afford a new helmet. Also, if you do use epoxy, get the slower setting stuff. They had this 5-minute set and 1-minute set that I almost got. This 5-min stuff was almost dry before I could finish putting it all on and get the shield put in. 1-min would not have been enough time for this.
I used the "tray" formed into the plastic package and a toothpick to mix the epoxy up. Then, I used the toothpick to spread it around the inside edge of the shield frame. Work quickly here (and maybe use something bigger than a toothpick), as the epoxy starts hardening right away.
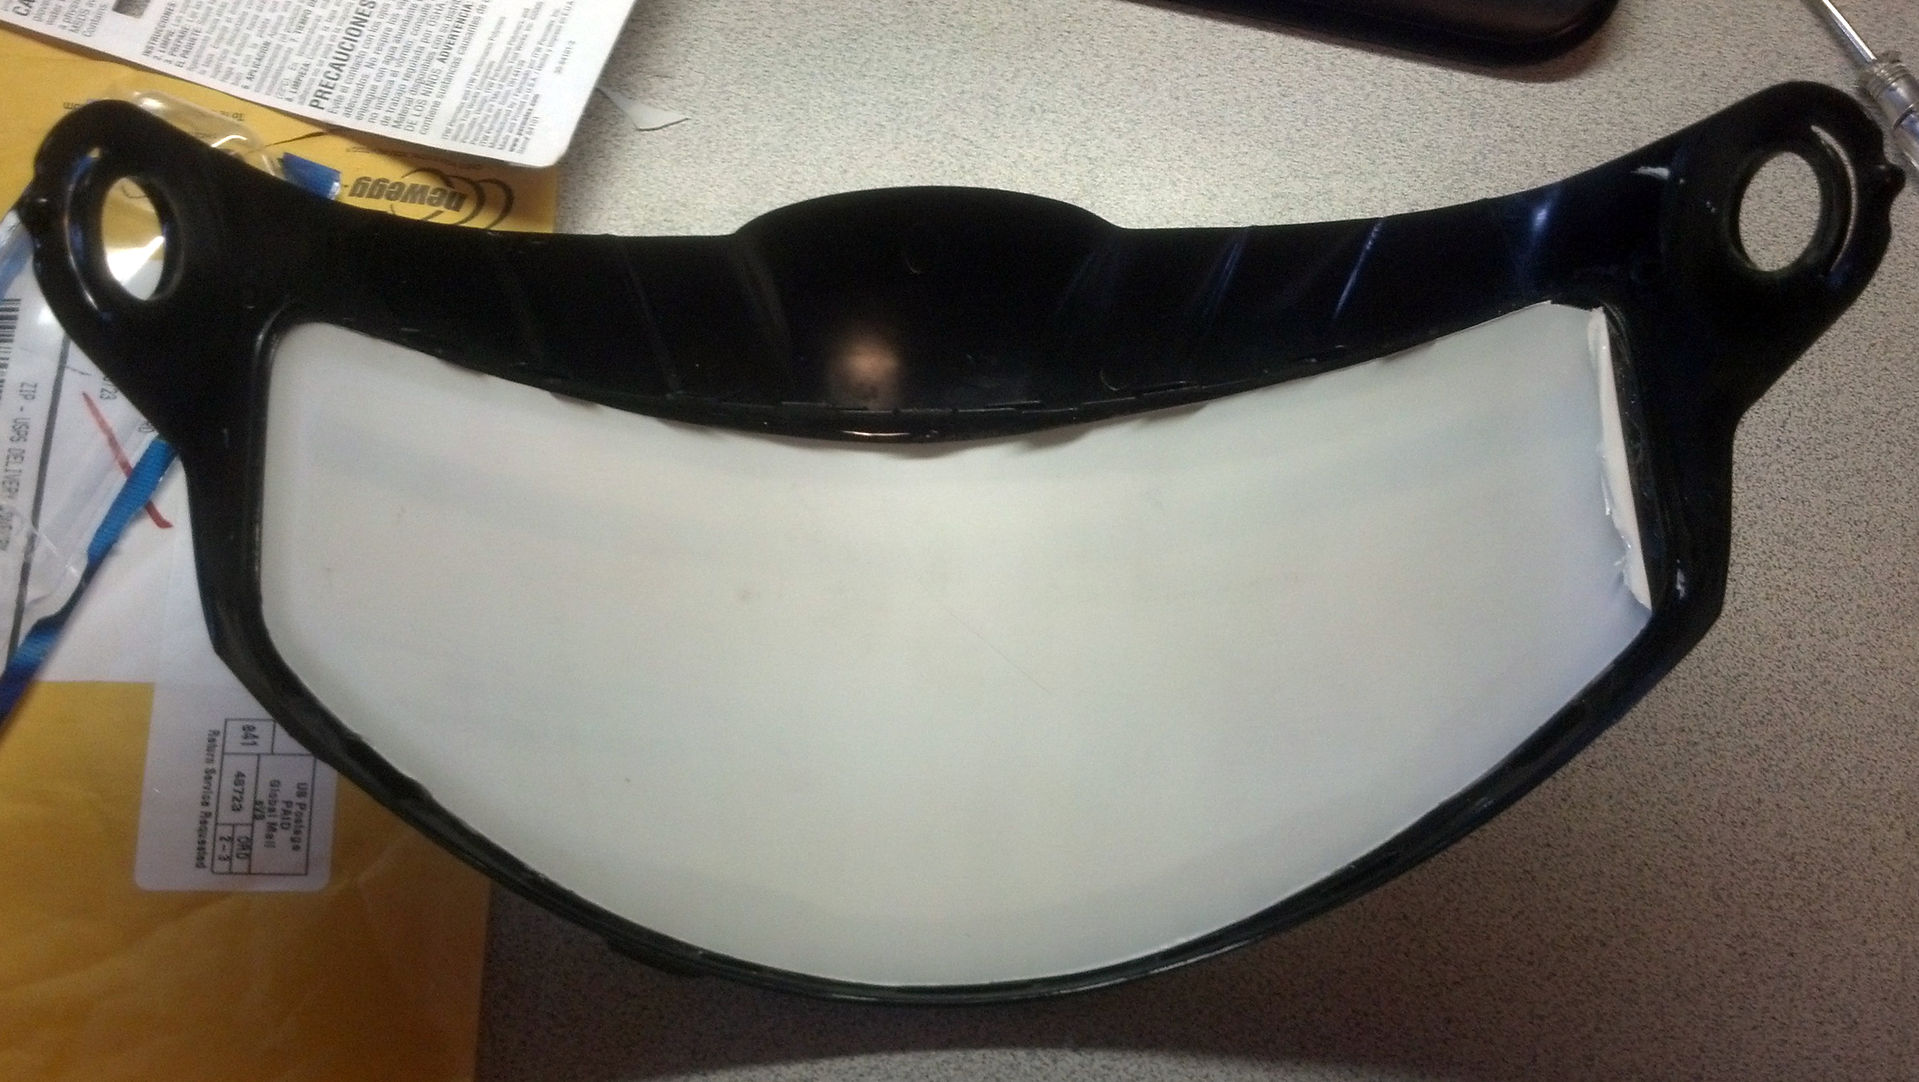
There it is! A brand-new shield on an old helmet for just $10 and 20 minutes of work. I can see, and the wife is happy because I don't have to dip into her haircut fund to get a new helmet today; it can wait another month or so.
Here's a comparison of the old shield to the new one. Amazing!
<singing> "I can see clearly now, the fog is gone!"
