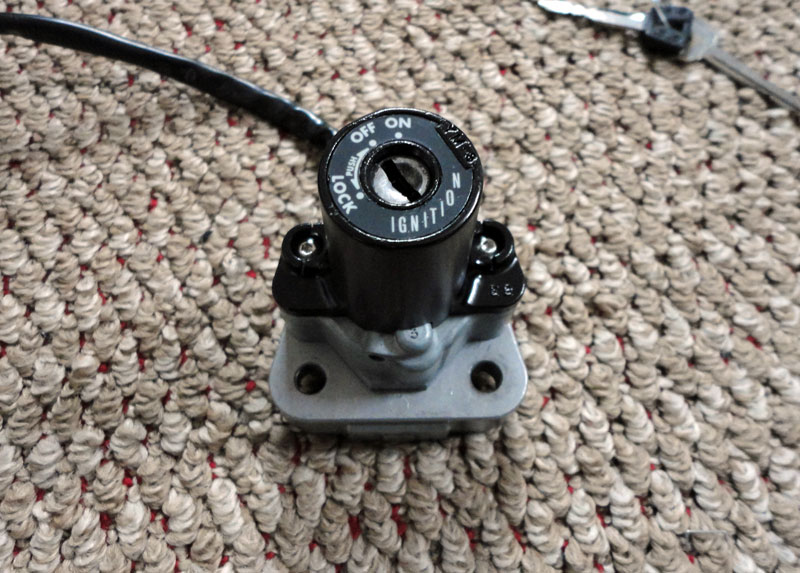
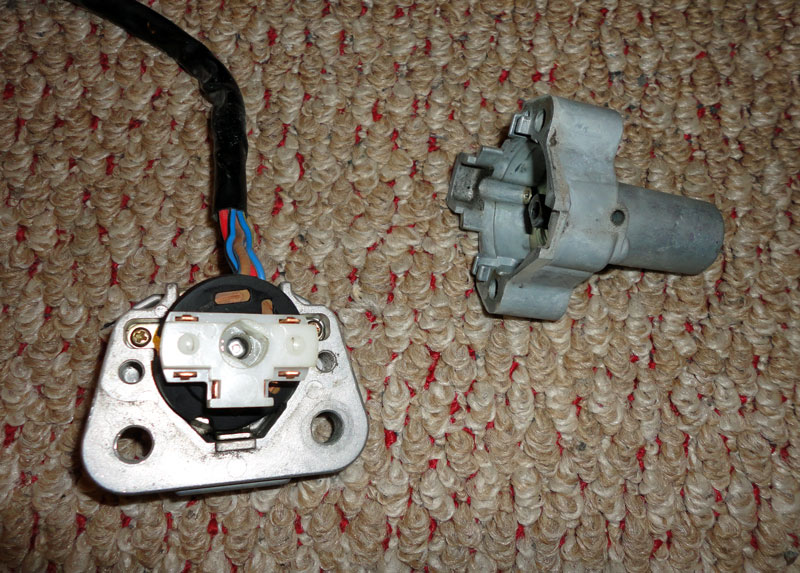
The ignition switch on my '97 is difficult to turn and when it does turn, it's quite sticky. I've decided to remedy this situation; here's how:
Remove the ignition switch from the bike. If you have a 1994 or newer model, you'll have to drill out the shear head bolts used to mount the switch to the upper triple. My ignition switch has been removed before, by a previous owner, so I didn't have to do this step. Looking at the switch, though, I'd guess it was drilled/welded out.
With the switch out, begin by removing the black cover. To do this, remove the two plastic plugs covering the two shear head style screws. To remove the screws, use a hacksaw to saw into the heads and create a slot for a slotted screwdriver. You will have to cut into the black housing to do this but this should not be a problem. Again, this was done by a previous owner on my bike:
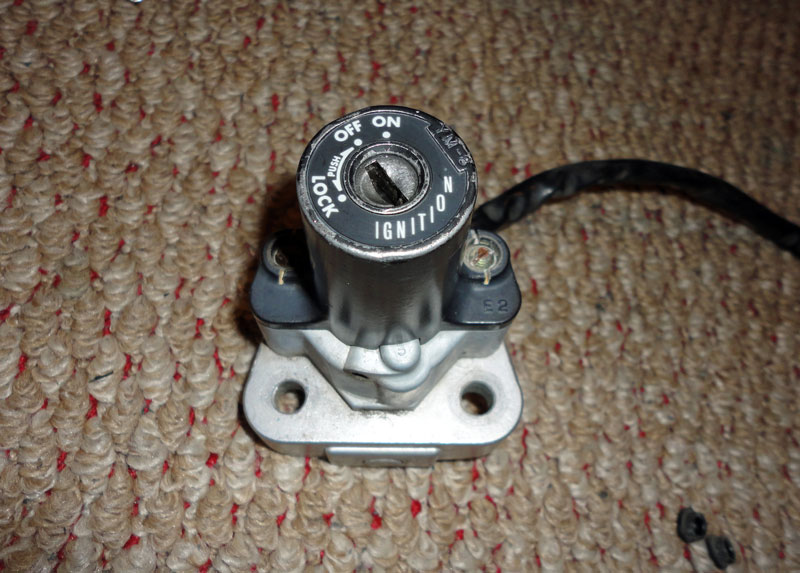
Remove the shear-head screws and sit them aside. Lift the black cover off the ignition switch:
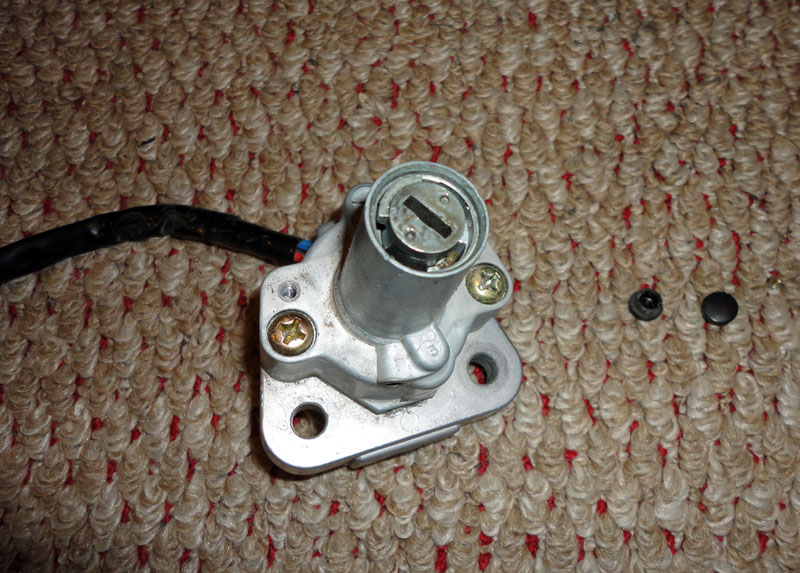
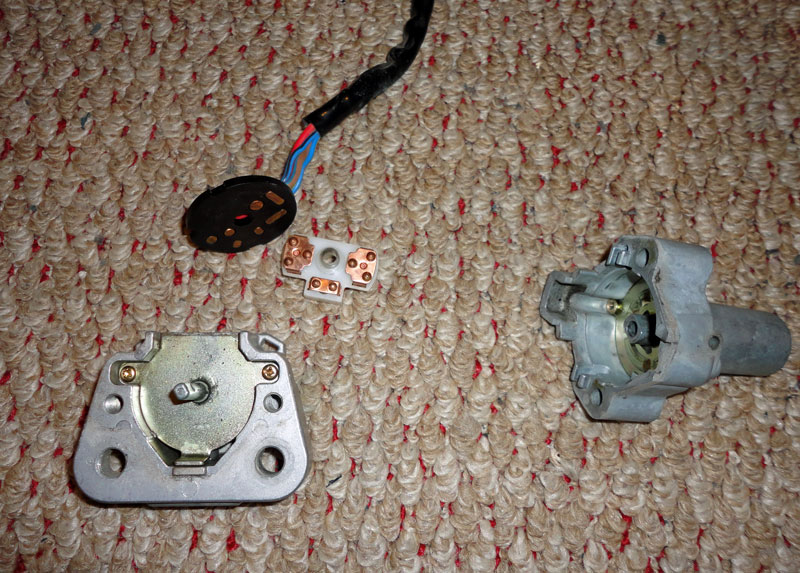
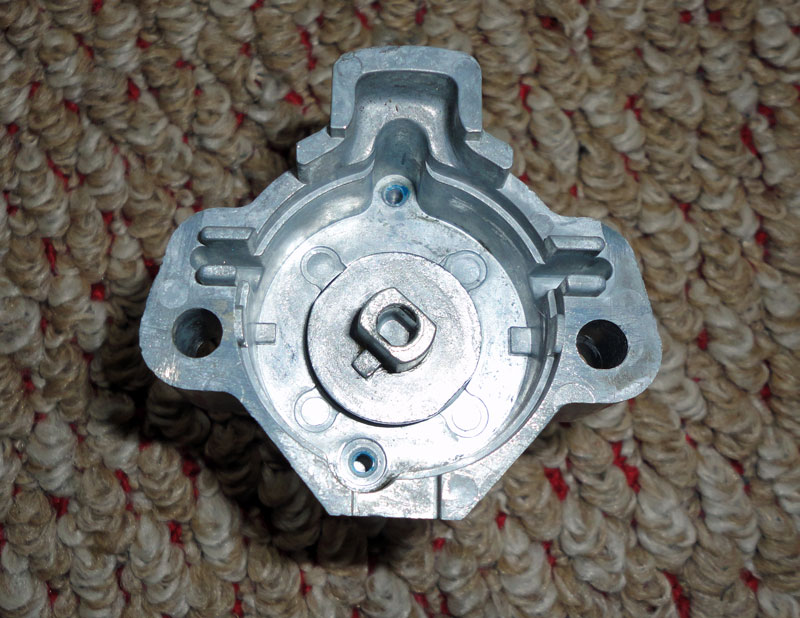
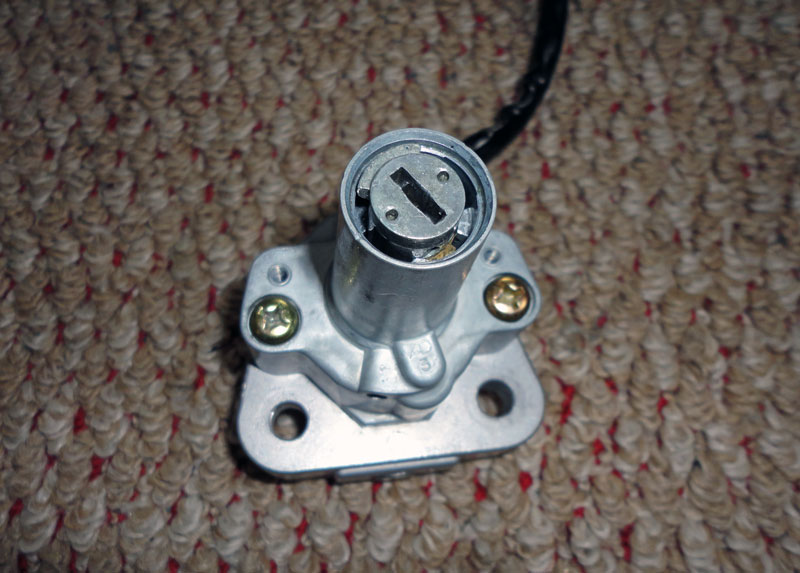
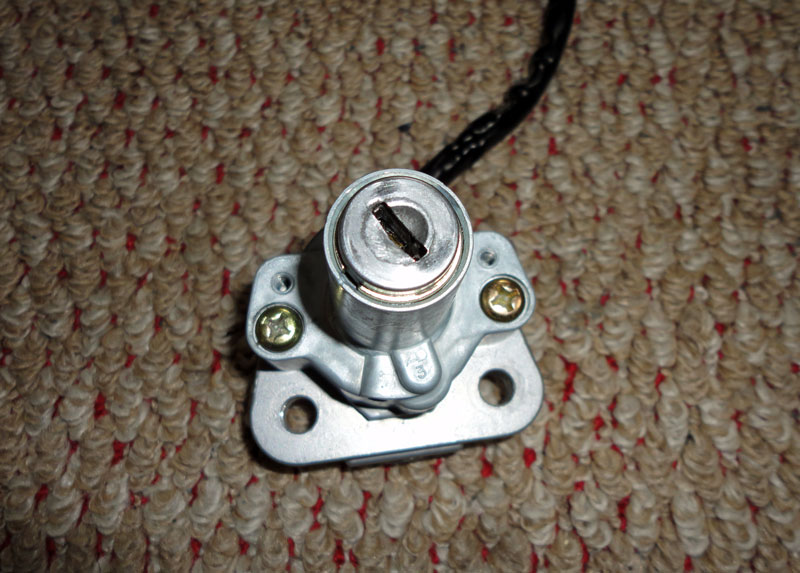
Remove the two Phillips-head screws holding the top half to the steering lock and lift off separate the switch:
Note the alignment of the switch assembly in the off position and then lift the switch and wiring harness and set aside:
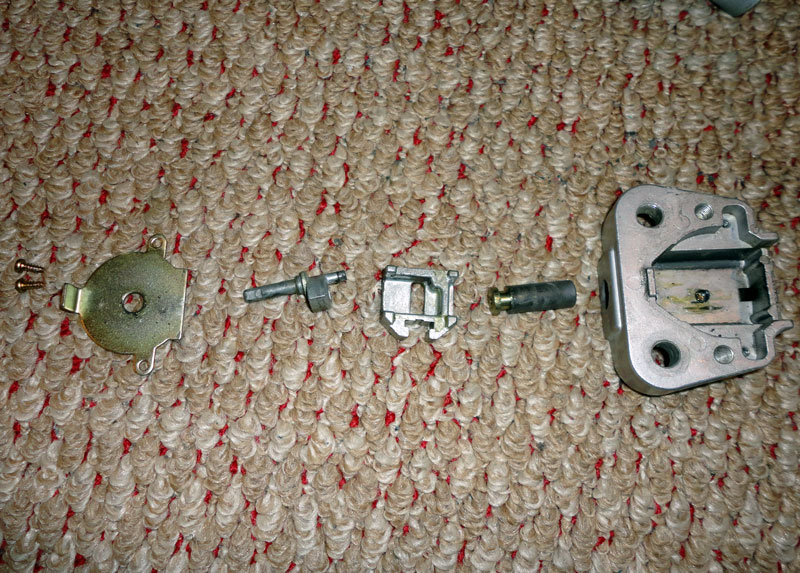
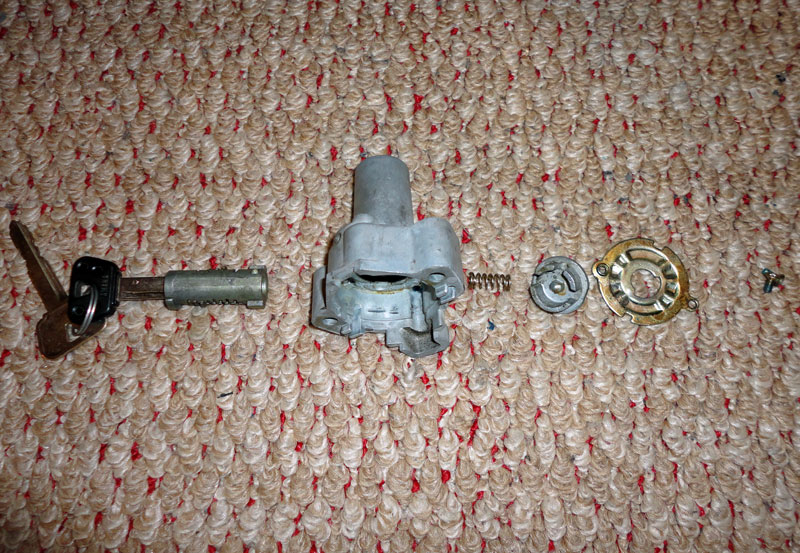
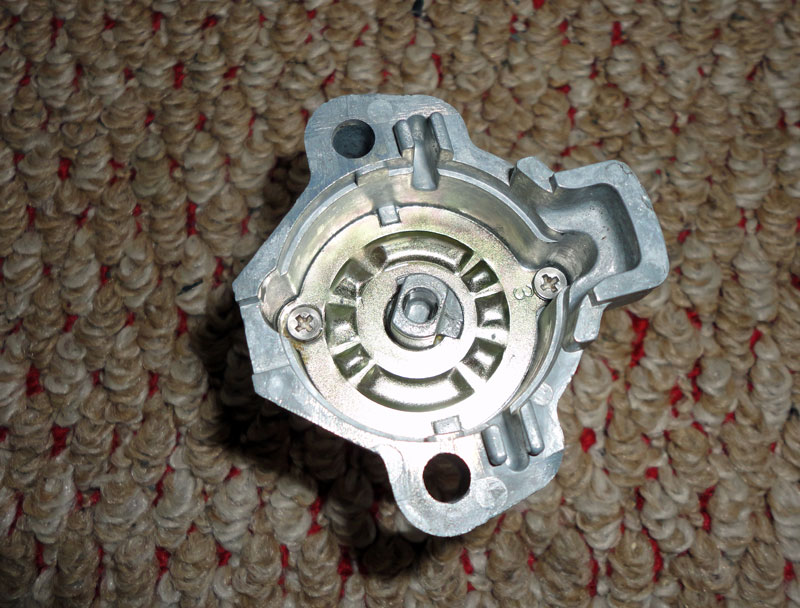
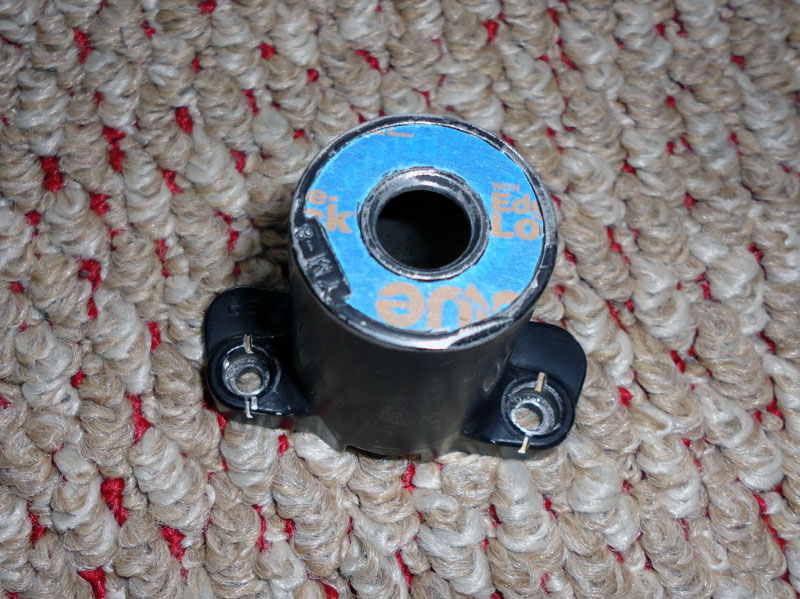
Remove the two Phillips-head screws holding the steering lock together and disassemble the lock. The sequence of assembly/dis-assembly is shown below:
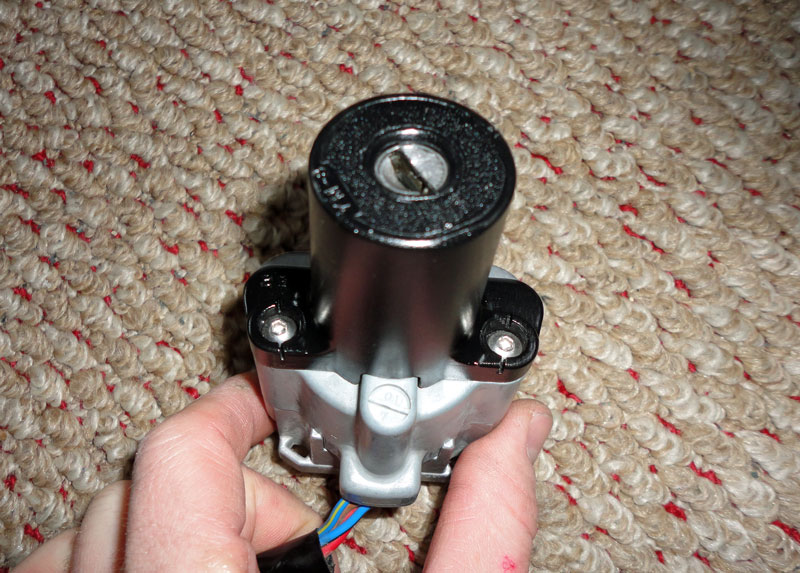
Soak the steering lock components in cleaner/degrease and turn your attention to the upper half of the switch assembly. Begin by removing the two Phillips-head screws. Note that these are extremely soft screws and are held in place with thread locker; use a tight fitting screwdriver and remove them carefully.
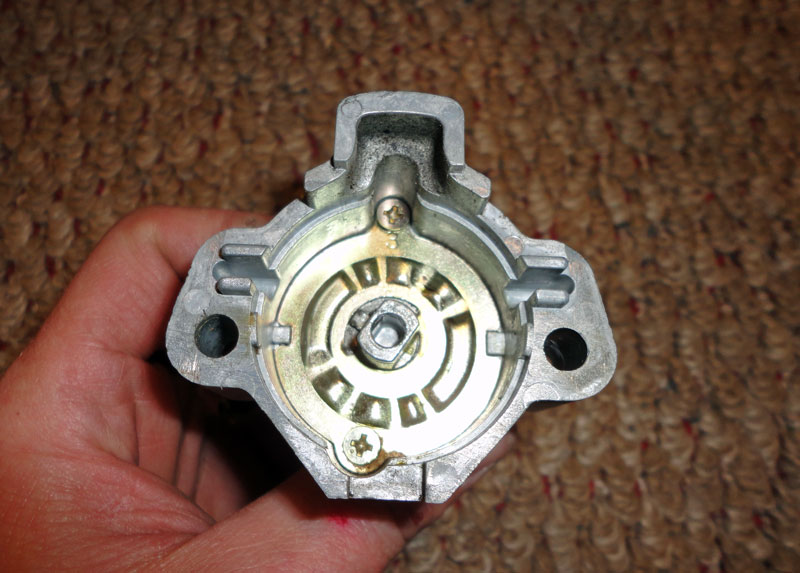
Insert the key and turn it to the on position. In this position, the tumbler assembly can then be lifted straight upward and out of the switch. Disassemble the upper half of the switch. The sequence of assembly/dis-assembly is shown below:
Pull the steering lock assembly out of the cleaner, dry it off and reassemble it. Begin by lubricating the components with a silicone based lubricant or grease and assemble the slider/locking pin:
Move the slider to the middle of the housing and insert the cam. Rotate the cam and ensure the slider and locking pin move freely. Apply more silicone based grease to the cam:
Install the securing plate and secure it with it's two Phillips-head screws:
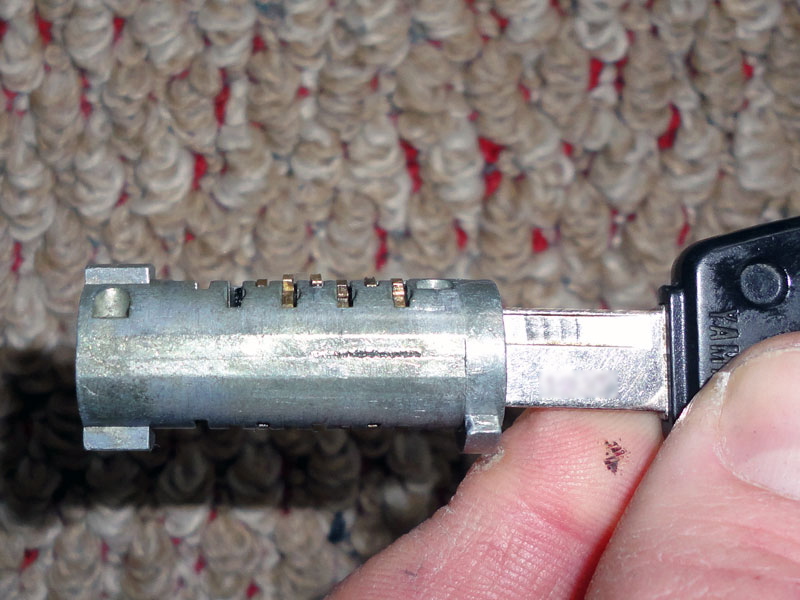
The primary problem with a sticky key or one that won't turn is dirt in the tumbler assembly or a worn key which won't move the wafers enough. With the key in the tumbler assembly, the wafers should be flush with the body. Notice how a couple of mine are sticking out about a half mm or so(also notice how I am missing two, courtesy of that same previous owner):
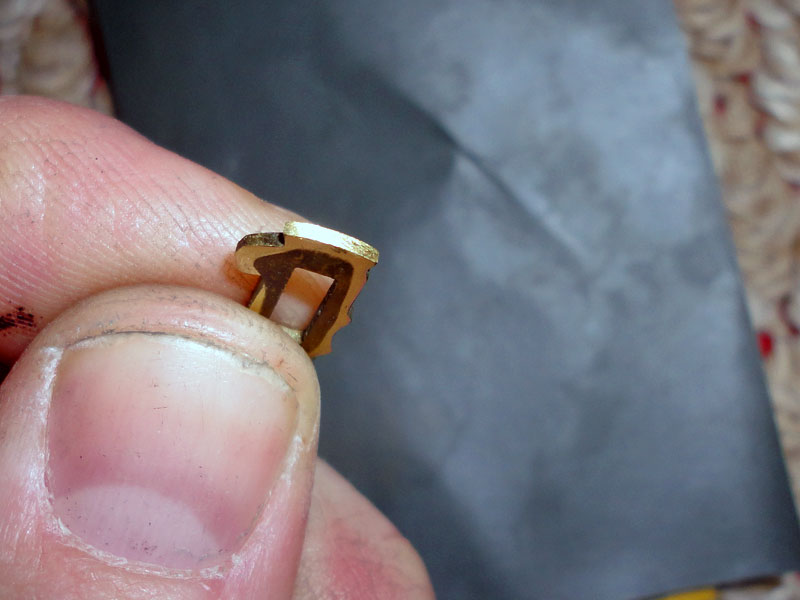
To clean or fix wafers, begin by removing them. They are just held in with friction. There's also a small spring which pushes on one side of them. Grasp the wafer with a pair of needle nose pliers and pull it out. Keep an eye out for the spring when removing the wafer; you don't want to lose it. If you pull out all wafers, keep them in order; they have to go back into the same slot in the body that they were removed from. They are cut in a sort-of combination that only works with your key and getting them out of order will cause your key to not work:
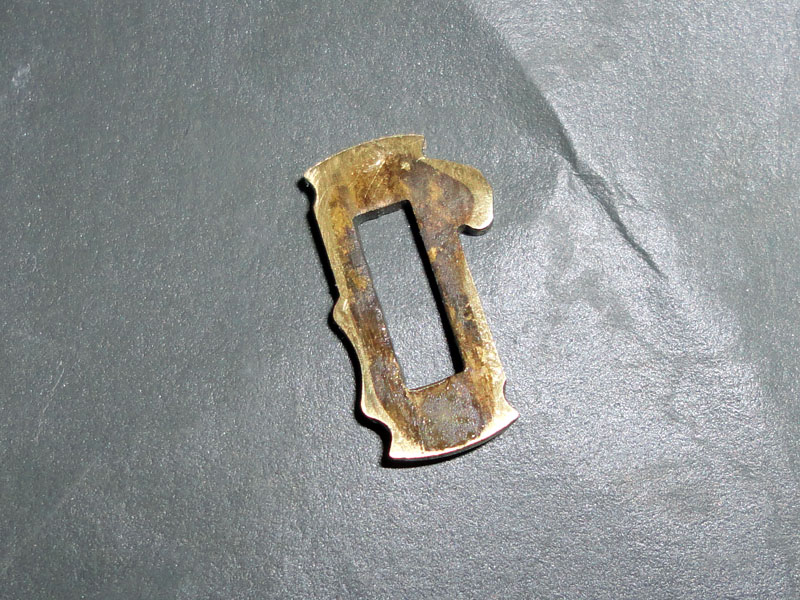
If your wafers are sticky, clean them and the body thoroughly in a petroleum based degreaser (kerosene). If they are sticking out too far and causing the ignition switch to be difficult to turn, you can shape them to make them flush. Use a piece of 220 grit paper and lightly remove a small amount of material from the edges until they fit flush:
When you have your tumbler assembly sorted out, soak the remaining switch pieces in cleaner and ensure they're spotless. Begin reassembly by installing the tumbler back into the switch housing. Use a light silicone based lubricant to lubricate the tumbler so that it turns freely in the housing. Silicone lubricants don't attract dirt and will help keep your switch functioning smoothly, longer:
Insert the spring and then install the cam:

The cam can be installed in two different orientations; the correct orientation with the key in the off position is shown below:
Install the securing plate next. Note that the notch in the cam fits into the circular cutout in the securing plate. This is what keeps your ignition switch from turning 360 degrees. Make sure this is lined up correctly and install the two phillips head screws:
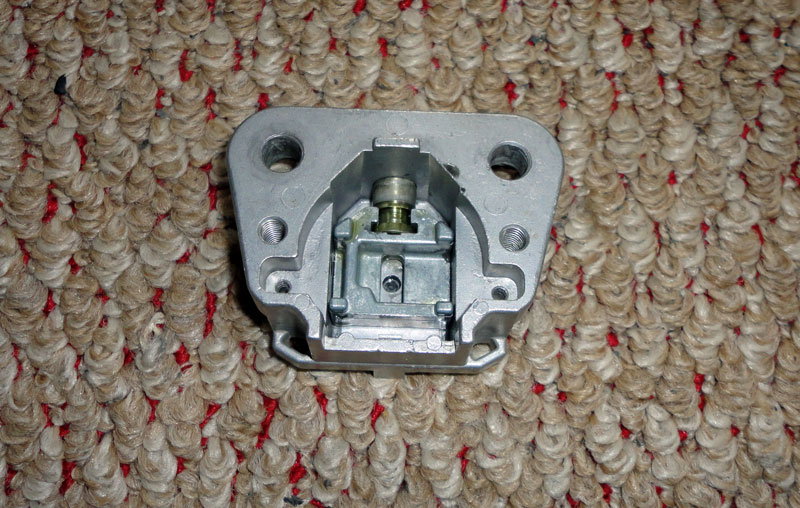
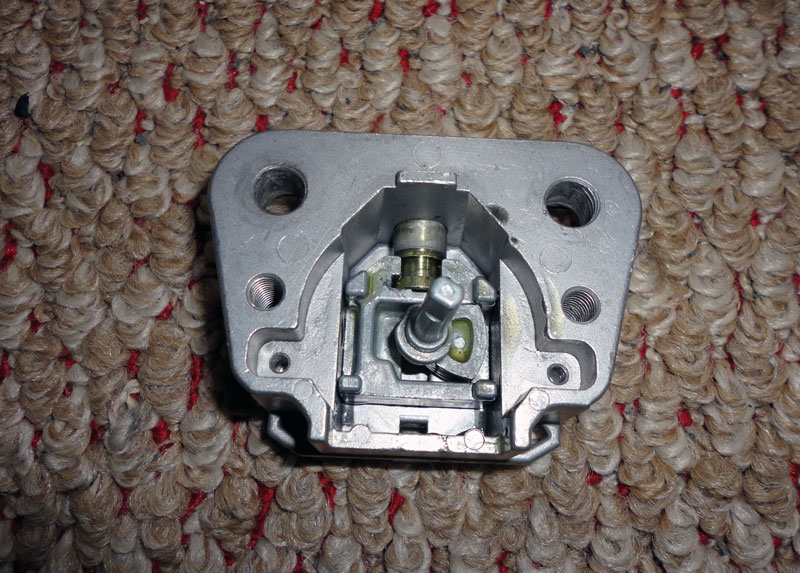
Install the electrical contacts next. They can be installed in one of two ways. You want them installed so that the 4 contacts in the center are not touching any of the contacts on the switch plate:
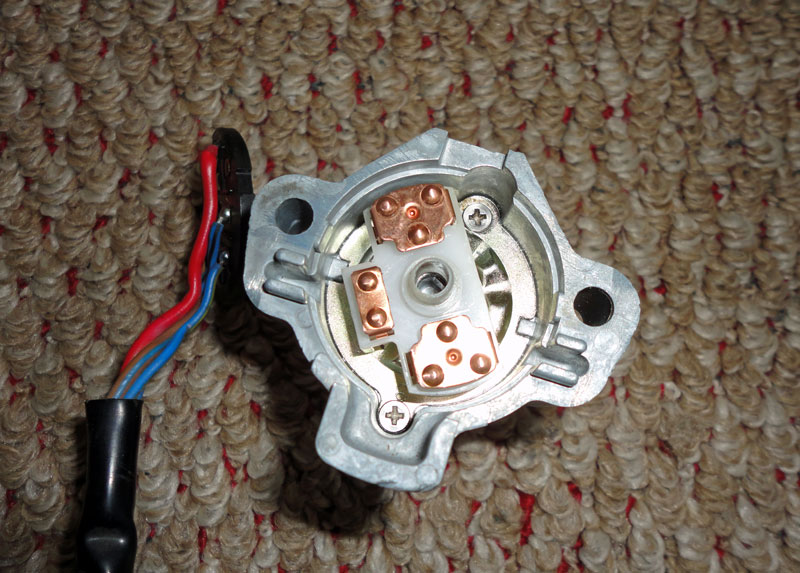
Install the switch plate. It is notched so that it can only be installed in one orientation:
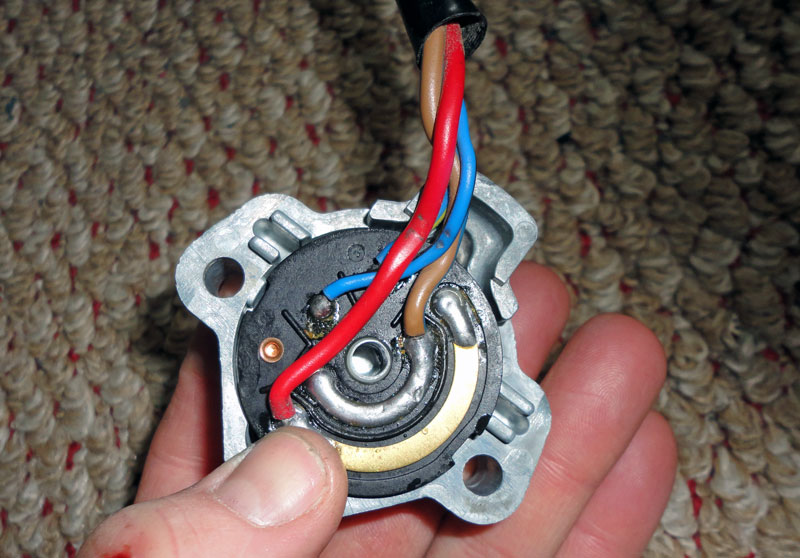
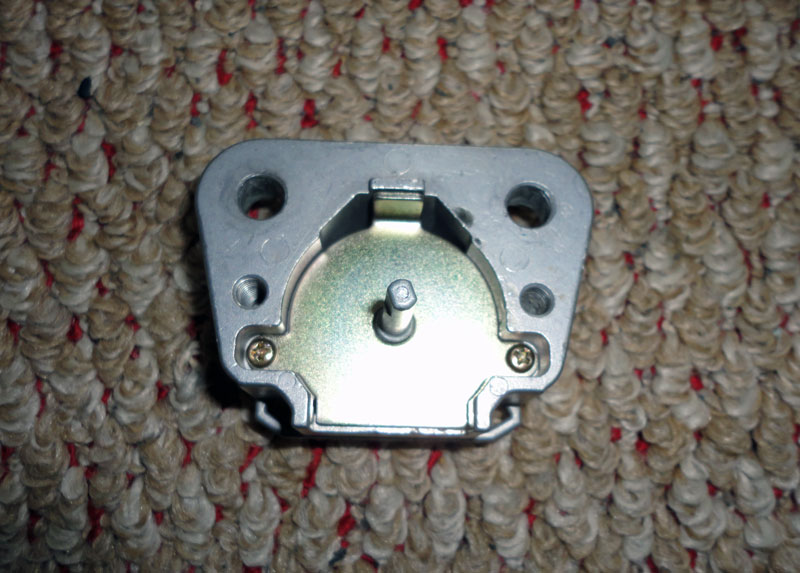
Hold the switch plate in place and fit the top portion of the switch onto the steering lock assembly. Install the two screws and tighten in place. Insert the key and rotate the lock to ensure it turns from off to on and also from off to lock and the steering lock functions appropriately:
Install the top cap and align it's bumps with the holes in the tumbler assembly. Insert the key to ensure it's aligned properly:
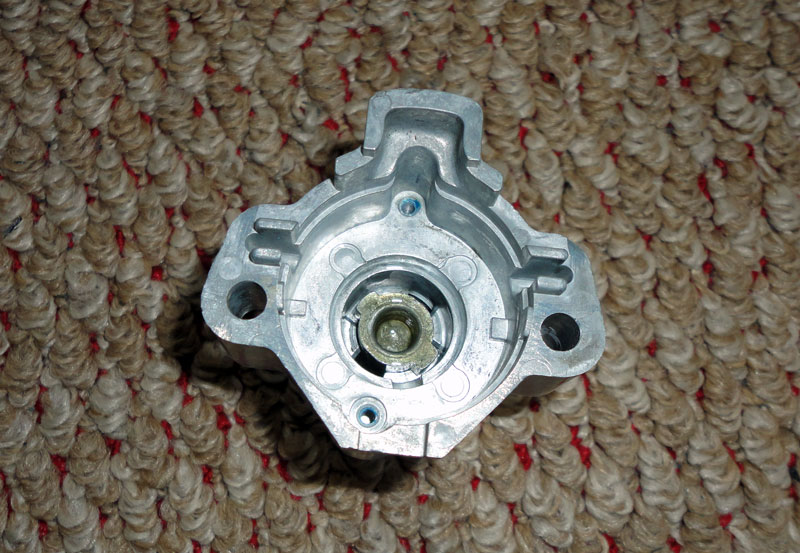
Mask the wording on the top of the body and give it a coat of black paint:
Install the body and secure it with new screws. The new screws are M4 and are 15mm long. I purchased them at the local Ace Hardware store by matching them to the ones I removed:
That's it. You should now have a well functioning ignition switch (don't forget to install the black rubber plugs over the screws):